Yelly Eats

Absolutely magic!

This should go wrong…even when I was making it, it felt absolutely wrong.  The batter didn’t look like it was going to set at all.  But let me tell you, whoever invented magic custard cakes is an absolute genius!

This is going on my must-bake-all-the-time list!

For those who have missed this growing trend, magic custard cakes are cakes is a cake with three layers, a spongy-meringuey top layer, a custard center and a pudding bottom layer.  The magical bit is that all this happens with JUST ONE BATTER!

Don’t ask me how because I have no idea how it works…but it does and it’s so good!

Magic custard cake

Yelly Eats

Pork puff pastry

Recipe in development!

Char siu in puff pastry…in my head it was going to work.  But I think I need to read up on how people do this so that I can see where I went wrong and adapt my recipe.

The filling works though so that’s one thing that went right!

Pork puff pastry trial

Yelly Eats

Pastry fear conquered

I love baking (I thought I’d put it out there, just in case you missed it!).  But there are still large gaps in my baking repertoire and there are projects which I’ve put off because of the fear that I won’t be able to produce the (baked) goods, so to speak.  My closet perfectionist comes out and becomes more critical than a certain Paul Hollywood could be.  I am always worried that what I bake isn’t good enough.

One of my stumbling blocks is puff pastry and rough puff pastry.  I’ve always relied on store-bought pastry for the pastry because I’ve tried to make rough puff and puff pastry but they never really “puff” up.  So instead of disappointing myself, I usually just go and buy puff pastry and use that instead in all the baking projects involving puff pastry.  It’s the coward’s way out, but I’m less disappointed in myself.  I usually say to myself that even Mary Berry and Jamie Oliver suggest using store bought pastry!

But last weekend, I was, very strangely, prepared to try again.  I was surprised to find myself only too willing to face my fears and try to make puff pastry again.  I knew that I had to at least try again because my short crust pastry was already good.  I needed to at least try to learn to make acceptable puff pastry!  It took me several weeks to work up the courage to make pastry.  In the end, I found a relatively straightforward recipe from the Pieminster cookbook (see Page 10 of the book).

pieminister-a-pie-for-all-seasons-coverSo I bought the ingredients, determined to make lovely, flaky cheese straws and bacon twists!

After reading and rereading the recipe, with a lot trepidation, I set out to follow the recipe properly.  Et voila!  I managed to make (really pretty, if I do say so myself) pastry that looked the part!

wp-1454857681421.jpegThere is something to be said about facing your fears…and doing a lot of research to prepare!  Thank you Pieminster for your glorious book and the recipes within it!

wp-1454857837239.jpeg

Yelly Eats

Hopia

I’ve always been proud of Filipino food.  I’ve always believed that if people tried the food that we Filipinos ate on a daily basis (ably prepared by our mothers and titas), people would be addicted too!  Filipino cuisine is influenced by the food cultures from China, Malaysia, Indonesia, China and Spain.  We also have a very pronounced American influence.  These influences are due to the fact that the Malays an Indones were the early settlers on the Philippine islands and it has been historically proven that we traded with the Chinese very early on.  The Spanish (and largely Mexican food tradition) influences came because the Philippines was a Spanish colony for over 300 years (the Philippine islands were named after King Philip II of Spain).  Then after the Spanish, we had the Americans with us…for a while.

I am so thankful that there are enterprising individuals (who may or may not be Filipino) who have identified an opportunity to sell to Filipinos living overseas the food staples.  I’ve been able to cook Filipino food here in England and it helps the homesickness.

But nothing compares to the satisfaction when one is able to make something that isn’t always available in the Oriental or Filipino supermarkets.  A few days ago, whilst I was recuperating from a really bad migraine (I was signed off for a week), I told myself that I would make hopia. I had been watching various YouTube video how-to’s and I felt that I was ready to attempt the Filipino treat.  I even risked eating store-bought hopia in the name of research!  Mind you, it was a tad disappointing because the hopia I bought seemed to have shrunk!  For what I paid for, well, it was an exhorbitant amount of money for 4 minuscule hopia pieces – not at all what I remembered eating when I was growing up!

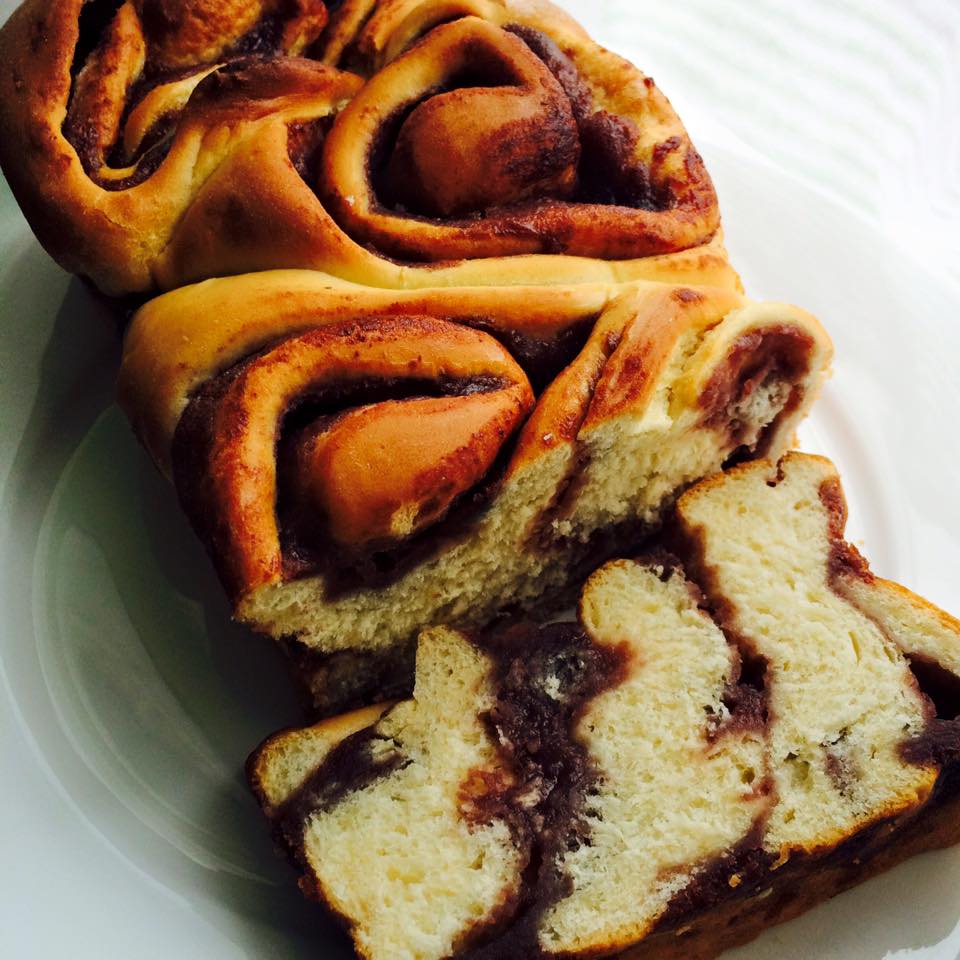
Hopia is also known as bakpia (in Chinese).  It is a bean paste-filled pastry that was apparently introduced by Fujianese immigrants in the Philippines.  It is usually filled with mung bean paste (either red mung bean or yellow mung bean), or purple yam and there is a variant that is filled with candied wintermelon (called kundol in the Philippines).  Apparently, in other countries (apparently this is a popular Indonesian treat as well!) the fillings can be pineapple, durian, cheese, chocolate, coffee and custard!  I’ve never had a cheese hopia, but it certainly sounds interesting!

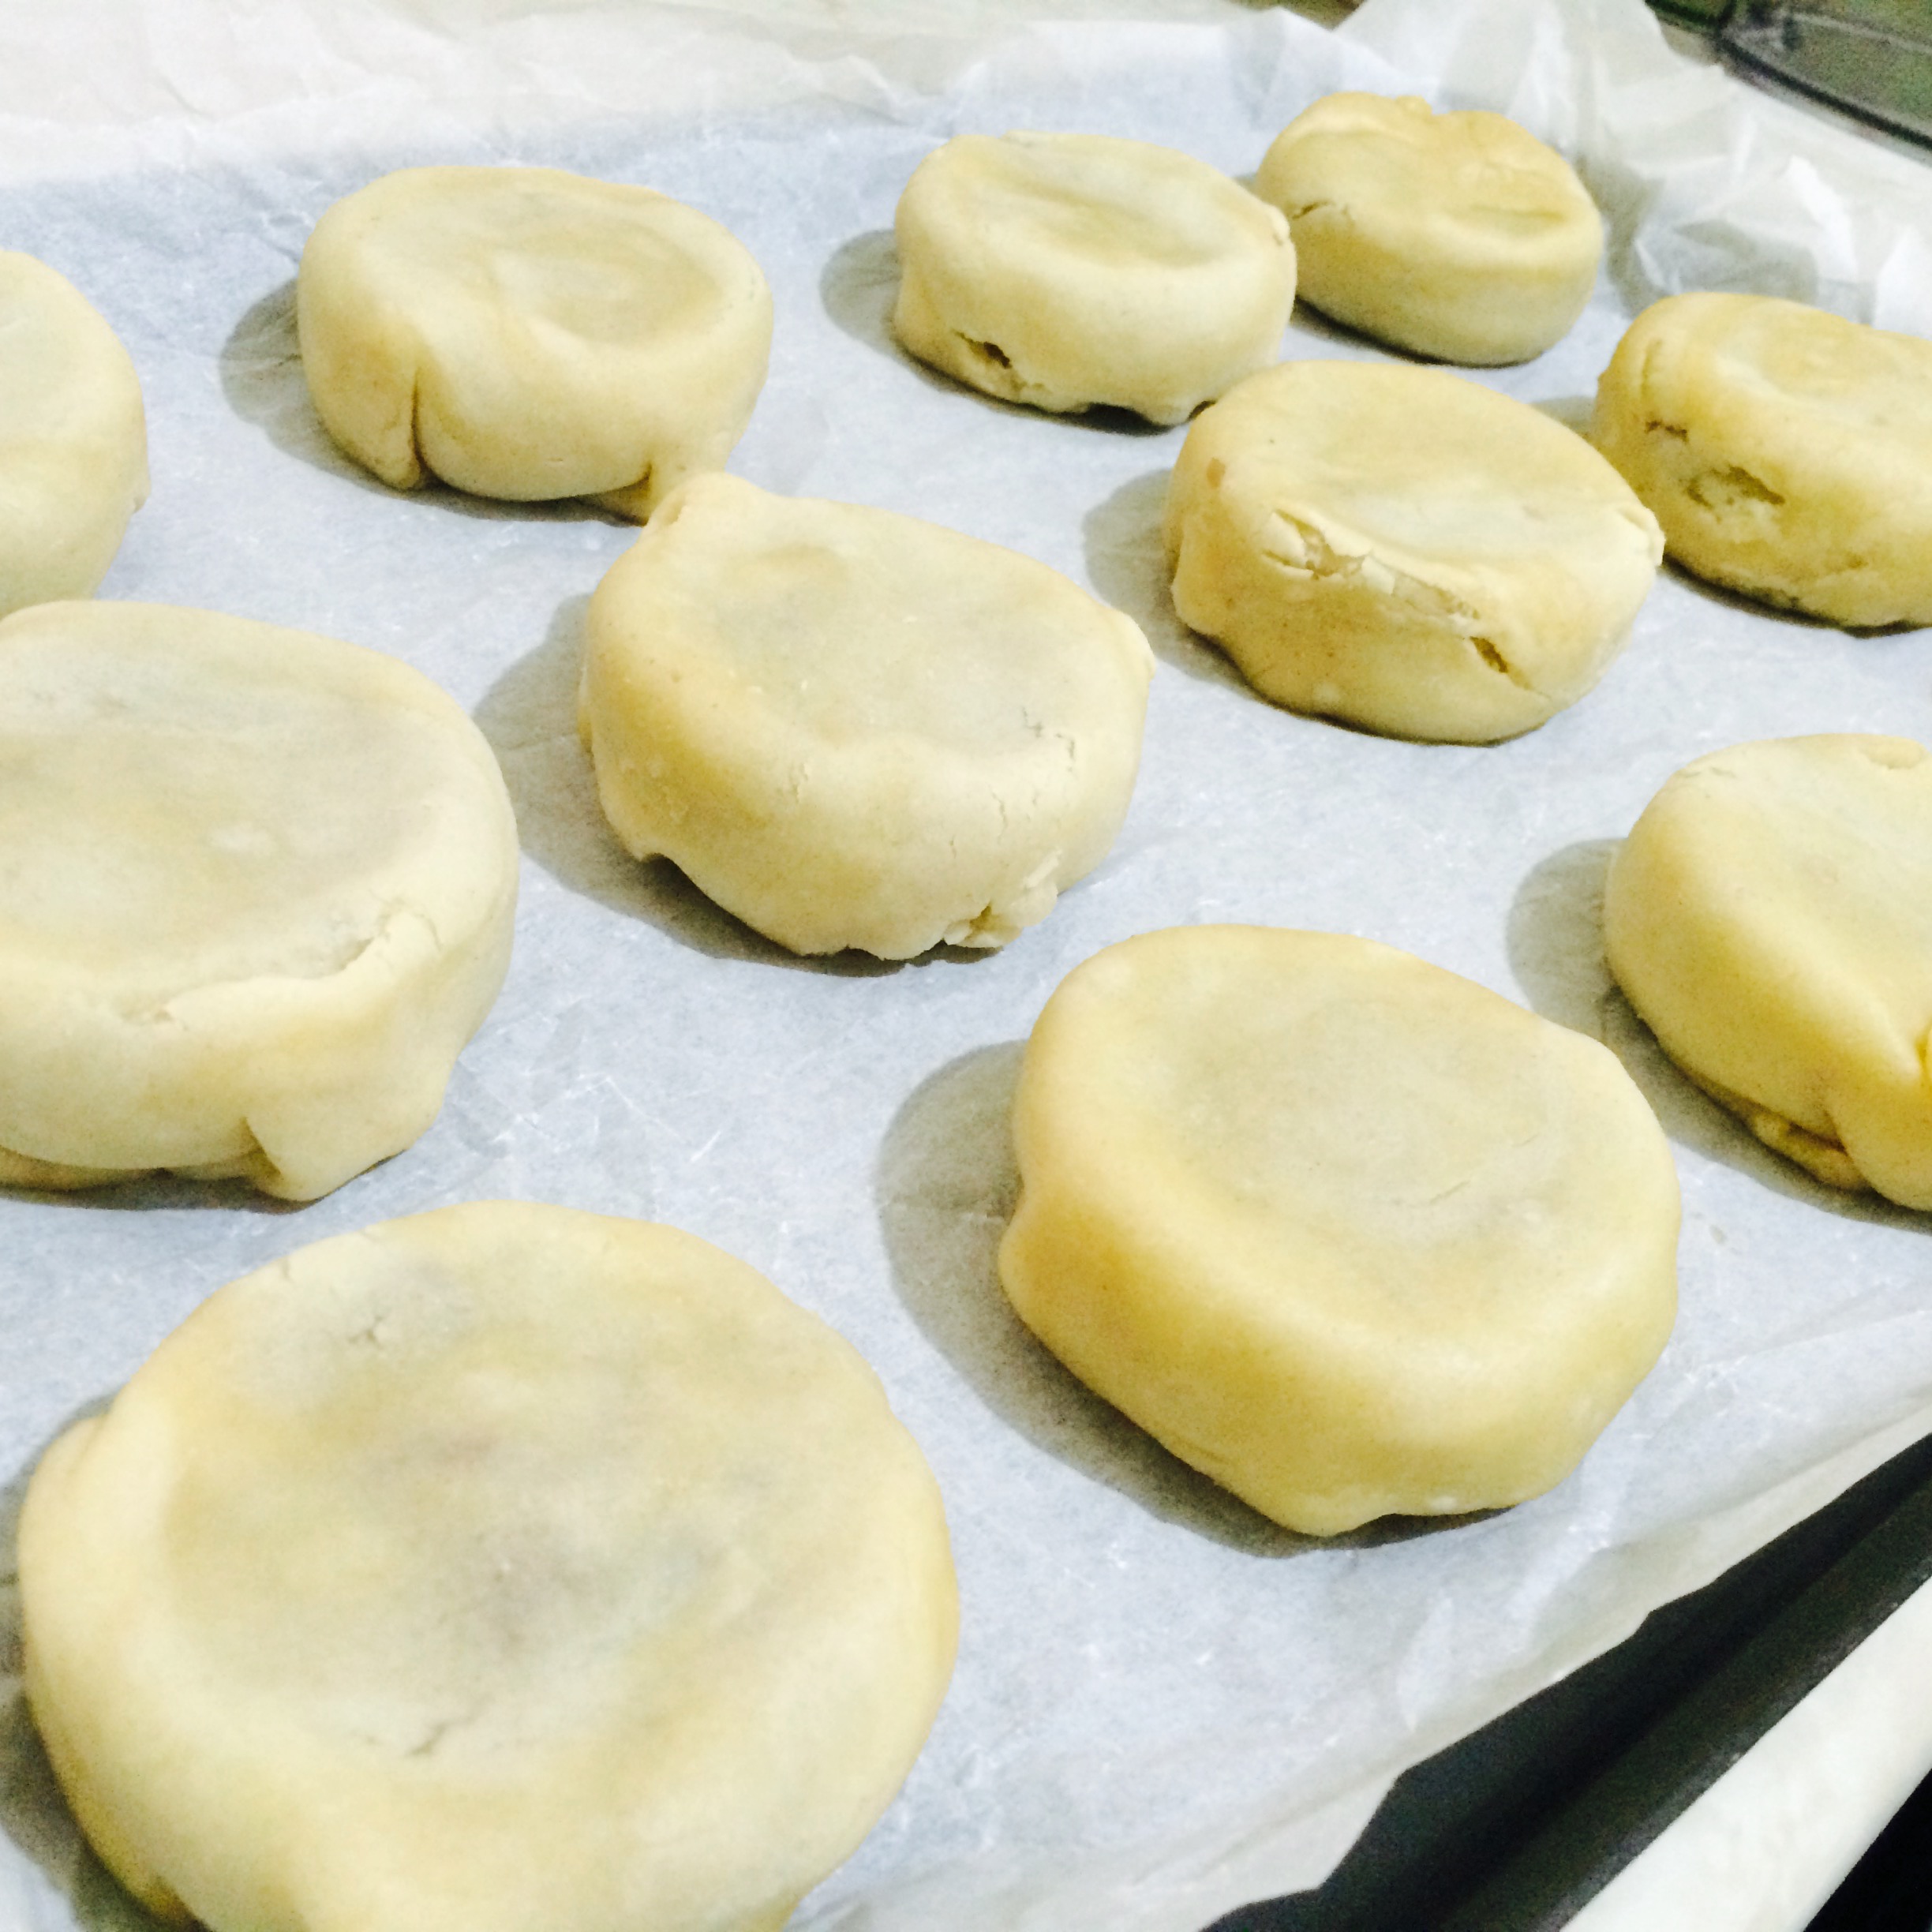
I painstakingly wrote down the recipe from all the YouTube videos and translated it into metric measurements.  Then I set about making my hopia!

Hopia before baking

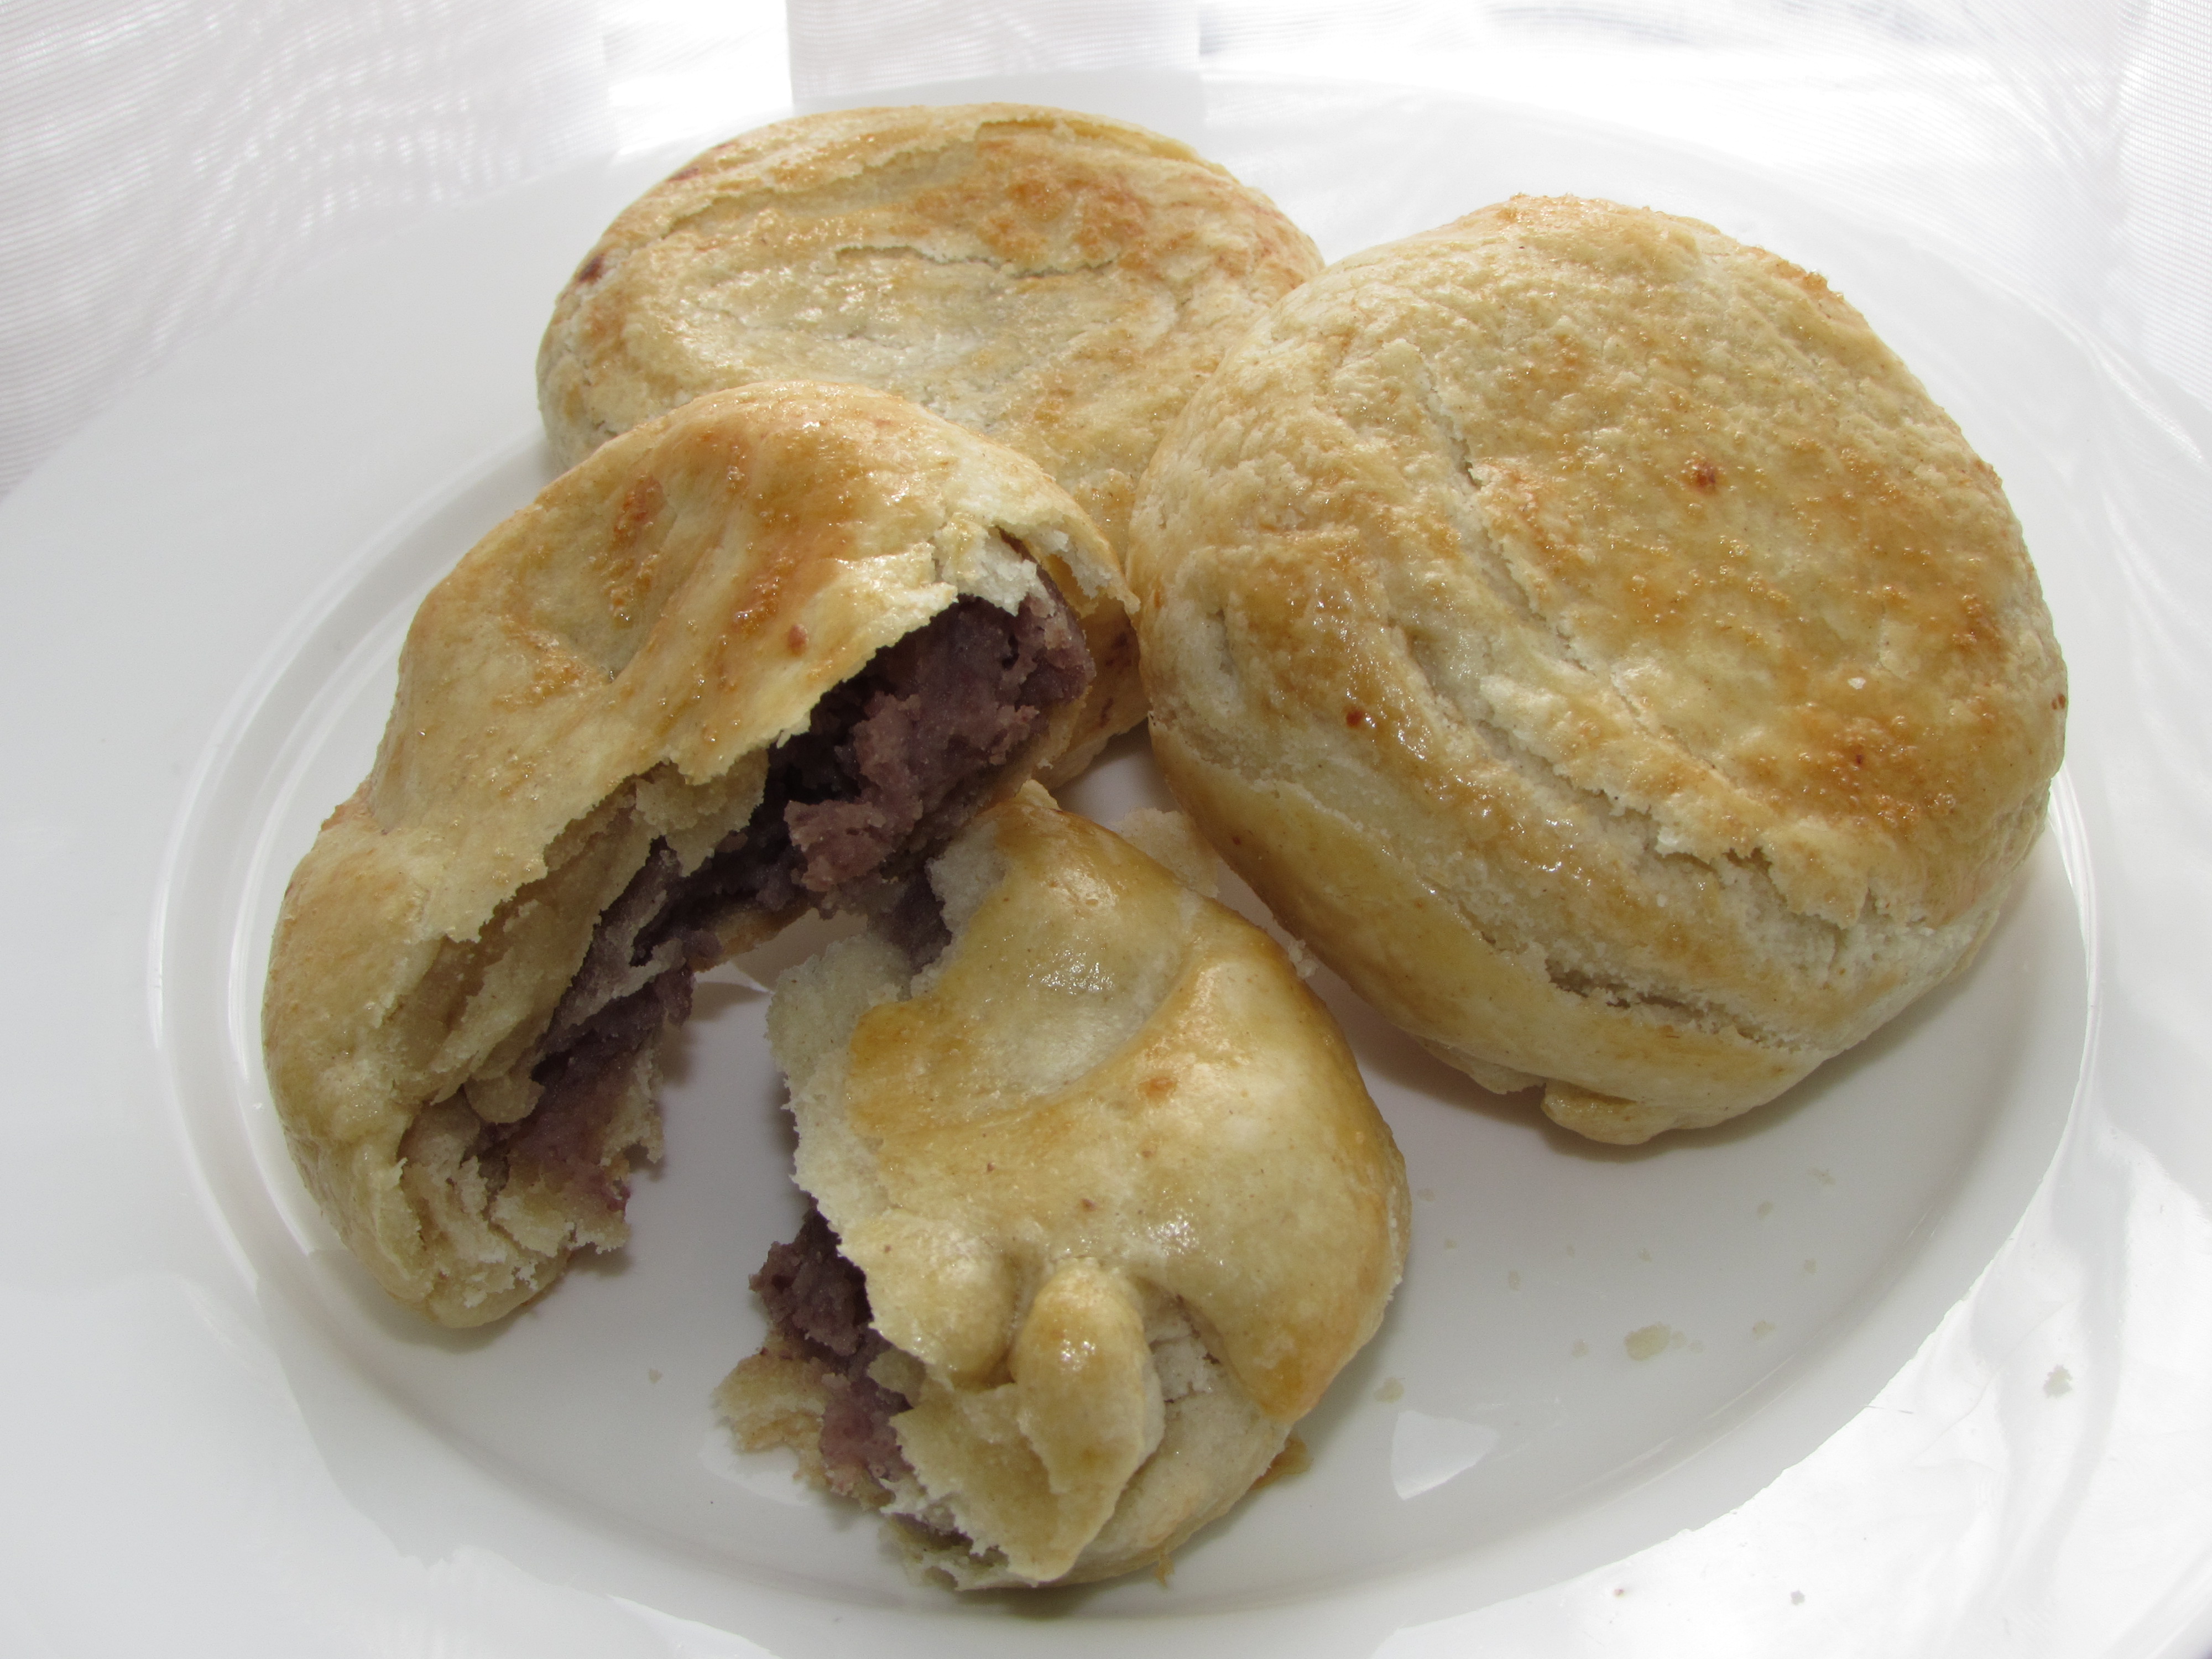
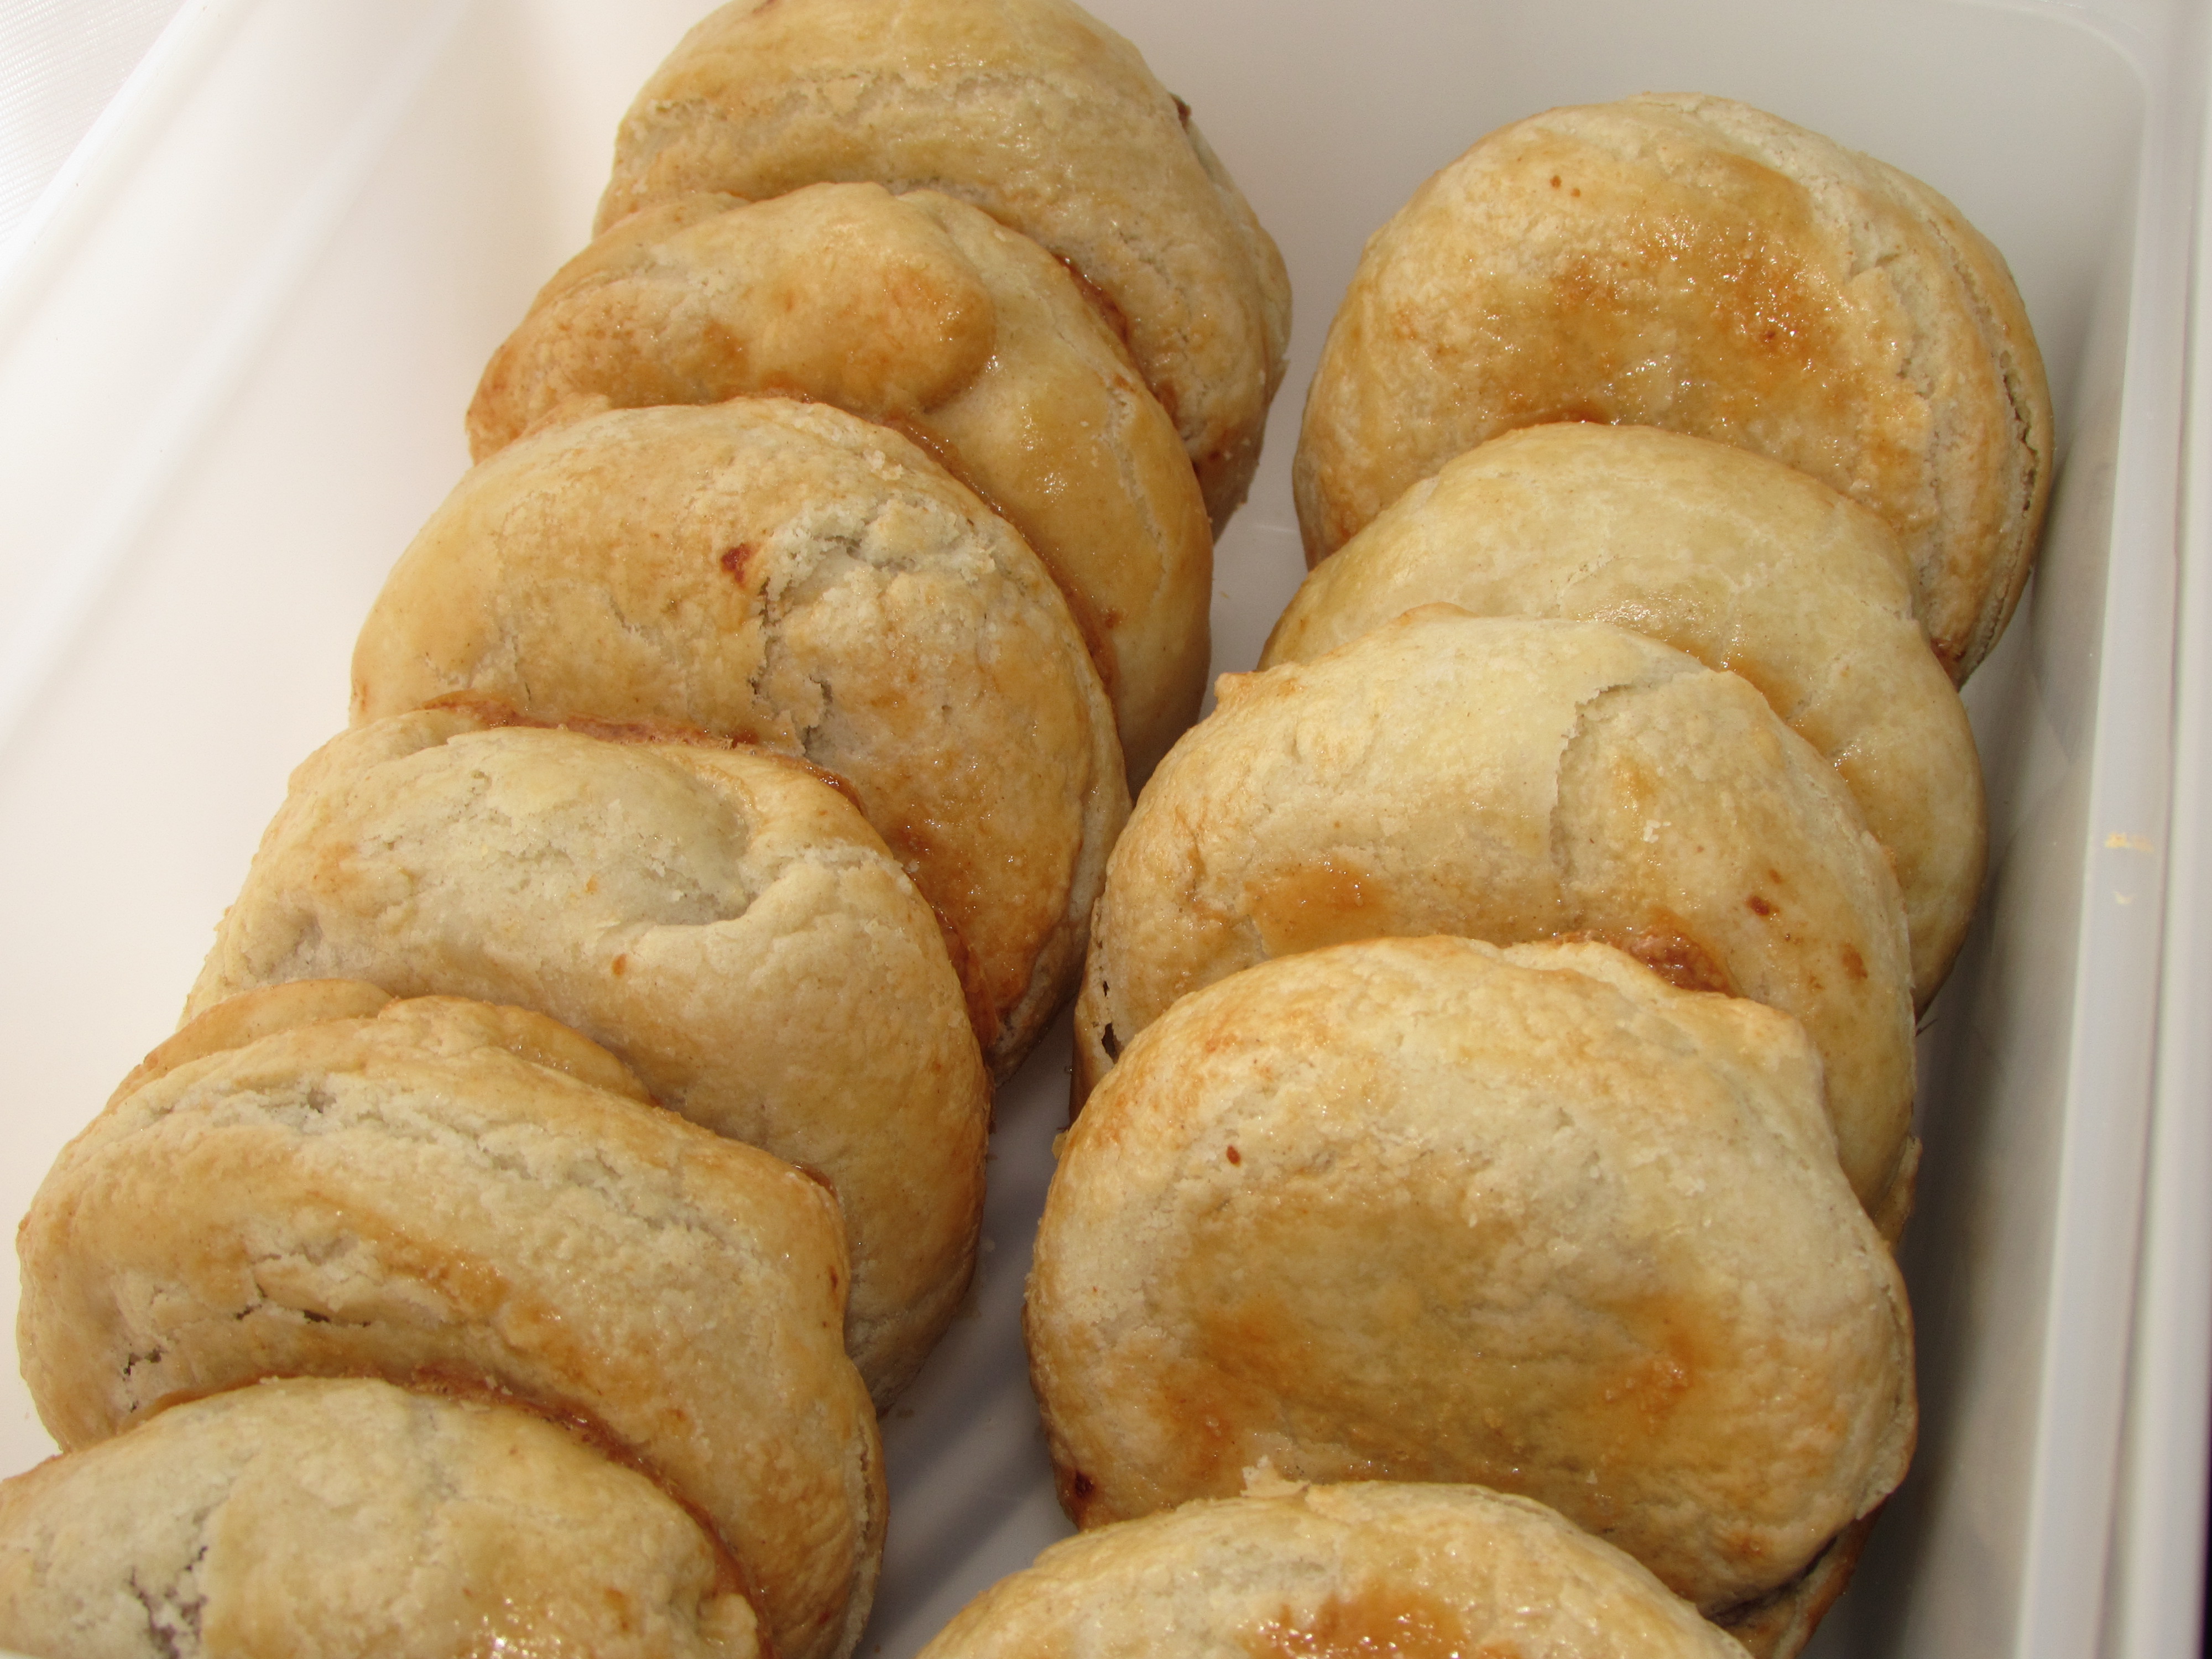
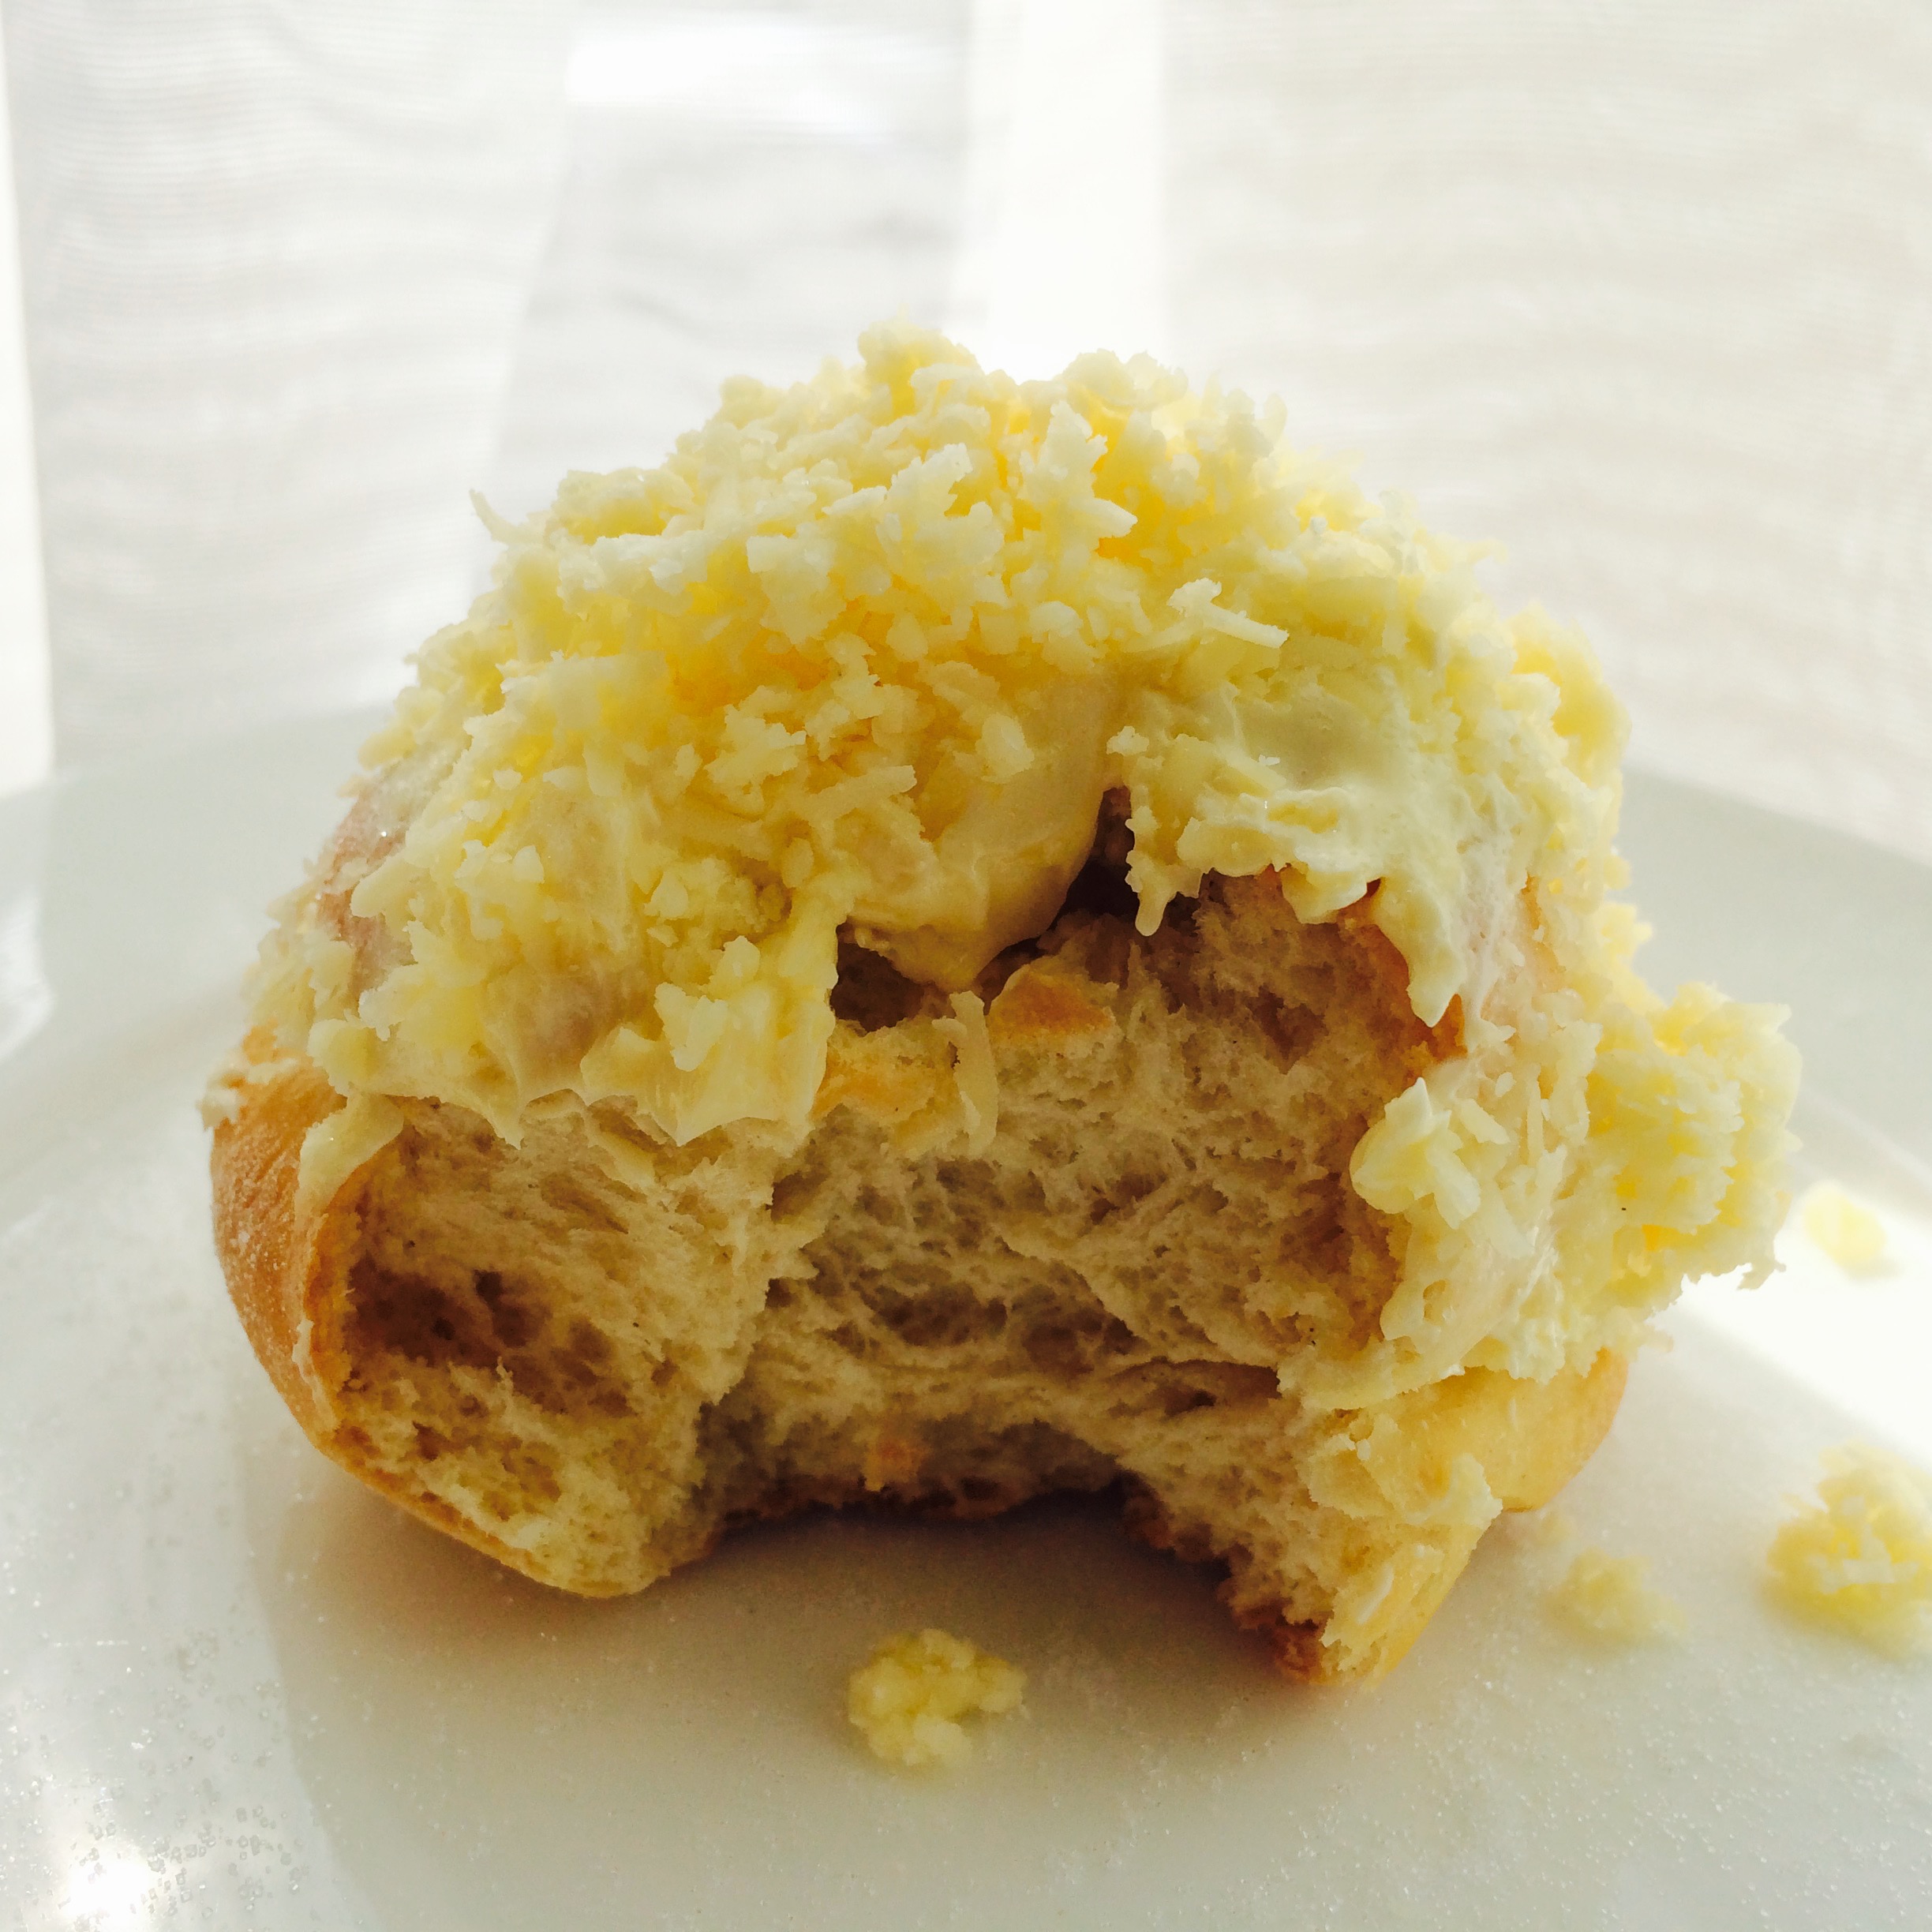
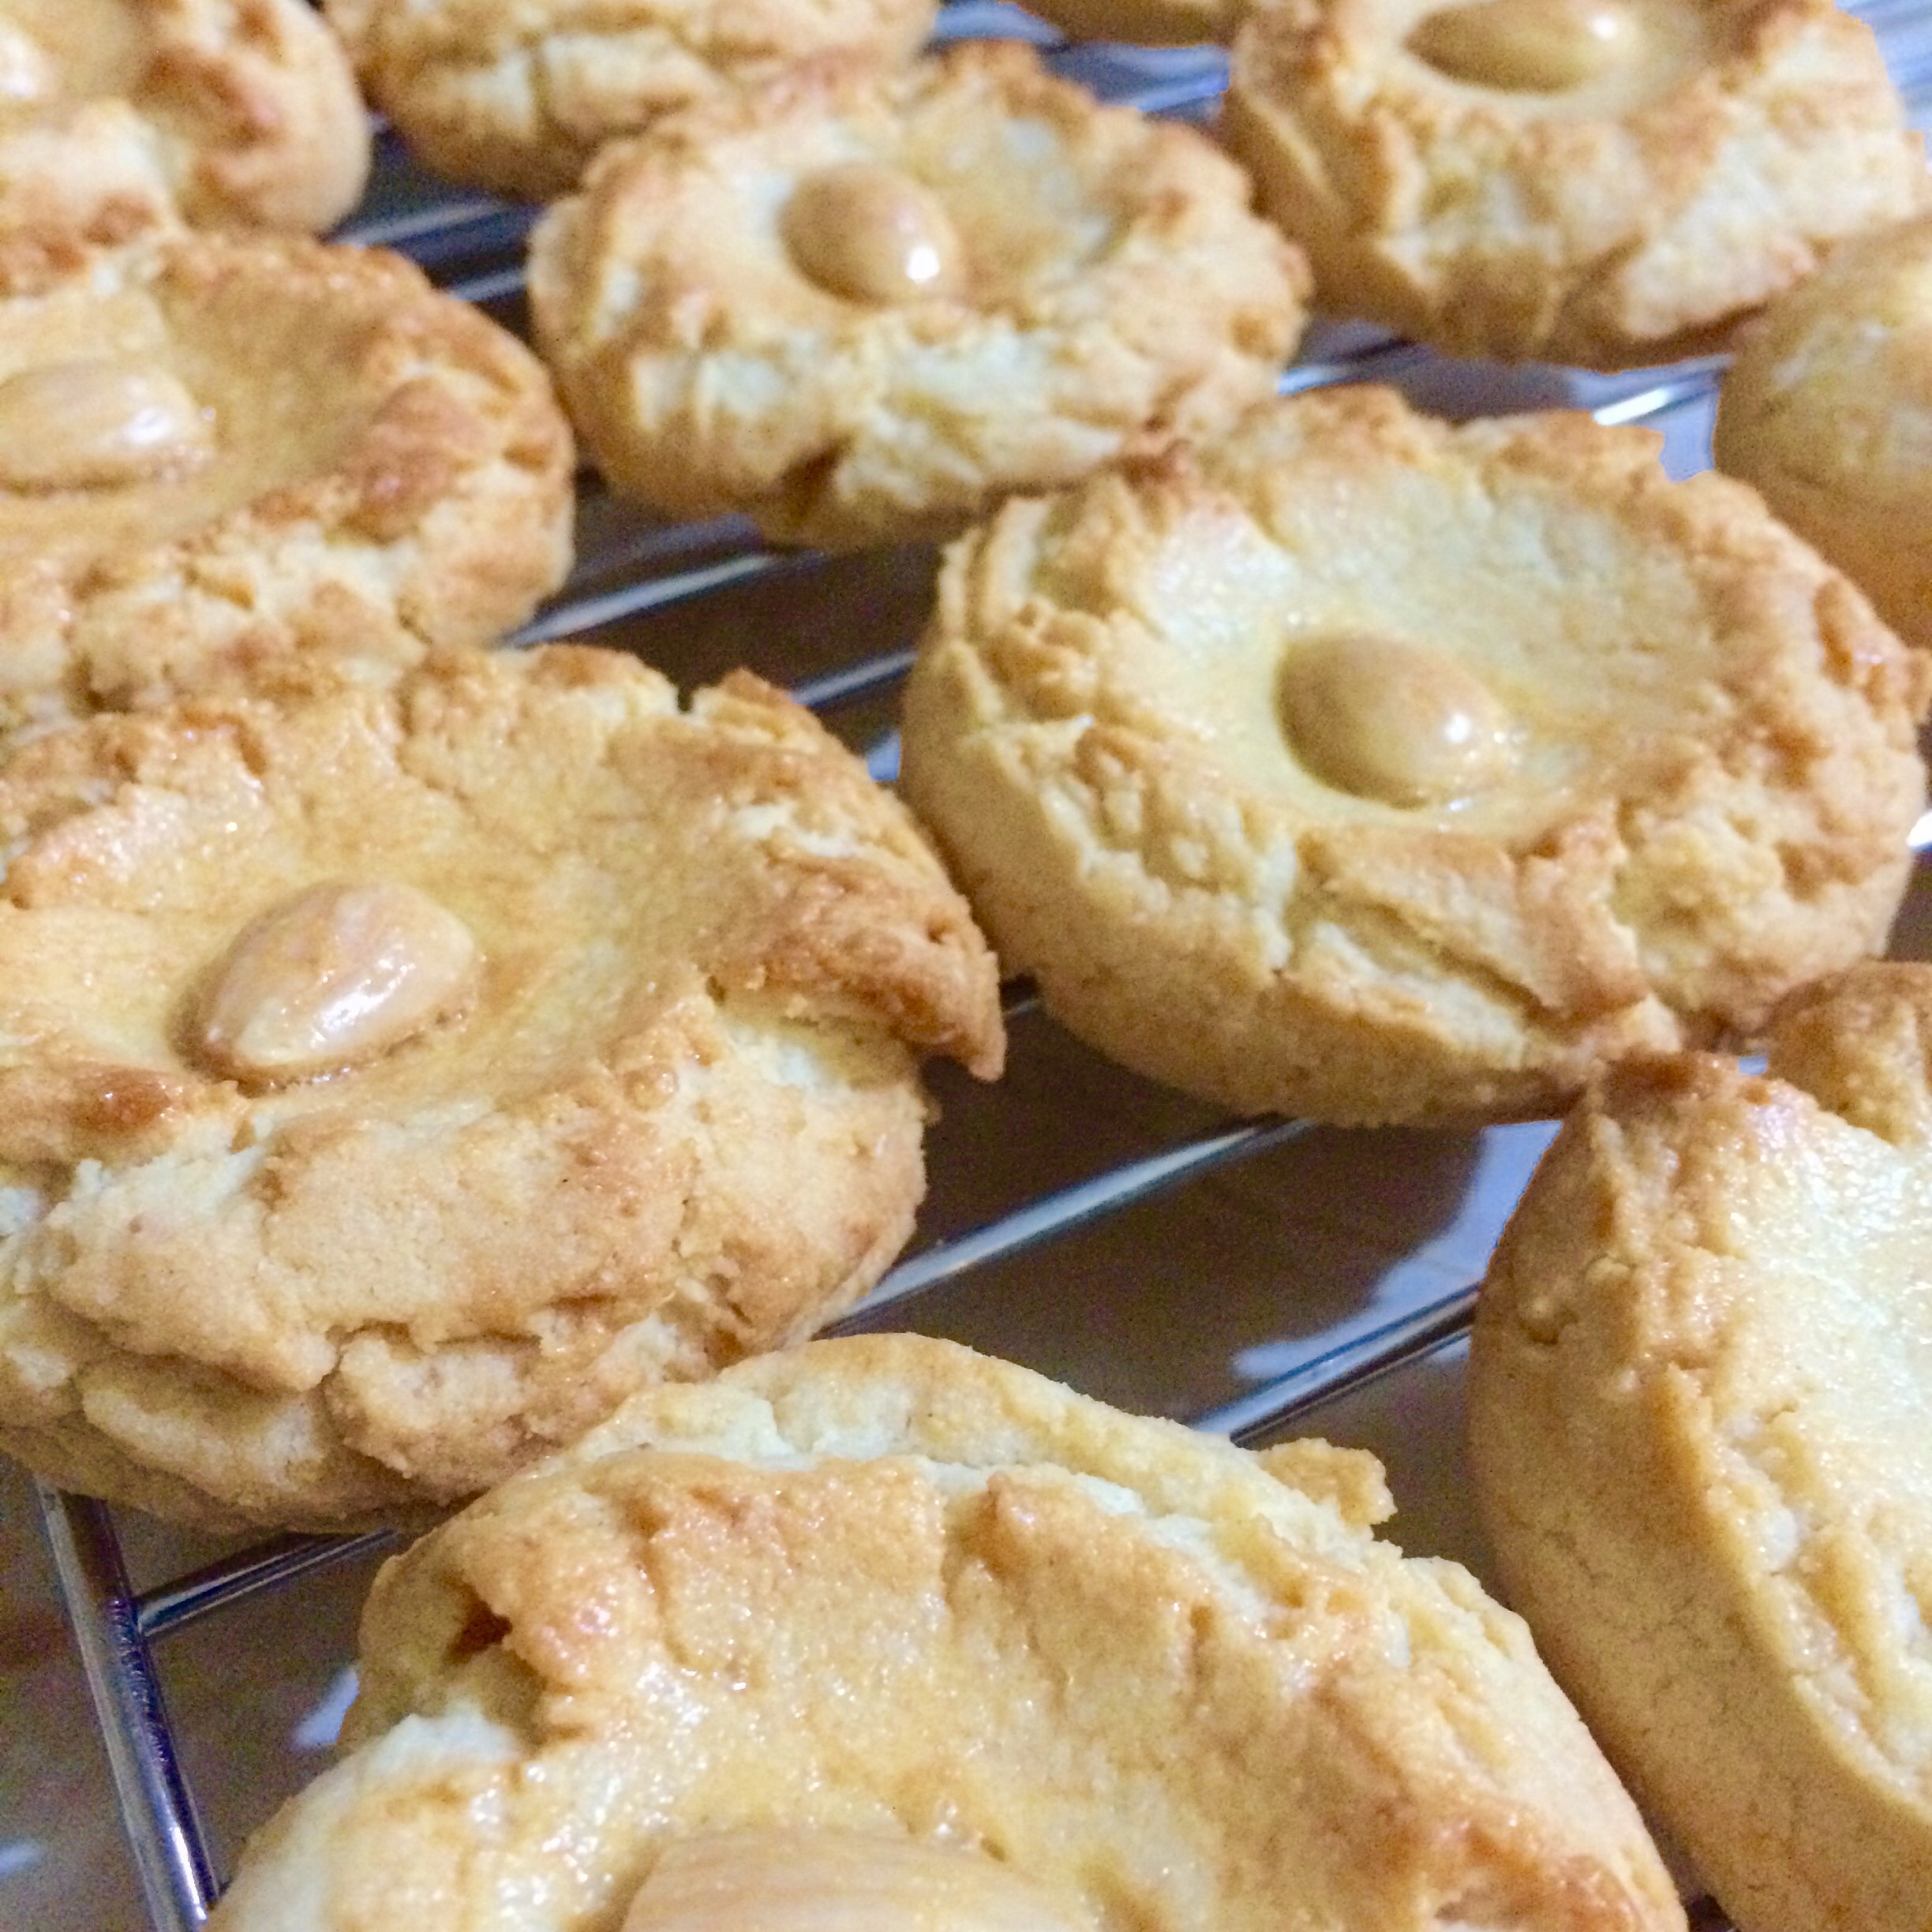
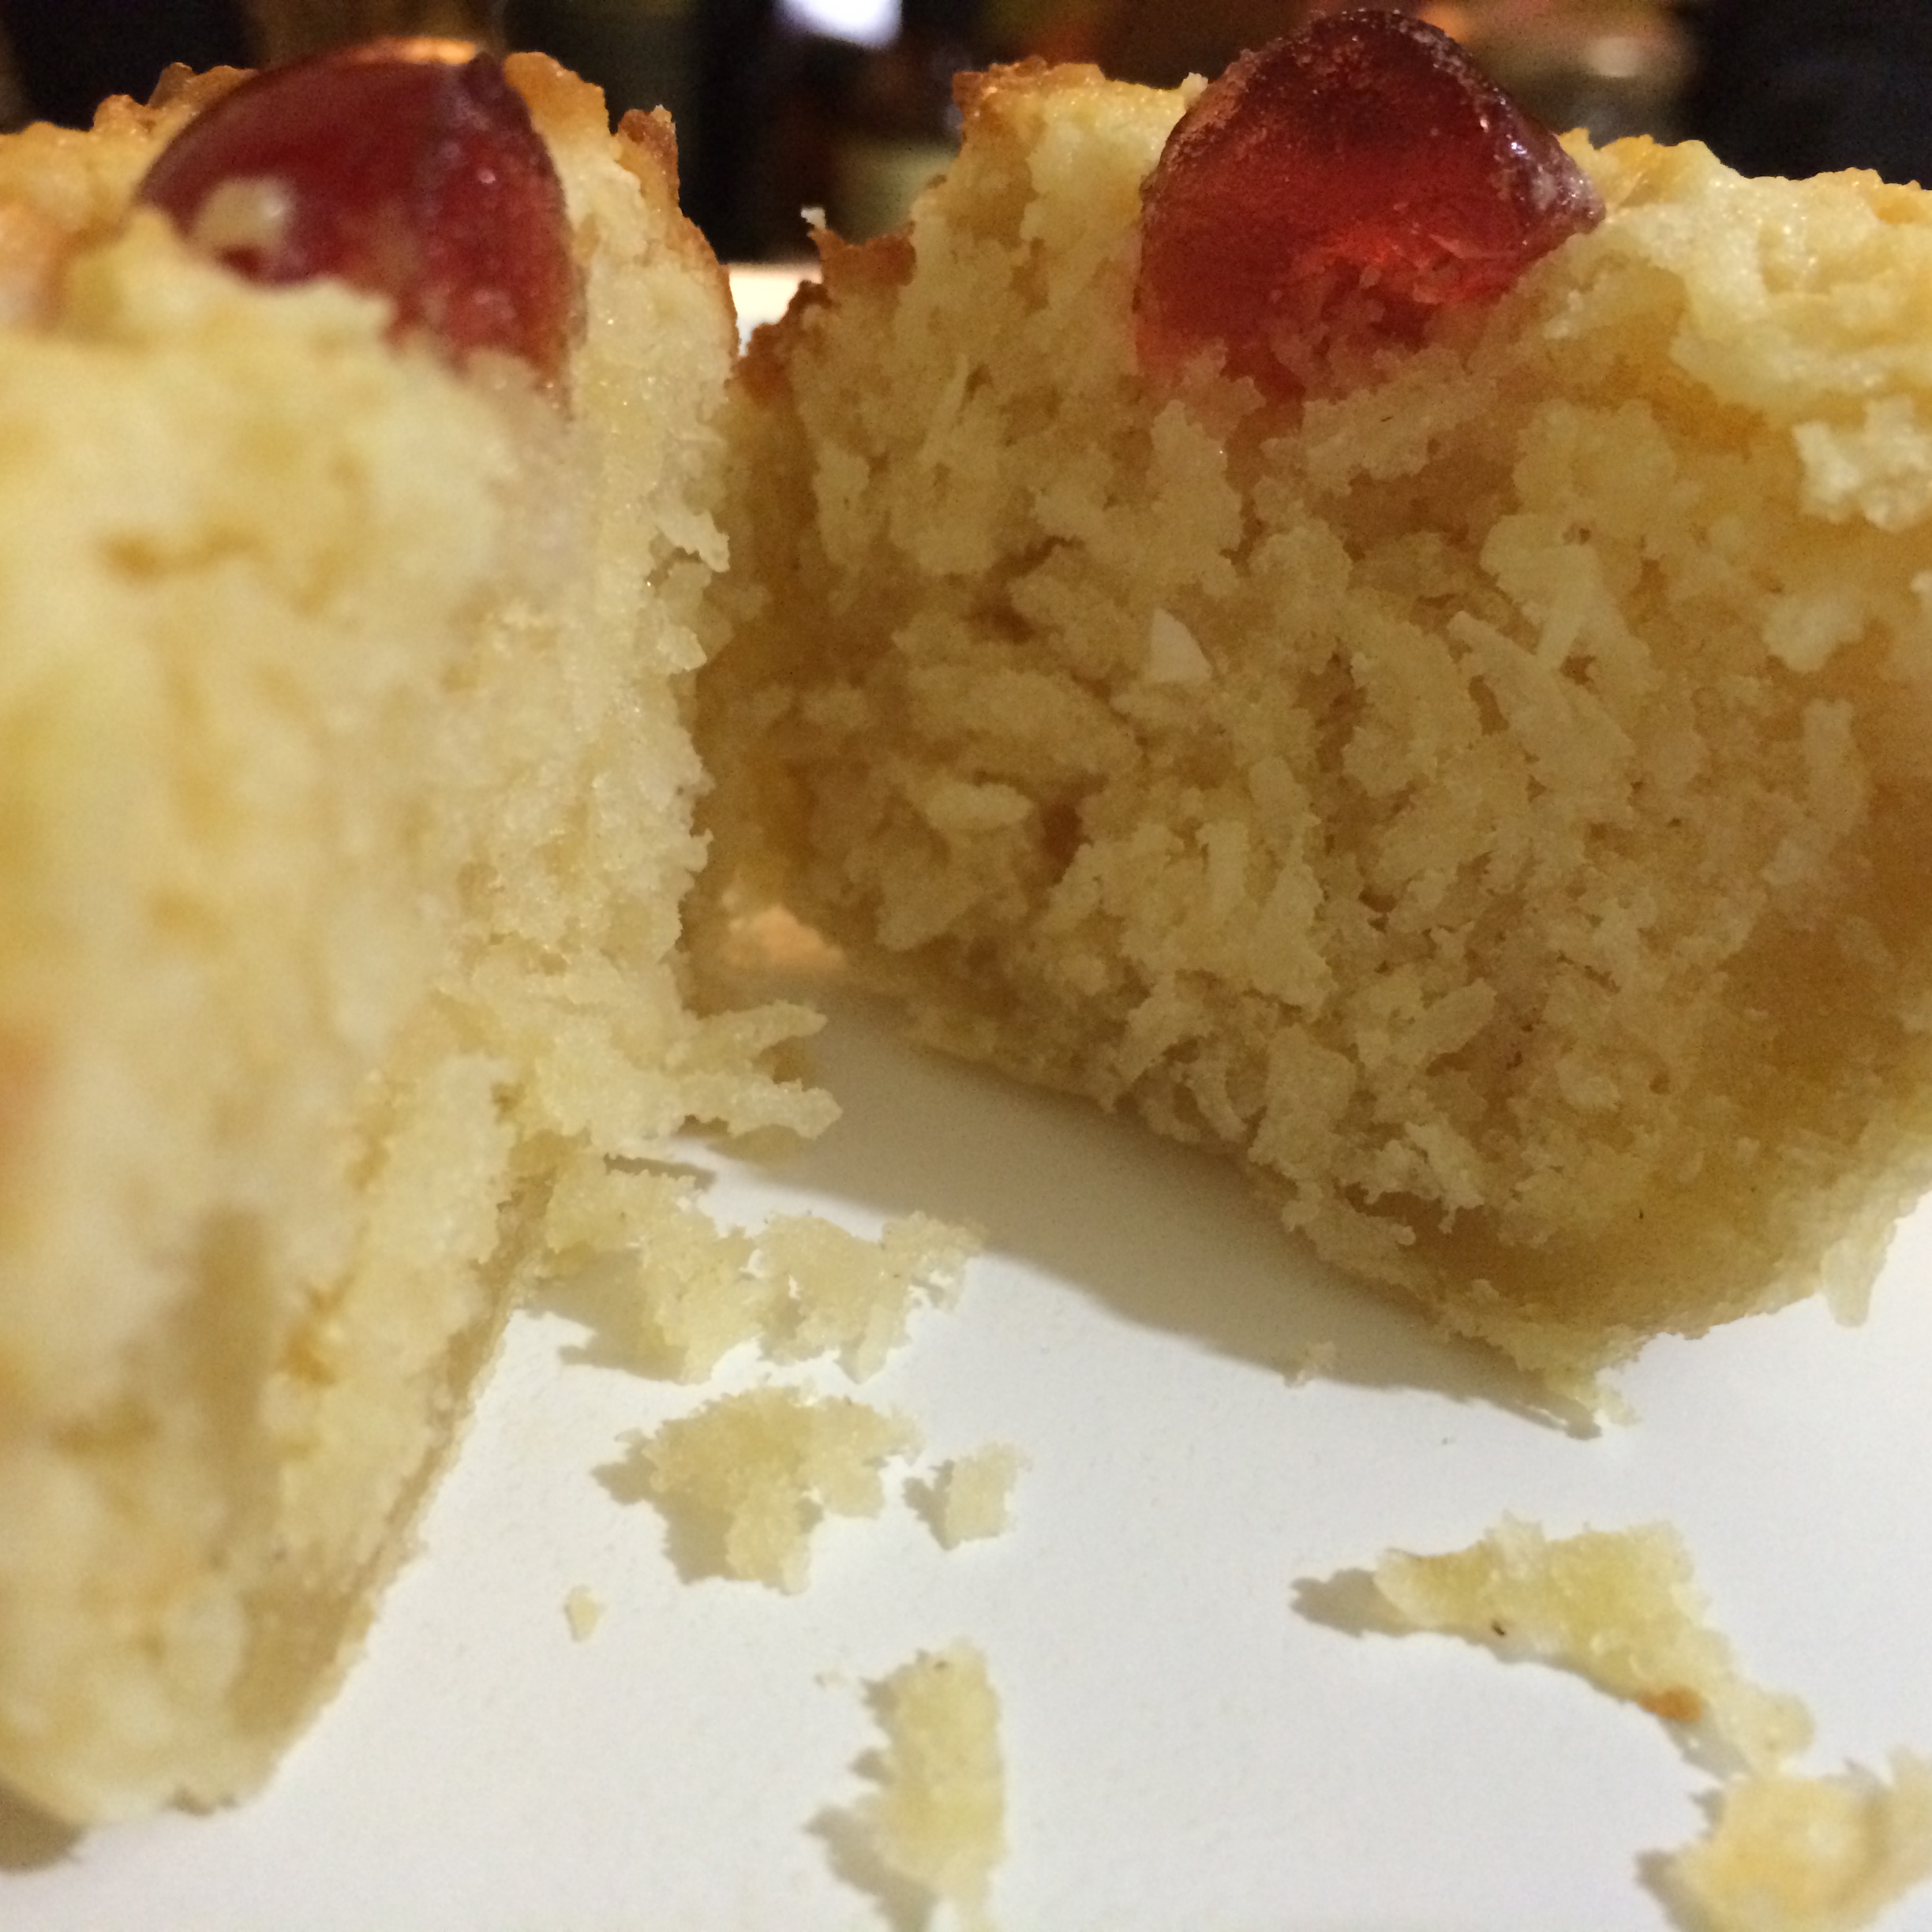
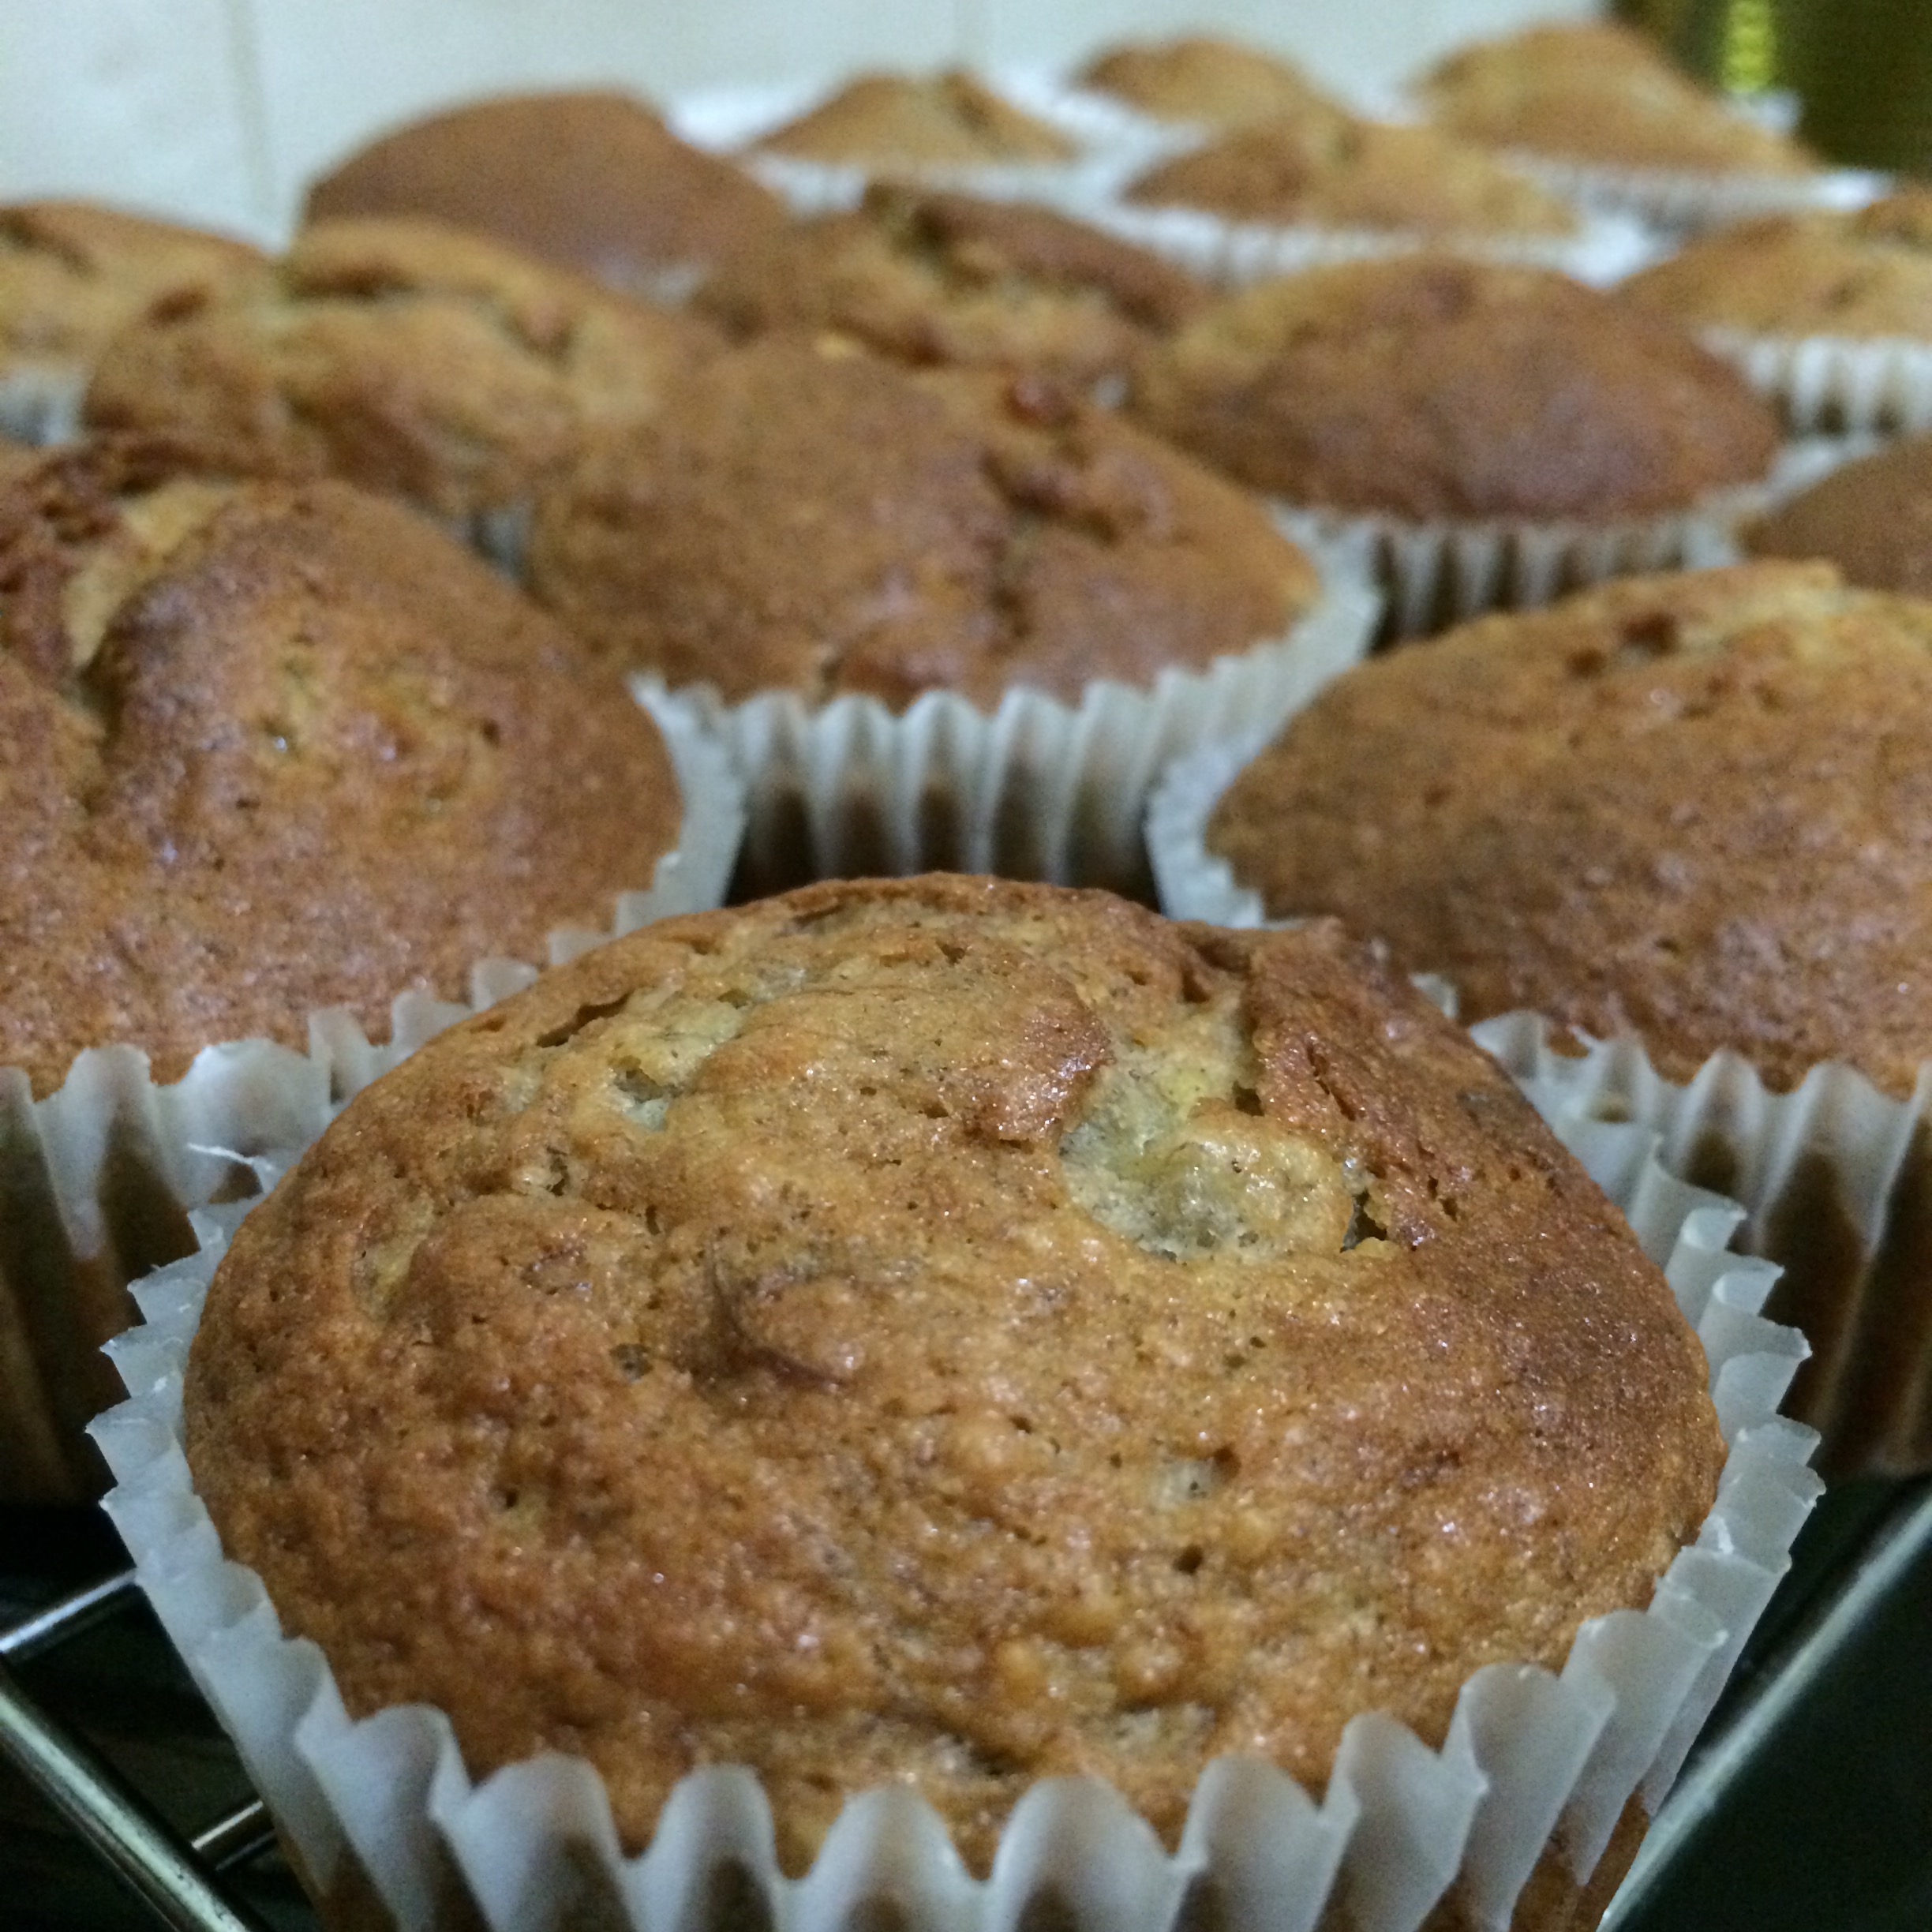
I was quite excited about how they looked like.  Even more excited when they came out of the oven.  I loved the smell that wafted out of the oven.  I was definitely in hopia heaven!

Hopia

I need to practice some more.  I think the pastry is nearly there.  A few more tweaks with the procedure and a few temperature adjustments will help.  But what I’ve been allowing myself to eat is hopia.  It’s not as sweet as the store-bought ones, but it is, already, hopia!

More hopia

Yelly Eats

Ensaymada!

So because I have been at home, housebound because of illness and experiencing cabin fever, I once again cracked open the Goldilocks Bakebook and baked something familiar and comforting.  I made ensaymada.  It’s a sort of soft brioche-y type of bread that’s slathered with creamed butter, slightly sugared and smothered with cheese.

Ensaymada

And just like that I am comforted.  The recipe needs tweaking because the dough was unbelievably wet!  I’m going look up other ensaymada recipes and see where improvements can be made.  I am thankful for the ability to bring Manila to me…even if it was through several cheesy-buttery-bready mouthfuls!  What can I say – baking is like medicine!

Ensaymada bite

Yelly Eats

Mongo bread!

It has been quite the stressful few weeks.  Mostly because of the changes in my work environment.  When I get really stressed I get really homesick.  And when I get really homesick I bake something that I can eat from home.

I’m really grateful my sister has bought the Goldilocks Bakebook for me.  I have had feedback from friends that the book has been discontinued due to the errors and omissions in the book.  I must agree that the book could do with a few editorial tweaks so that it will read smoother.  The recipes and baking instructions need a little reworking so that the procedures are clear, so that the users and bakers know exactly what to expect from the recipes and the steps.  But I am still thankful for the book.  It has allowed me to bake things that are familiar, things I grew up eating.  It has helped me with the homesickness, because even the act of simply reading the book makes home a little closer.

This weekend wasn’t any different.  I’ve been planning the baking of mung bean bread for a while.  Mung bean is mongo in Filipino (pronounced mong-goh).  Mongo bread is a bakery staple and most local bakeries in the Philippines have a version of this bread.  The Goldilocks Bakebook recipe called for red mung bean and red mung bean isn’t exactly something you can pluck from the shelves of the local supermarket.  I had to go to a supermarket in Chinatown in London to find red mung beans (and even now, I’m not quite certain what I picked off the shelves were actually red mung bean, but hey, they worked!).  So after having purloined the main ingredient, I studied the recipe and made certain tweaks.  After following most of the directions, I have made notes and am ready to try the recipe again with my additional tweaks.  But the first attempt has produced quite a pretty loaf!  Hopefully, when I attempt the recipe again (and post it on the blog!), it will still turn out like the first loaf.  Fingers crossed!

Presenting, my mongo bread —

Mongo bread

Yelly Eats

Cookies for the New Year!

Did you see what I did there?  C-N-Y.  If you missed it, well, there you go.

Anyway, I baked Chinese almond cookies last night.  My way of celebrating the Chinese New Year.

Kung Hei Fat Choi!

Chinese almond cookies

Yelly Eats

Chinese coconut tarts

I’ve loved coconut tarts since the first day I tasted them.  Alan properly introduced me to them in Chinatown in London.  We had a favourite Chinese bakery where we bought our char siu buns, cocktail buns and egg and coconut tarts.  We called this bakery, the one with the pushy aunts because they were very…authoritative.  To be honest, these Chinese aunties scared me!  We’ve since then changed loyalties and we’ve found the perfect char siu buns from somewhere else, but after looking through at least 4 Chinese bakeries, one of my favourite things to order is the coconut tart.  I love the flakiness of the pastry that they use on the tarts.

It is widely known that necessity is the mother of all invention.  The trains to London are (to put it indelicately) buggered on the weekends until 22 March.  So I can’t just zip into Chinatown and get some coconut tarts.  Plus, Alan has been asking me to bake coconut tarts for a few weeks now.  At first, they were very gentle, subtle hints.  A couple of weeks ago, he asked me to bake them because he said my tarts were better than the store bought ones because I put more coconut in them!  So, of course, I had to bake them!

Sliced coconut tart

I’ve almost always used store-bought puff pastry because it was more convenient.  But as I am challenging my baking fears, I’ve been practicing my puff and rough-puff pastry making capabilities and flexing my muscles.  I can bake shortcrust and sweet shortcrust pastry fairly well now, so this was a new challenge.

I think I’ve found a puff pastry recipe that I can manipulate and work to fit my needs.  I’ve done a few tweaks to it so that it’s simple and relatively fool proof.

Shortcrust pastry:

  • 250g butter, VERY COLD and cut into cubes
  • 250g all purpose flour
  • 50g icing sugar
  • 150ml cold water

Directions:

  1. Because my hands are a still a bit buggered, I’m using a mixer.  In a mixing bowl, combine flour and icing sugar. With the paddle attachment, add all the butter and mix.  You should still see pieces of butter but they should be covered in flour.
  2. Add 2/3 of the water and mix until the mixture comes together and comes away from the sides of the bowl.
  3. Turn the mixture out onto a floured surface and knead gently until the mixture is relatively smooth and then form a rectangle.  Using a floured rolling pin, roll into a longer rectangle.  Fold the top third down towards you and the bottom third up (you should have a square-ish rectangle).  Flour the surface some more so that the pastry doesn’t stick.  Hold one of the corners and turn the dough 90º and roll into a rectangle and fold into thirds again.  Do this another 2 times.  Then wrap in cling film and chill for 30 minutes.
  4. Roll and fold the pastry into thirds about 3 more times chilling 30 minute in between roll and fold sessions, wrapping the pastry after each time.  This will create the pastry layers.  Keep the pastry in the fridge until you’re ready to use it.  This will line at least 2 12-hole muffin pans (24 tarts), depending on how thick you want your pastry to be.

TIP:  To use this pastry in a savoury recipe, replace the sugar with 1 tsp fine sea salt.

When you’re ready to fill your tarts, roll out the pastry to desired thickness and cut rounds to line muffin tins.  Preheat the oven to 180ºC.

Coconut tart filling:

  • 225g dessicated coconutCoconut tarts before baking
  • 100g butter, softened
  • 175g sugar
  • 1 egg
  • 75g plain flour
  • 1 tsp baking powder
  • 100ml evaporated milk
  • 24 glacé cherry halves (optional)

Directions:

  1. In a bowl, combine coconut, flour and baking powder.  Set aside.  In another bowl, cream butter and sugar until light and fluffy.  Add the egg to the butter-sugar mixture until well combined.
  2. Add the coconut-flour mixture and evaporated milk until the mixture is thick.  It will be slightly heavy.
  3. Fill the tarts until almost to the top of the pastry (which is about one tablespoon of mixture) and top with half a glacé cherry (if you wish, this is optional of course, but it makes it so pretty!) and bake for 20-25 minutes (depending on how hot your oven is) or until risen over the pastry and golden brown.
  4. Take the tarts out of the oven and cool for 5 minutes before moving to wire racks to cool completely.

Coconut tarts


Yelly Eats

Baking for medicine

I’ve been feeling under the weather for quite a while now and I’ve been battling this illness for a few weeks now.  Lurgy has been making its rounds in the office and so far, I’ve not gotten sick (knock on wood) except for sniffles and the occasional coughing fit.  But since Friday, I’ve been feeling really poorly and since Sunday night have not been able to sleep.  In 72 hours, I’ve only had about 7 hours of sleep in total, I think.

Baking has always been cathartic for me and I’ve always felt better after baking.  So last night, after Alan helped with the fruit prep, I made pear and apple crumble.  I was hoping that it would do the trick.

Pear and apple crumble

Not quite.  I woke up this morning – and I use the term “woke up” quite loosely as I only had about an hour and a half of sleep last night.  So tonight, it’s banana oat spice muffins.

Banana oat spice muffins

Let’s hope tonight I can catch some sleep.

To sleep, perchance to dream…well, maybe not dream as I’ve been having nightmares lately.

Yelly Eats

Pizza night!

There are benefits wanting to bake more savoury things.  I had a portion of gammon joint left in the freezer from New Year’s Day lunch and a can of pineapple rings lurking in my cupboard and fancied a pizza.  So off I went and made a pizza base from scratch!

Ingredients:

  • 300g strong bread flour
  • 1 teaspoon salt
  • 7g yeast
  • 1 tablespoon olive oil
  • 200g hot water

Directions:

I am using my trusty Kenwood Chef because my hands aren’t well today (oh the joy of recovering from carpal tunnel decompression surgery!) but this can be done by hand entirely!

In a bowl, place flour, yeast and salt (making sure the salt and yeast are on separate sides so that the salt doesn’t kill the yeast) and make a well in the middle.  In the well, place the oil and water and mix.  If using a mixer, on low speed, with a dough hook, mix the ingredients together.  When fairly combined, scrape the sides of the bowl and, still using the dough hook, mix the dough on medium speed for 5 minutes or until elastic and smooth.  The dough is going to be sticky so I add up to 3 heaping teaspoons of flour while the dough is kneaded.  If kneading by hand, on a floured surface, knead for about 10 minutes.  Turn the flour into a ball and cover with a tea towel and allow to rest for 30-45 minutes until the dough has risen.  You don’t really need to proof the dough if you’re making thin pizzas.

pizza dough

Preheat the oven to 220°C/200°C (fan).  Roll out the dough to your desired thickness (dough can be divided into 2 balls to make 2 10-inch thin crust pizzas).

desired thickness

Tip: I sprinkle a teaspoon of coarse semolina on the pan (which I line with baking parchment) so that the pizza dough doesn’t stick.  The semolina also adds an interesting texture to the dough.

semolina sprinkle

Top with whatever topping you wish.  I recommend using a pre-heated baking pan or a pizza stone if you have one for a crisper base.  Bake the pizza for 8-10 minutes until crisp.

topping favourites

When the timer buzzes, all you have to do is bring out the pizza, slice and enjoy!

pizza