Yelly Eats

How To Make Almond Buns

I’ve been fairly busy this weekend batch cooking and baking. I’ve made a meat sauce that I’m going to use to make lasagna for tonight’s supper and spaghetti meals for the week. I’ve made my version of my mom’s meatloaf as well. I’m really happy as the fridge is full and I won’t have to think of what to cook for the next few days.

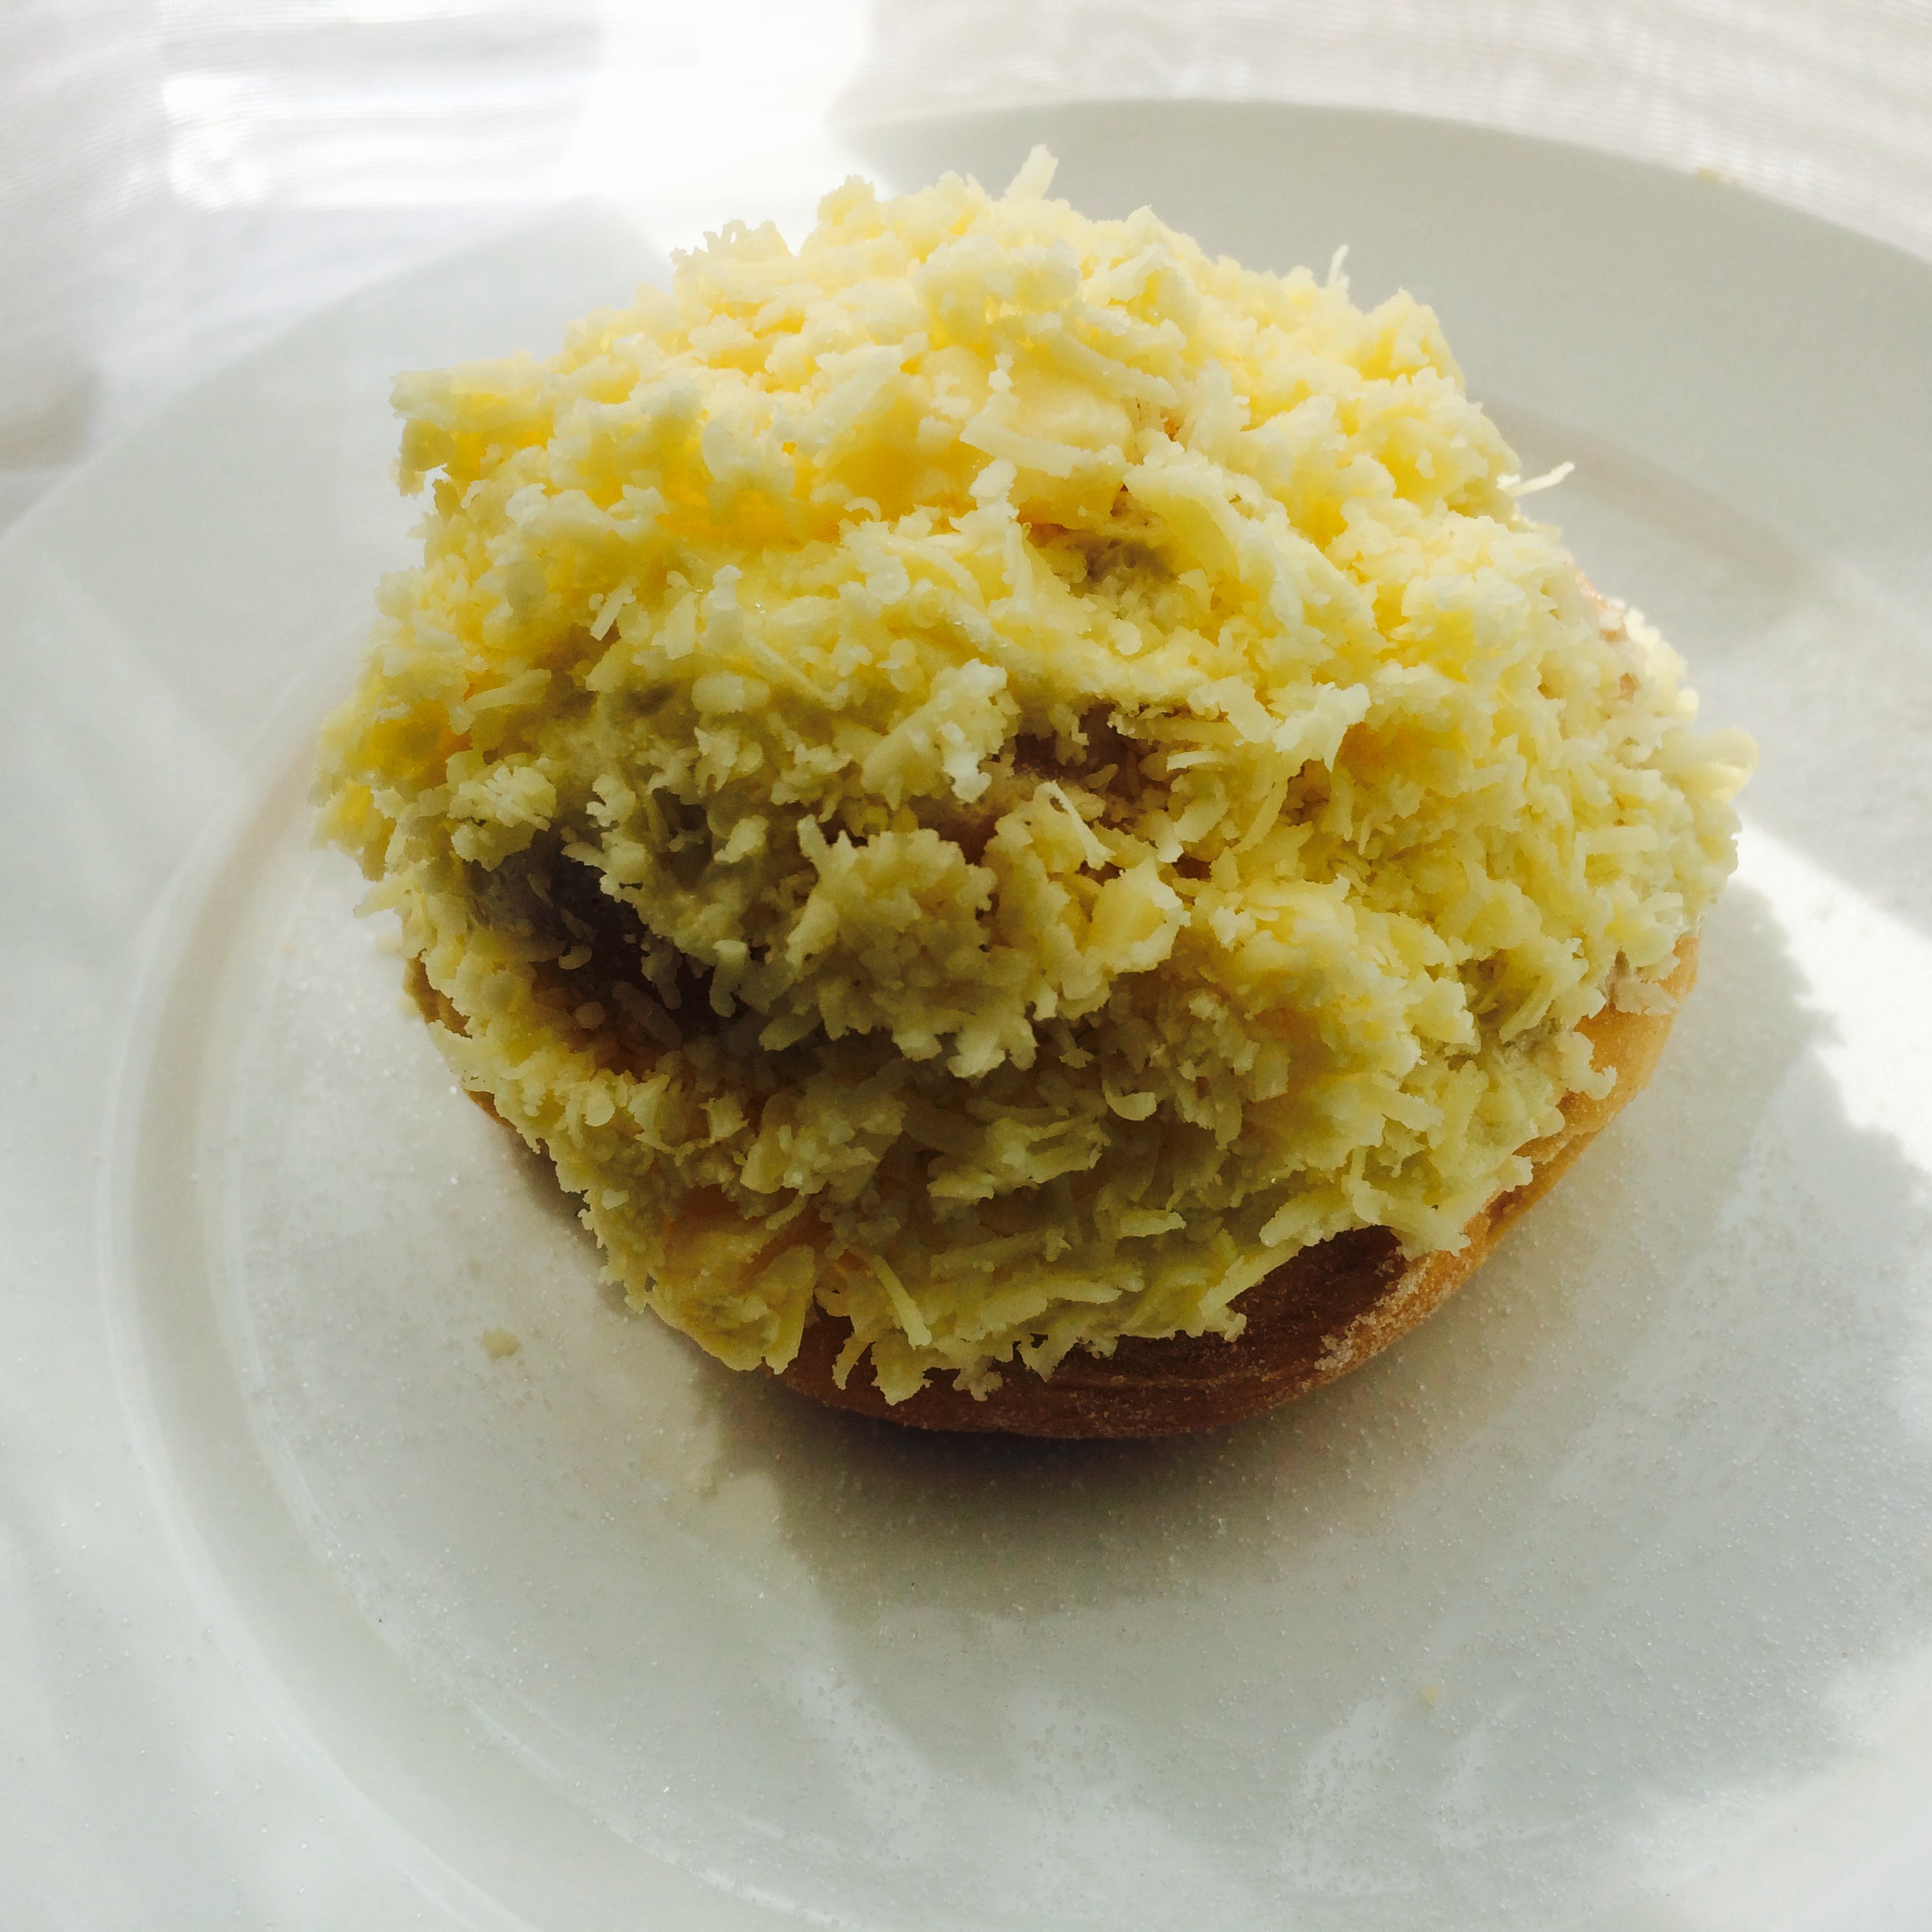
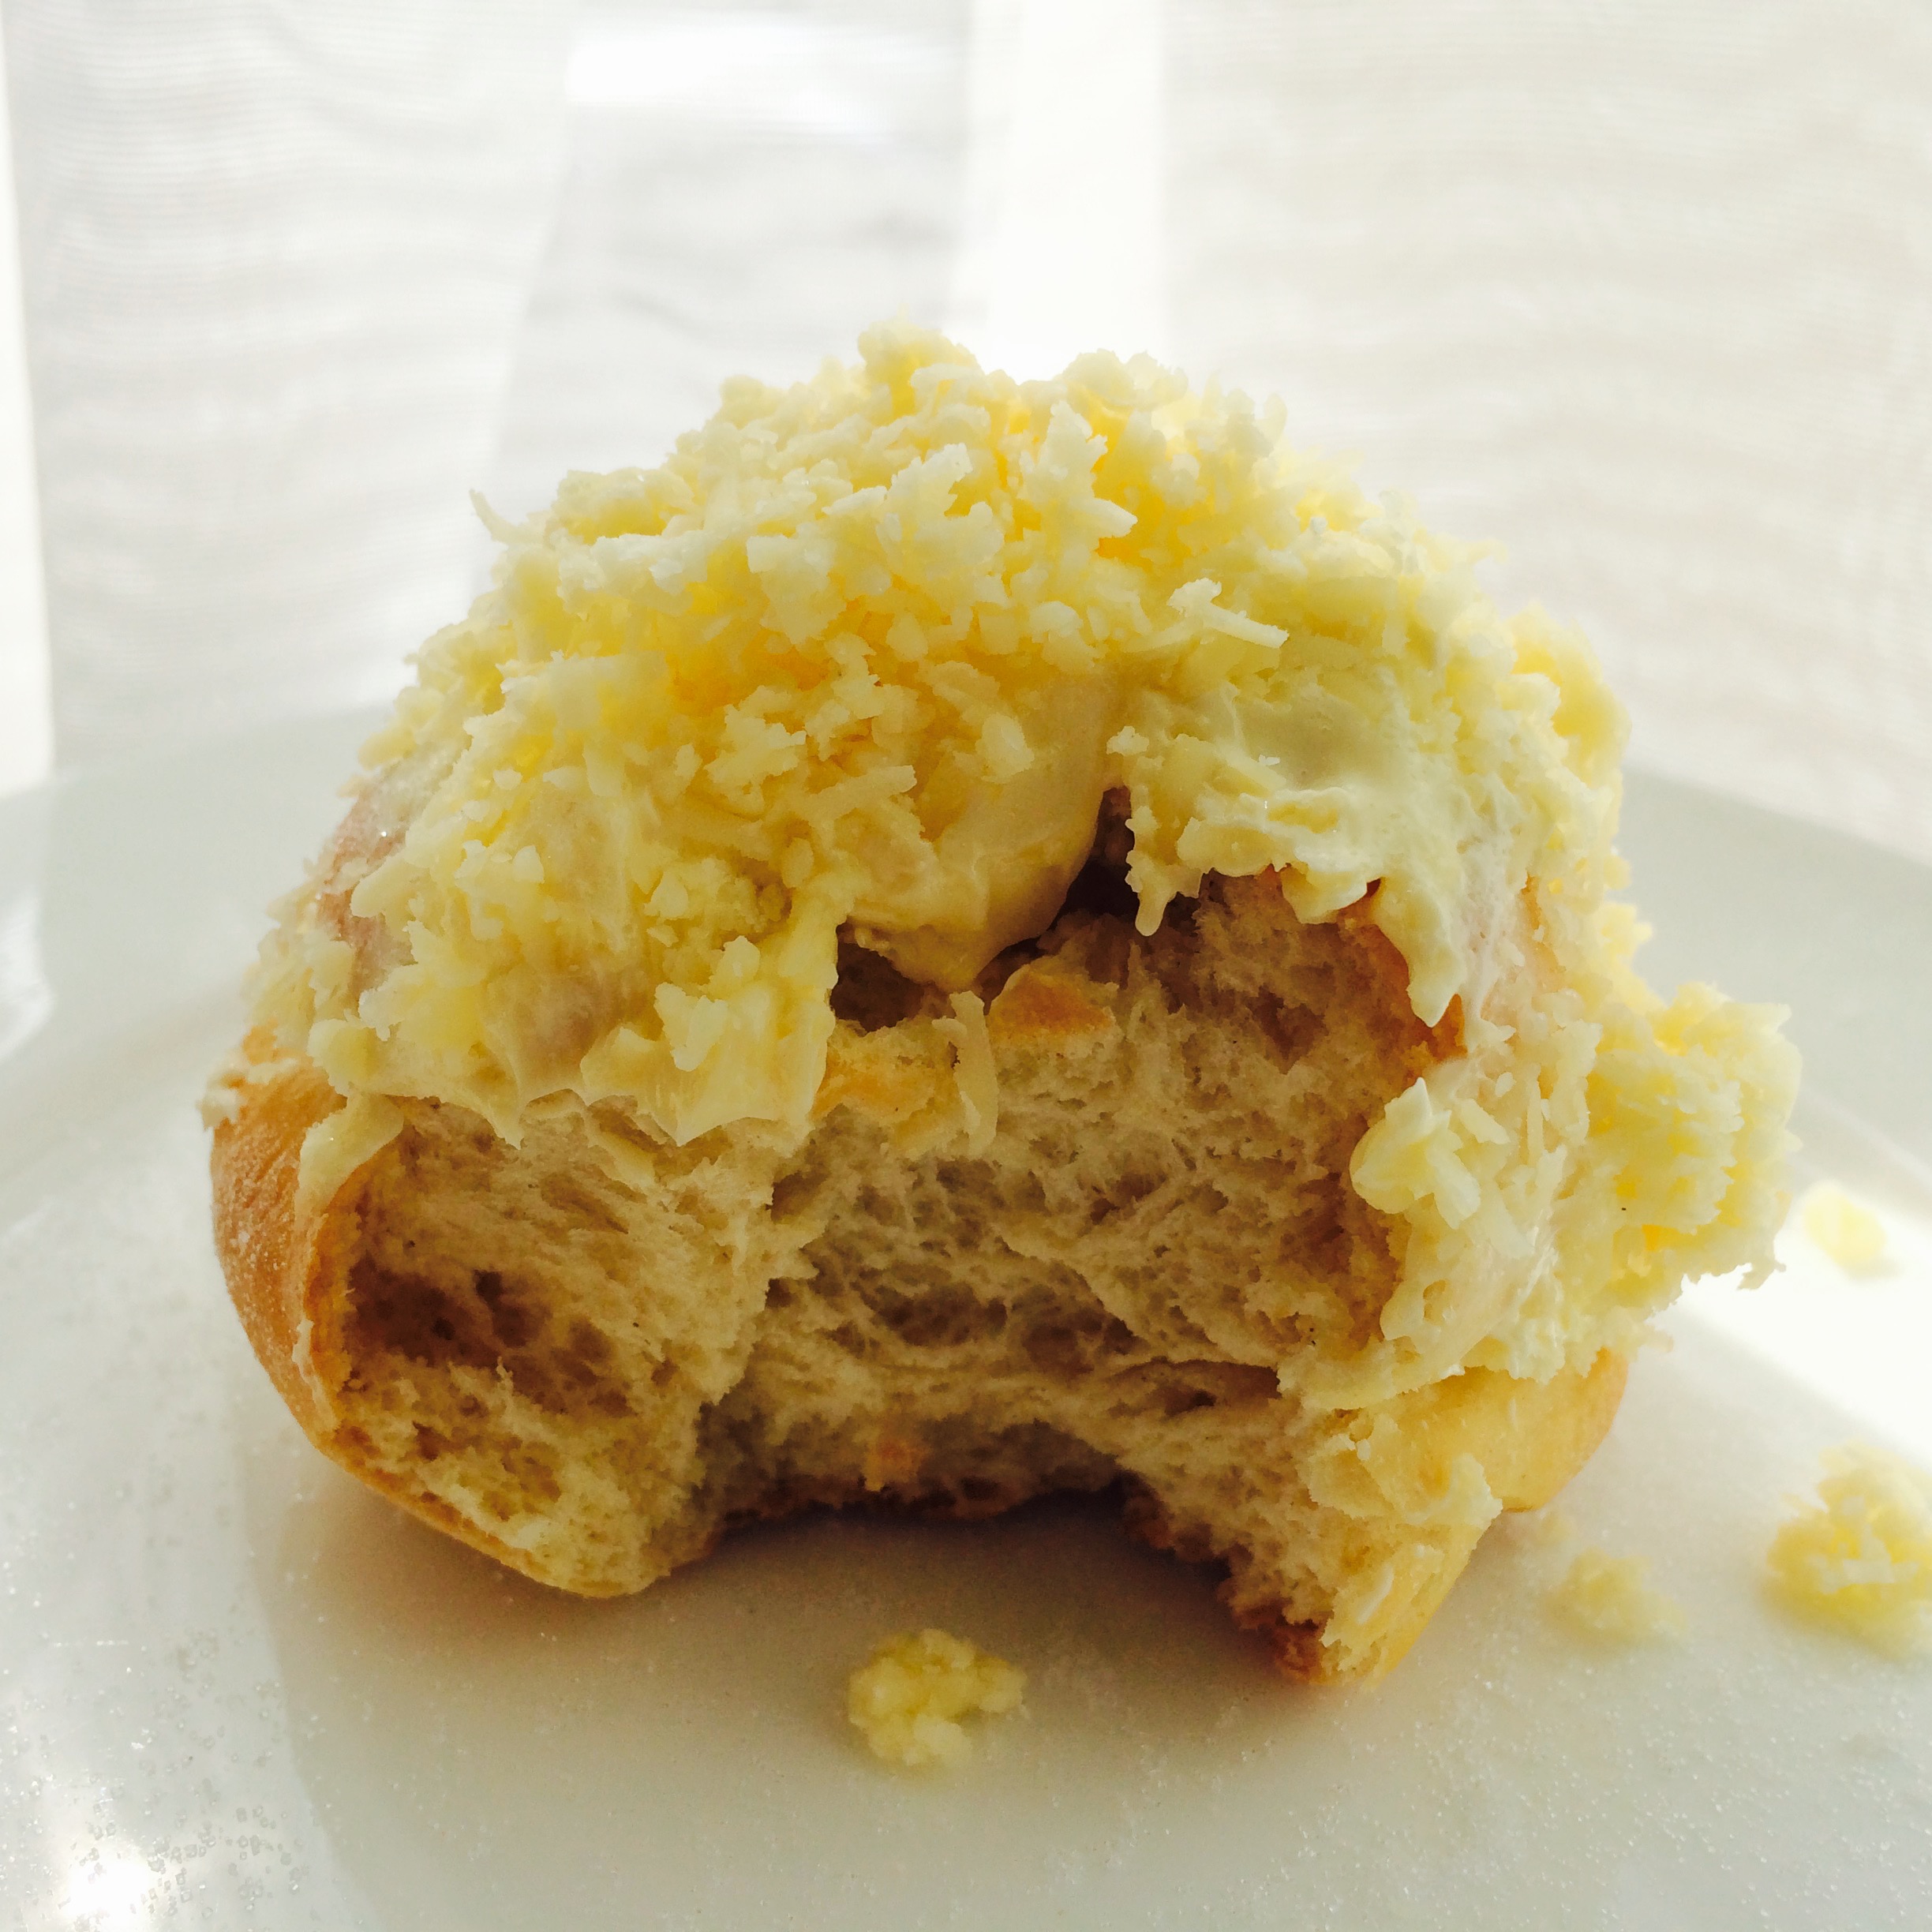
I’ve attempted to make almond buns yesterday after Alan sent me a recipe for almond buns. The recipe looked fairly easy to follow but called for shop bought almond paste. Since I had ground almonds at home, I thought it would be easy to make almond paste at home. I googled recipes and found a relatively straightforward recipe that I thought I’d share with you.

You can opt to use my Chinese Milk Bread recipe, however for buns and loaves, I recommend Hazel’s recipe. I don’t know Hazel (Avellana) personally but I stumbled across her blog whilst I was searching for recipes for cinnamon buns. I was looking for a Cinnabon-like cinnamon bun and this was easy to do and yielded amazing results. I’ve been using the dough recipe for most of my enriched dough endeavours. You can find her recipe by clicking Perfect Cinnamon Buns. I’ve based the ingredients on her list but I’ve used my own (tried and tested) way of creating an enriched dough, which has always worked for me.

I apologise for the lack of photography, I’ll do better next time. My kitchen is a right bomb site! I’ve been overrun by multi-buy purchases (it’s cheaper on Amazon if you buy more than one item!) and I’ve allowed myself to be overwhelmed by an unwillingness to sort out my cupboards (you’ll be pleased to know this is now a work in progress thing and I’ve at least started the process of sorting things out!).

Ingredients:

For the dough:

  • 250ml warm milk
  • 100g caster sugar
  • 2 x 7g sachet of dried, quick action yeast.
  • 2 eggs
  • 75g butter, melted
  • 600g strong white flour
  • 1 tsp salt

For the almond paste: 

  • 250g ground almonds
  • 150g granulated sugar
  • 75ml water
  • 75g unsalted butter
  • 2 tsp almond extract (optional)

Directions:

  1. In a heatproof (microwaveable) container, place the milk and sugar and mix until the sugar is combined with the milk.  Place in the microwave and heat up for about 30 seconds until slightly warm to the touch.  This can also be done on the stove, but make sure that the milk doesn’t catch at the bottom of the pan.  NB If you are doing the pan method, make sure you keep stirring.  Remember you want the milk to be just warm.  Once the milk and sugar mixture has been warmed, add the 2 sachets of yeast and mix well.  Set aside in a warm place to allow the yeast to activate.  It should take about 10 to 15 minutes.  I usually place mine in my airing cupboard or if in a pinch a lukewarm oven (of course, switched off). 
  2. Whilst waiting for the yeast to activate, you can make the almond paste.  In a small pan, combine the water and the granulated sugar.  While stirring constantly, bring the mixture to a slow simmer.  Make sure you don’t take your eye off the sugar-water mix as it can burn quickly if unattended.  Once all the sugar is melted and the mixture is clear (you should be able to see the bottom of the pan), take the pan off the heat and stir in the butter.  Mix until the butter has completely melted and stir in the almond extract if using.  Add the ground almonds and mix until well combined.  The more you mix the paste, the smoother it gets.  I like the coarseness of the ground almonds but if you want a smoother paste, you can use a stick blender until you get to the consistency you prefer.  Set aside and allow to cool.  
  3. Mix the flour and salt in a bowl and set aside (do not refrigerate as you don’t want the paste to harden).
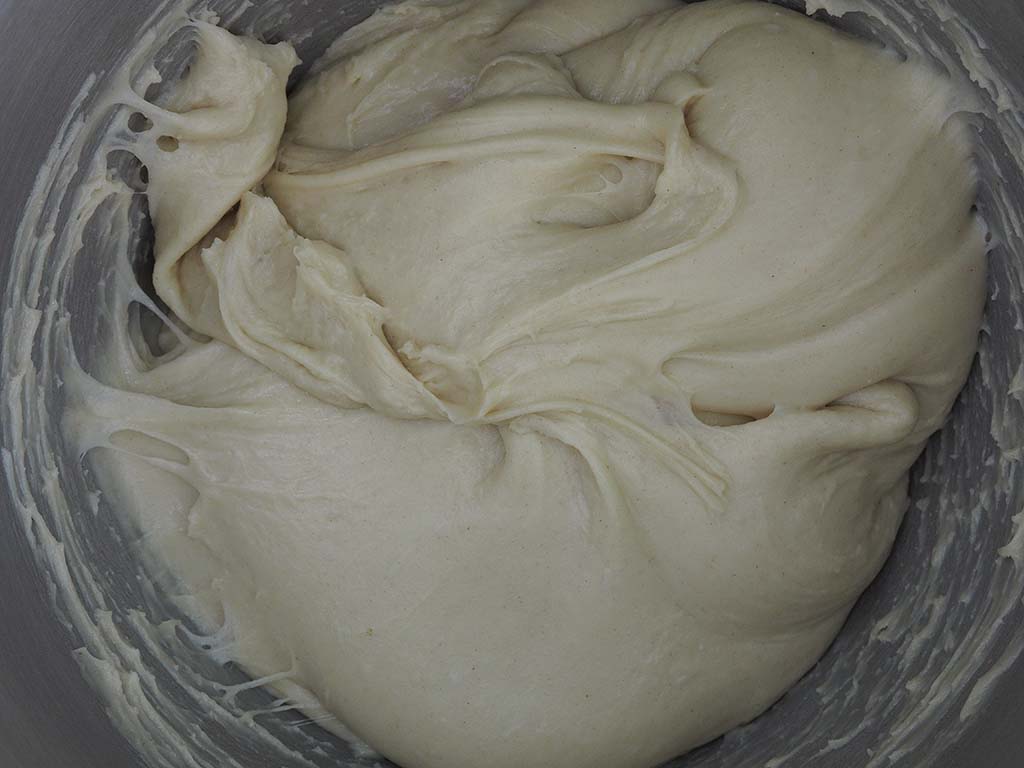
  4. You’ll know the yeast has activated when the bubbles are almost as much as the liquid.  In a mixing bowl, mix the melted butter and the 2 eggs until well-combined.  Pour in the yeast and milk mixture and mix well.  Add the flour and mix until well combined.  I use a free standing mixer and I beat the dough until it comes away from the sides.  Of course, if you don’t have a mixer this can all be done by hand. Once the dough was mixed well, turn out the dough on a floured surface and knead the dough until it’s smooth and elastic.  If the dough feels wet and sticky, sprinkle a little flour over the surface and the dough and knead.  It should take about 10 minutes of kneading, if doing it by hand and about 4 to 5 minutes if doing this via the mixer. Once all combined pour about 1 tbsp of oil in the mixing bowl and place the dough in the oil, making sure the dough is well oiled. Cover the top of the bowl with cling film or a towel and place in a warm place to let the dough proof and rise.  Leave for about an hour.  
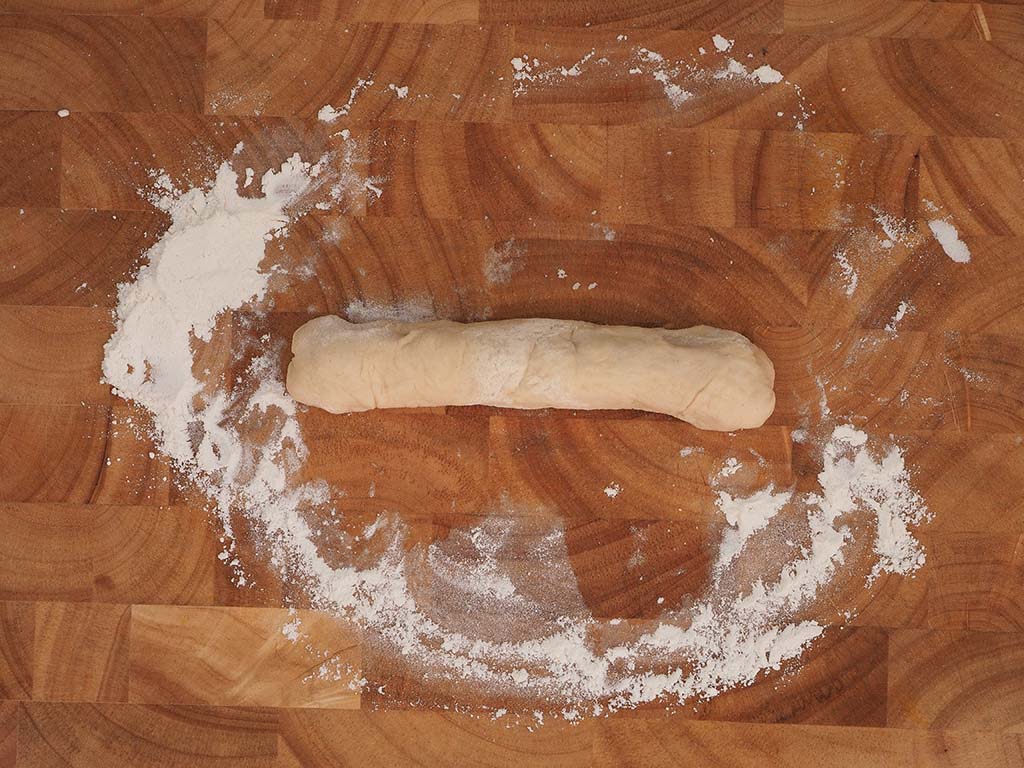
  5. Check on the dough after an hour.  It should be about twice the size of the original ball of dough.  If it is still slightly smaller, allow for another 30 minutes to an hour.  Once the dough is risen, whilst still in the bowl, punch the dough several times to release the air and deflate the dough.  Turn out into a floured surface and knead until smooth.  With a rolling pin, roll out the dough to a rough rectangle of about 24 inches (60cm) in length and about 12 inches (30cm) in width.
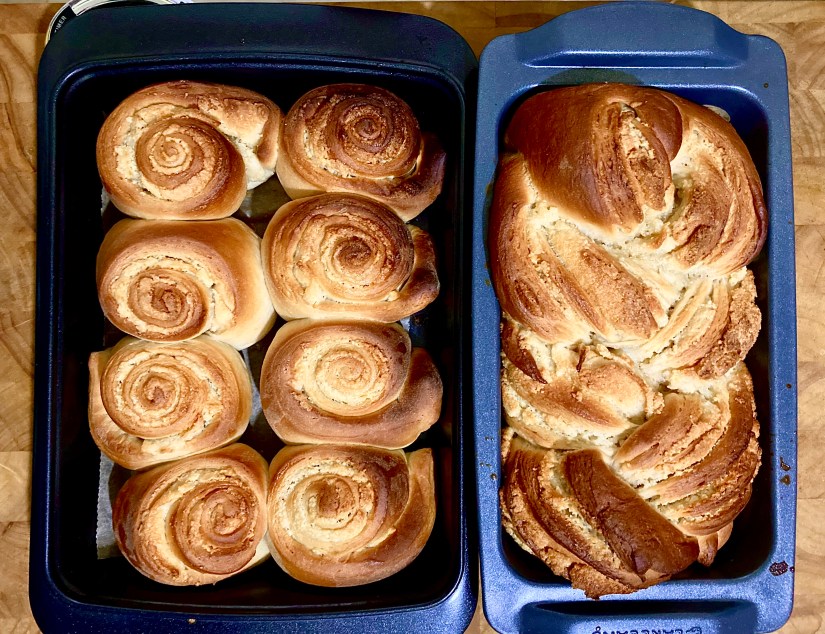
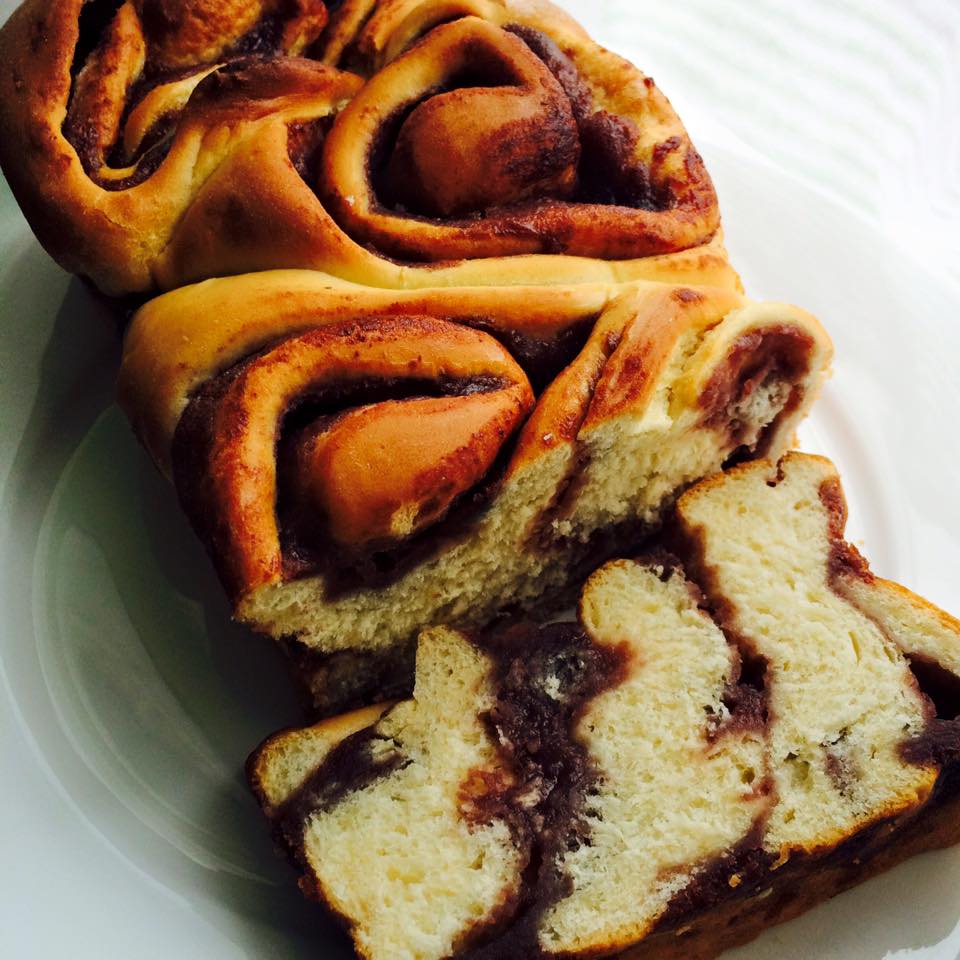
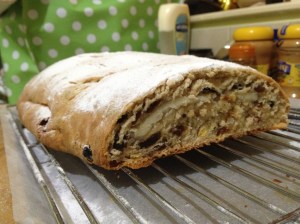
  6. Once you have your sheet, spread the cooled almond paste all over the dough, leaving about an inch at the bottom of the sheet.  Roll the dough down towards you as tightly as you can and with a sharp knife, cut your buns from the long stick.  This should make about 16 buns.  
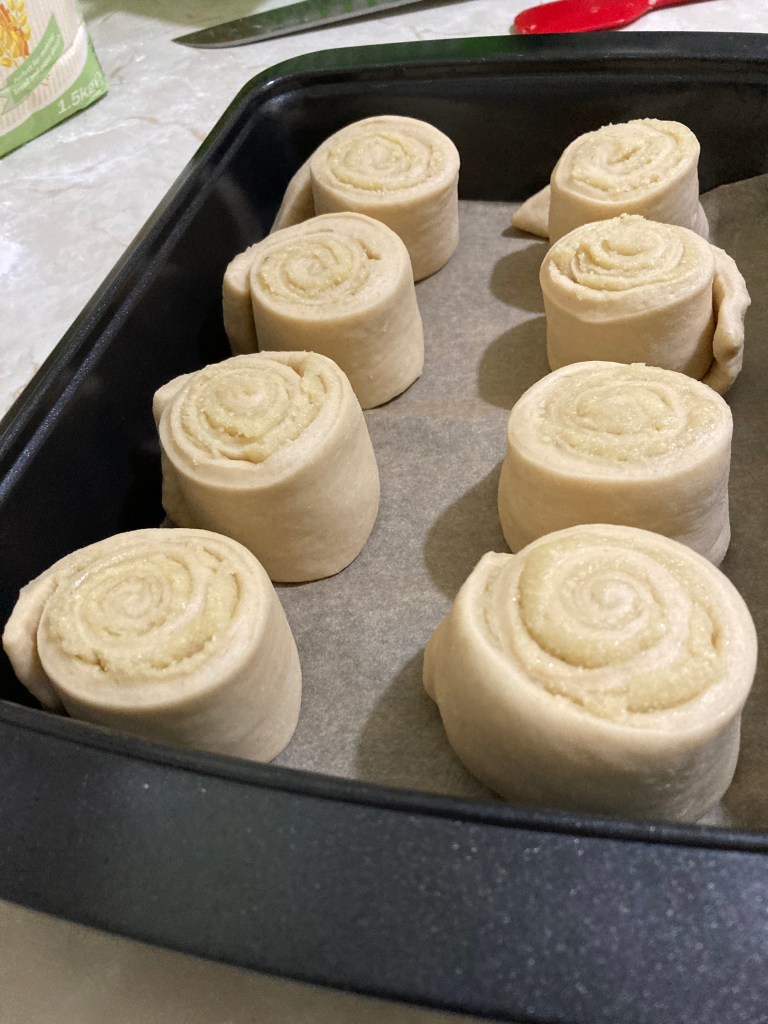
  7. Place the buns in a wax paper-lined (greaseproof) tray or large flat baking dish, about 2 inches apart, and allow to prove for another hour.  After the second proof, the dough should rise and grow to twice the size.
  8. Preheat the oven to 180C.  While waiting for the oven to heat, mix 50ml of milk and 2 heaping tablespoons of confectioners (icing) sugar, brush this all over the buns.  You can also use an egg wash (beat 1 egg and brush over the buns).  Place in the oven and bake for 18 to 20 minutes (sometimes even up to 22), depending on the oven.  The buns should turn golden brown and rise some more.  Once they are lovely and golden, take theam out of the oven.  Allow to cool on the baking tin for 15 minutes before moving it to cooling racks.
  9. This is optional as it means adding more sugar, but if you’d like to add a glaze, mix 50ml milk, 4 heaping tablespoons of confectioners sugar and 1 teaspoon of almond extract and combine until smooth and lump free.  Drizzle over the buns.  Serve and enjoy!

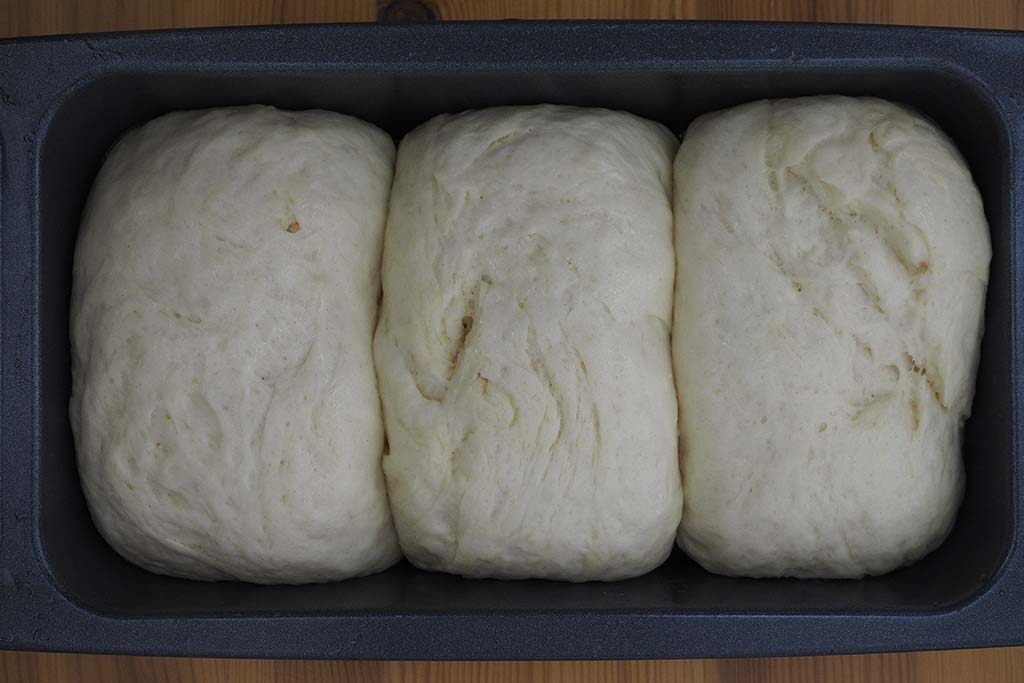
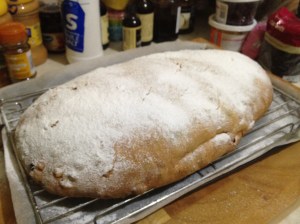
Top tip: The recipe is quite substatial, so I decided to create buns and a plait loaf. But if you decide that you’d rather have buns, this makes 16 generously sized soft filled buns.

Yelly Eats

How To Make Chinese Bakery Style Hot Dog Buns

This was one of Alan’s posts on our shared blog the Pan-Asian Kitchen.  He does have brilliant ideas and I am so proud to share with you his recipe for this Chinese bakery staple.  The text, photos and food styling are all Alan.


There have been times that I have gone into a Chinese bakery in London and fancy trying something new. A couple of months ago was one of these times. I was a bit tired, a little hungry and wanted something different to eat. I have always seen the hot dog buns that the bakeries had to offer but didn’t pay much attention to them as we normally just got some of the Char Siu Bao (BBQ Pork Buns) to take home. The hot dog buns that I spied didn’t look anything special as it essentially was some flattened dough with a hot dog plonked on it topped with mayonnaise, ketchup, cheese and some vegetables (spring onion or carrot or peas) This bun is then baked in the oven until the cheese melts, the sauces reduce, and the vegetables caramelise. The resulting bun is a very tasty treat that is far far better than making up a normal hot dog in a finger roll and then putting the sauces on top.

Since then, we have been back to the Chinese bakeries and sampling the various hot dog buns that the have to offer. The great thing about making these at home is that you have a lot more control of ingredients you want to put in them from the type of sausage, the type of cheese, to the amount of sauce you want on top. The dough that we will be using for this recipe is the Milk Bread dough from the recipe here: INSERT LINK

Chinese Bakery Style Hot Dog Buns

Ingredients:

For the milk bread dough:
65ml milk
35g granulated sugar
60g unsalted butter

1 teaspoon granulated sugar
60ml milk
3.5g quick dry yeast

1 egg (beaten)
1/4 teaspoon salt
275g plain flour

For the topping:
6-8 Hot Dogs / Frankfurters
125g Grated Cheese
1-2 Stalks Spring Onions / Scallions (sliced)
Mayonnaise (preferably in a squeezy bottle)
Tomato Ketchup (preferably in a squeezy bottle)

Instructions (the pictures for steps 1-6, are in the previous post for Milk Bread)

1. Put 65ml milk, 35g granulated sugar and 60g of butter in a saucepan and heat until the milk starts to boil. Turn the heat off and stir the mixture so that the butter melts and the sugar dissolves into the milk.

2. In a microwaveable jug or bowl, put the 65ml of milk and 1 teaspoon of sugar and heat in the microwave in full power for 30 seconds so that the milk is lukewarm. Stir in the yeast and leave for 10 minutes until the mixture foams up as the yeast activates.

3. In a mixing bowl, add the yeast mixture, the butter mixture and the egg. Mix the wet ingredients together and then spoon in the flour, mixing as you go along. Keep going until all the flour has been mixed in and the mixture has turned from a batter into a dough. If you are working the dough by hand, tip the dough out onto a lightly floured work surface and kneed for about work the dough for about 10 minutes. If using a stand mixer, mix for 6 minutes on a medium-low speed. The dough is ready when you can pinch some dough and stretch it quite far without the strand breaking.

4. Oil a bigger mixing bowl and tip the dough into it. flip the dough over in the bowl so that the top of the dough is also covered in oil. Cover with cling film and place in a warm place like an airing cupboard or proving drawer for about an hour so the dough will rise.

5. Once the dough has risen, it should have roughly doubled in size. Knock back the dough by punching it so that it deflates back to its original size. Tip out the dough onto a lightly floured work surface and kneed for a couple of minutes.

6. Divide up the dough into 6 or 8 equal sizes pieces (depending on how many hot dogs you have).

7. Take a piece of dough and flatten it out so that it is slightly bigger than the hot dog sausage that you are using.


Wrap the dough around the sausage and make sure it is totally encased in the dough. Make sure the dough casing is smooth  by rolling it lightly on the surface or between your hands.


Continue flattening and wrapping the dough around the other hot dog sausages and then place them on a lined baking tray leaving a 2 inch gap between each one.

8. Take a knife and make 1cm incisions in each encased sausage BUT do not cut it all the way through as you want to leave a spine.


Fan out the pieces by rotating each slice out so each alternative piece is on the opposite side of the previous one (e.g. the first one turns left, second turns right, third turns left, etc).


Once all the pieces have been fanned out, twist each slice so that it is flat on the tray. Try to twist each piece in the same direction and make sure that hot dog side is faced up on the end pieces.


Go through the same process with the other hot dogs and cover with cling film and prove for about 45 minutes until the dough has risen and puffed up.


9. Once the dough has finished the second prove, preheat the oven to 180°C / 350°F (170°C /340°F fan oven). Uncover the dough and start by spreading or drizzling the ketchup and mayonnaise on top. Then sprinkle the grated cheese on top of the sauce followed by the sliced spring onion.


Bake in the oven for 18-20 minutes until buns have turned golden brown. Once cooled, store in an airtight container.


Yelly Eats

How To Make Chinese Bakery Style Milk Bread

This post was originally posted in our Pan-Asian Kitchen blog.  The text and photos by Alan.

When we go into Chinatown, our trip isn’t complete without getting buns from the Chinese bakery. There are a great variety of buns to choose from but we always seem to come home with the baked char siu bao (also known as BBQ pork bun or honey roast pork bun). All of the bread products that the Chinese bakery has to offer is generally made from a single type of bread dough called Milk Bread. Milk bread is an enriched dough which means that it contains butter, sugar and eggs and is softer than normal breads.

I am going to show you a basic milk bread recipe that can be made into loaves or other tasty baked treats that we will be writing about in future posts. What I love about this recipe is that it requires standard plain flour and milk rather than bread flour and cream that other recipes call for. Also, it is relatively easy to make (especially if you have a stand mixer) as there are fewer steps to follow.

If you are using sachets of quick dried yeast, they will normally come in 7g packets so it may be easier to double up the recipe and do two loaves or you could even do one loaf and one of the other milk loaf recipes that we will be writing about (please follow the instructions up to step 6 to prepare the dough for those recipes).

Chinese Bakery Style Milk Bread

Ingredients:

65ml milk
35g granulated sugar
60g unsalted butter

1 teaspoon granulated sugar
60ml milk
3.5g quick dry yeast

1 egg (beaten)
1/4 teaspoon salt
275g plain flour

Instructions:

1. Put 65ml milk, 35g granulated sugar and 60g of butter in a saucepan and heat until the milk starts to boil. Turn the heat off and stir the mixture so that the butter melts and the sugar dissolves into the milk.

2. In a microwaveable jug or bowl, put the 65ml of milk and 1 teaspoon of sugar and heat in the microwave in full power for 30 seconds so that the milk is lukewarm. Stir in the yeast and leave for 10 minutes until the mixture foams up as the yeast activates.

3. In a mixing bowl, add the yeast mixture, the butter mixture and the egg. Mix the wet ingredients together and then spoon in the flour, mixing as you go along.

Keep going until all the flour has been mixed in and the mixture has turned from a batter into a dough. If you are working the dough by hand, tip the dough out onto a lightly floured work surface and kneed for about work the dough for about 12 minutes. If using a stand mixer, mix for 6 minutes on a medium-low speed. The dough is ready when you can pinch some dough and stretch it quite far without the strand breaking.

4. Oil a bigger mixing bowl and tip the dough into it. flip the dough over in the bowl so that the top of the dough is also covered in oil. Cover with cling film and place in a warm place like an airing cupboard or proving drawer for about an hour so the dough will rise.

5. Once the dough has risen, it should have roughly doubled in size.

Knock back the dough by punching it so that it deflates back to its original size.

Tip out the dough onto a lightly floured work surface and kneed for a couple of minutes (If you are using this dough for one of our other recipes, the dough is ready for for filling/shaping).

6. Divide the dough into three equal sized balls and roll each one in your hands until smooth. Place each dough ball into a greased 2lb loaf tin and cover with cling film.

Allow the dough to prove for a further hour in a warm place where it will double in size.

7. Preheat the oven to 170°C/340°F (160°C/320°F fan oven) and bake in the oven until golden brown.

Remove the loaf from the tin as soon as you can and place on a cooling rack so that the sides and bottom do not go soggy. Once cool store in an airtight container.

Yelly Eats

Chinese hotdog buns

This is a recipe in development and I’m quite excited about it.  Alan and I may have found the best milk bread recipe.  It’s easy to make and relatively easy to handle.

We’ve been able to bake hotdog buns with it.  Now, when I say hotdog buns, I mean Chinese hotdog buns which are also known as caterpillar buns.  They’re hotdog slices encased in bread topped with cheese, mayo, ketchup and spring onions.  This is a Chinese bakery staple and all the different bakeries in Chinatown have their own version of it.  This is our version of our favourite.

unbaked hotdog bun

Chinese caterpillar bun

I need to find a good recipe for char siu filling so that I can make char siu buns!

Yelly Eats

Ensaymada!

So because I have been at home, housebound because of illness and experiencing cabin fever, I once again cracked open the Goldilocks Bakebook and baked something familiar and comforting.  I made ensaymada.  It’s a sort of soft brioche-y type of bread that’s slathered with creamed butter, slightly sugared and smothered with cheese.

Ensaymada

And just like that I am comforted.  The recipe needs tweaking because the dough was unbelievably wet!  I’m going look up other ensaymada recipes and see where improvements can be made.  I am thankful for the ability to bring Manila to me…even if it was through several cheesy-buttery-bready mouthfuls!  What can I say – baking is like medicine!

Ensaymada bite

Yelly Eats

Mongo bread!

It has been quite the stressful few weeks.  Mostly because of the changes in my work environment.  When I get really stressed I get really homesick.  And when I get really homesick I bake something that I can eat from home.

I’m really grateful my sister has bought the Goldilocks Bakebook for me.  I have had feedback from friends that the book has been discontinued due to the errors and omissions in the book.  I must agree that the book could do with a few editorial tweaks so that it will read smoother.  The recipes and baking instructions need a little reworking so that the procedures are clear, so that the users and bakers know exactly what to expect from the recipes and the steps.  But I am still thankful for the book.  It has allowed me to bake things that are familiar, things I grew up eating.  It has helped me with the homesickness, because even the act of simply reading the book makes home a little closer.

This weekend wasn’t any different.  I’ve been planning the baking of mung bean bread for a while.  Mung bean is mongo in Filipino (pronounced mong-goh).  Mongo bread is a bakery staple and most local bakeries in the Philippines have a version of this bread.  The Goldilocks Bakebook recipe called for red mung bean and red mung bean isn’t exactly something you can pluck from the shelves of the local supermarket.  I had to go to a supermarket in Chinatown in London to find red mung beans (and even now, I’m not quite certain what I picked off the shelves were actually red mung bean, but hey, they worked!).  So after having purloined the main ingredient, I studied the recipe and made certain tweaks.  After following most of the directions, I have made notes and am ready to try the recipe again with my additional tweaks.  But the first attempt has produced quite a pretty loaf!  Hopefully, when I attempt the recipe again (and post it on the blog!), it will still turn out like the first loaf.  Fingers crossed!

Presenting, my mongo bread —

Mongo bread

Yelly Eats

Baking pan de sal!

The pan de sal is ubiquitous (HUGE word alert!) in the Philippines.  It is sold in every corner bakery, in every panaderia, in various shapes and sizes.  It is bread that has been enjoyed in the Philippines for centuries, as apparently, it was introduced by the Spanish conquistadores in the 16th century.

Since moving to the UK, I have been looking for a British equivalent and there have been near misses, but not quite like the real thing.  Pan de sal, when translated from Spanish, means salt bread.  Funnily, it is more sweet than savoury.   I wrote about baking pan de sal last year and since then I’ve been trying out various recipes from online sources.  Now, though, I can finally say that I’ve perfected my version of the Philippine bread staple.  I’ve tried several recipes and have now found that putting the recipes together in a system that works for me does really work.  Here’s my take on the pan de sal:

Ingredients:

  • 500g strong bread flour (can also be substituted with whole wheat or gluten-free flour)
  • 1 teaspoon baking powder
  • 1 teaspoon salt
  • 75g butter
  • 150ml milk (full fat, semi-skimmed or skim milk)
  • 70g sugar
  • 1 packet active dry yeast (or 7g)
  • 1 egg
  • 15ml vegetable oil
  • 1 cup bread crumbs (or dry polenta/corn meal)

Directions:

  1. In a mixing bowl, combine the flour, baking powder and salt.  Mix until well combined (I use a balloon whisk to do this because I find that this mixes the ingredients quickly) and set aside.
  2. In a sauce pan, heat the milk over low heat.  Add the butter and sugar and mix until the butter and sugar are melted.  Remove from the heat and allow to cool until lukewarm in temperature.  Once lukewarm, add the yeast and stir until the yeast is dissolved into the milk mixture.
  3. Add the egg and oil to the flour mixture and mix well.  Mix the milk and butter mixture with the flour until a wet dough forms.
  4. Turn out the dough onto a floured surface and knead until the dough is smooth and elastic.  If you’re kneading by hand, this should take about 8-10 minutes.  Steps 3 and 4 can be done in a free-standing mixer with a dough hook attachment with step 3 in the lowest speed setting and turning up the mixer to the next speed to add the butter and milk mixture and knead the dough for about 5 minutes.
  5. Place the dough in an oiled bowl and allow to proof for an hour or until the dough has risen to double its size.
  6. After proofing, punch the dough to deflate it and turn it out onto a floured surface.  Knead the dough by hand for 5 minutes then form it into a ball.  Cut the dough in half using a pastry cutter or a knife.  Form the dough pieces into a ball and repeat until you have 8 dough balls.  Once you have 8 dough balls, cut each in half and roll in bread crumbs.  This makes 16 large rolls but the recipe can make up to 20 rolls.
  7. Line a baking pan with parchment paper and place the dough pieces cut side up on the pan.  Allow for enough space for the dough ball halves to expand.  Allow to proof for another hour or until it doubles in size.
  8. Preheat the oven to 190ºC (375ºF).  If using a fan oven preheat to about 160ºC (320ºF).  Place the baking pan in the oven and bake the dough for 15 minutes.

Pan de sal

Yelly Eats

Stollen from scratch!

So the goal for the holidays, really, was to make stollen from scratch.  I made stollen once before, but it was from a Mary Berry mix.  Everything was prepped for me so all I had to do was mix everything up.  I was determined to find a recipe I could follow that was as close to Mary Berry’s as possible.  I searched for a stollen recipe but suprisingly couldn’t find one in my numerous books (to be completely honest, I didn’t really look very far!  Ha!).  But as luck would have it, Edd Kimber’s book Say It With Cake has a wonderful recipe for stollen.

Stollen proofing

I added a little tidbit:  I soaked the dried fruits in brandy overnight.  Makes for an interesting taste.  It called for nuts in the recipe, but I didn’t have any to put in so I did without that.  And because I like my marzipan spread through out the bread instead of in a big lump in the middle, I rolled my marzipan flat so that it would be distributed throughout the loaf.

Stollen baked

I was quite surprised at the size of the stollen though.  It came out bigger than I thought!  But it did look so pretty when it was dusted with icing sugar!

Stollen dusted

I was quite pleased with how it’s turned out.  The stollen came out beautifully!  Am now not too afraid to make breads, aided of course by my Kenwood chef (obviously not paid advertisement, although, I would love it if Kenwood took notice and gave me free stuff!  Ha!).   I wanted to learn how to make stollen mostly because of my dad.  He talks about the time when his entire family lived in Vienna and stollen eventually filters into the conversation.  It has always been a dream to bake something that reminded my father of happy times with his parents and siblings.  A few more practice sessions so that I can develop my own take on stollen!  But until then, Edd Kimber’s recipe with my own tweaks to it will do me just fine!

Stollen

Yelly Eats

Pan de sal at last!

I’ve been looking for a pan de sal recipe that I can work with and I have think I may have found it.

Pan de sal is a Filipino bread roll that is sold at very nearly every corner bakery shop in the Philippines.  I’ve missed it so much that I’ve told myself it’s necessary for me to learn how to make it.  This is the third adaptation of a recipe that I’ve seen online.  As usual, I read and reread the recipe to make sure I could follow the steps without reading through the recipe over and over (even if I had the iPad open on the recipe anyway!).  I always worry when I’m making bread because I’m never sure it’s going to turn out right.  But there was something right about how the dough looked while it was being kneaded in the Kenwood.  I kneaded the dough by hand and the dough felt right then too.  When I oiled the dough to prepare it for proofing, it looked right.  Ha!  Listen to me waxing philosophical about bread dough!

After following the baking instructions and making the bread rolls, I must admit, I was a bit worried again.  It might’ve have looked right as proofing dough but I always worry that I’m too heavy handed with anything I bake!  With a lot of whispered prayers I popped the trays into to oven and waited (impatiently) for 15 minutes until the timer pinged to tell me the rolls were ready.  They looked gorgeous and they tasted even better.  They finally tasted like the pan de sal I remember from the Philippines!

And, yes, I am very, very please!

Yelly Eats

We have bread!

I have the biggest grin on my face at the moment as I have made bread!  Well, focaccia is a kind of bread, so I guess I can claim that right?  Virtually speechless as am really, really, really pleased with myself!

This was the dough being coaxed to rise a second time.  I was a bit worried as the dough was really wet.  The book did say that the dough would be wet but I wasn’t sure it was meant to be THAT wet!  I was very worried.  I’d tried to make bread before and failed, quite miserably.

focaccia dough

But it did come out beautifully I think!

Salt and pepper focacciaThis was the salt and pepper focaccia.

FocacciaRoasted vegetable focaccia on the left and the salt and pepper on the right.