Yelly Eats

Stick food!

There are a few things that make this life so much better.  One of them is barbecue pork on sticks Pinoy style.  I’m going to find out how to make barbecue Grill Queen style.  Grill Queen is a small independent chain that sells barbecued meat – pork, chicken, seafood…you name it, they probably barbecue it.

I haven’t quite cracked it, but the recipe I’m tweaking is nearly there.  I’ll be posting the recipe on the blog soon.

But for tonight, I am eating something comfortingly Filipino: barbecued meat, rice and sautéed vegetables!

pork bbq Pinoy style

Yelly Writes

Salt and chilli belly pork

The original version of this post is in my personal blog.

I used to buy salt and chilli belly pork from Asda prepacked, premade and frozen.  The pork was lovely, and the flavours were simple, uncomplicated and delicious.  There is nothing more enjoyable than straightforward goodness.  But then Asda chose to discontinue the frozen version of the salt and chilli belly pork that I liked (I’d tried the “fresh” refrigerated version and it didn’t taste as nice for some reason).  I’d lost my go-to freezer staple and I didn’t like the sinking feeling in the pit of my stomach.  It felt like I was losing a good friend for reasons unknown!

Luckily, I still had the packaging sleeve in my recycling bag so I looked at the ingredients list one evening and thought I could actually make the ingredient list a bit simpler.  The taste reminded me of rotisserie pork that was readily available in the Philippines, so I started from there.  Salt and pepper were the mainstays of this lovely Filipino “fast food” option.

There are only 5 ingredients to this lovely no-fail recipe.  Of course you can change the herb of choice added (I’ve tried dill and it works!), remove the chilli and replace it with just pepper, add soy sauce instead of salt…the permutations can go on forever!  Feel free to customise this recipe according to your tastes!  The beauty of this is that you can make it ahead of time and just store it in the fridge and take it out when you’re ready to cook it.  Oh, and like the supermarket version that inspired me to create this recipe, this freezes well too!  I usually have a pack in the freezer ready for when I can’t think of what to cook for supper.  It’s a reliable old stand-by dish!

Enjoy!

Oh and I’d love to hear how you got on with the recipe, if you try it!

Ingredients:Salt and chilli pork belly

  • 500g pork belly strips, rind removed
  • 1 heaping teaspoon salt
  • 1 teaspoon dried parsley
  • 1-2 teaspoons chilli flakes (depending on how spicy you want it)
  • 3-4 tablespoons vegetable oil

Directions:

  1. Mix salt, spices and oil together in ziplock lock bag (other brands of resealable bags are acceptable!).  Add the belly pork slices and marinade for at least 2 hours, even better if marinated overnight.
  2. Preheat oven to 200C.
  3. Line a baking tin with parchment paper and lay the belly pork slices.  Place in the middle of the oven.  Bake the belly pork slices for 30 minutes, turning the belly pork slices halfway (you can also choose to cook this on the barbecue!).
  4. The belly pork slices will come out lovely and brown.  Cut into bite-sized chunks and serve.
  5. This is great with rice and greens — or if you’re watching carbs like me, just greens (like wilted kale or cabbage, or steamed pak choi or choi sum).

Salt and chilli pork with greens

Yelly Eats

Pork puff pastry

Recipe in development!

Char siu in puff pastry…in my head it was going to work.  But I think I need to read up on how people do this so that I can see where I went wrong and adapt my recipe.

The filling works though so that’s one thing that went right!

Pork puff pastry trial

Yelly Eats

Eating at Yipin China

I first heard about Yipin China while browsing through Time Out London’s website and finding about it there. While the Time Out rating gave it a 3 of of a possible 5 stars, the user reviews were much more favourable. I did some more research and found a review by Jay Rayner on the Guardian website and he loved it! As we love finding new places to eat (especially Chinese food) we thought we would give it a try.

The website for Yipin China features their menu along with all the pictures of the dishes in glorious technicolour which enticed us even more us go along to eat. The restaurant serves traditional Hunanese, Sichuan and Cantonese dishes so there is plenty of choice for everyone. Be warned that some of the dishes are very spicy as they contain a lot of chilli. Do not let this put you off though as there are still plenty of dishes there that contain no chilli at all.

The restaurant is located in Islington, London and is about 10 minutes walk from Angel underground station. We went along on a Friday lunchtime and were the first ones there. This was not a problem for us as we had a choice of seats and it also meant that we didn’t have to wait long for our food to arrive. We looked through the menu and all the dishes had a photograph of the dish next to it. This was both a blessing and a curse as we know what dishes looked good but the problem was that everything looked great. We finally settled on the Deep Fried Beef With Cumin, The Chairman Mao’s Red Braised Pork, Stir Fried Broccoli in Garlic, boiled rice for two and Chinese tea for two.

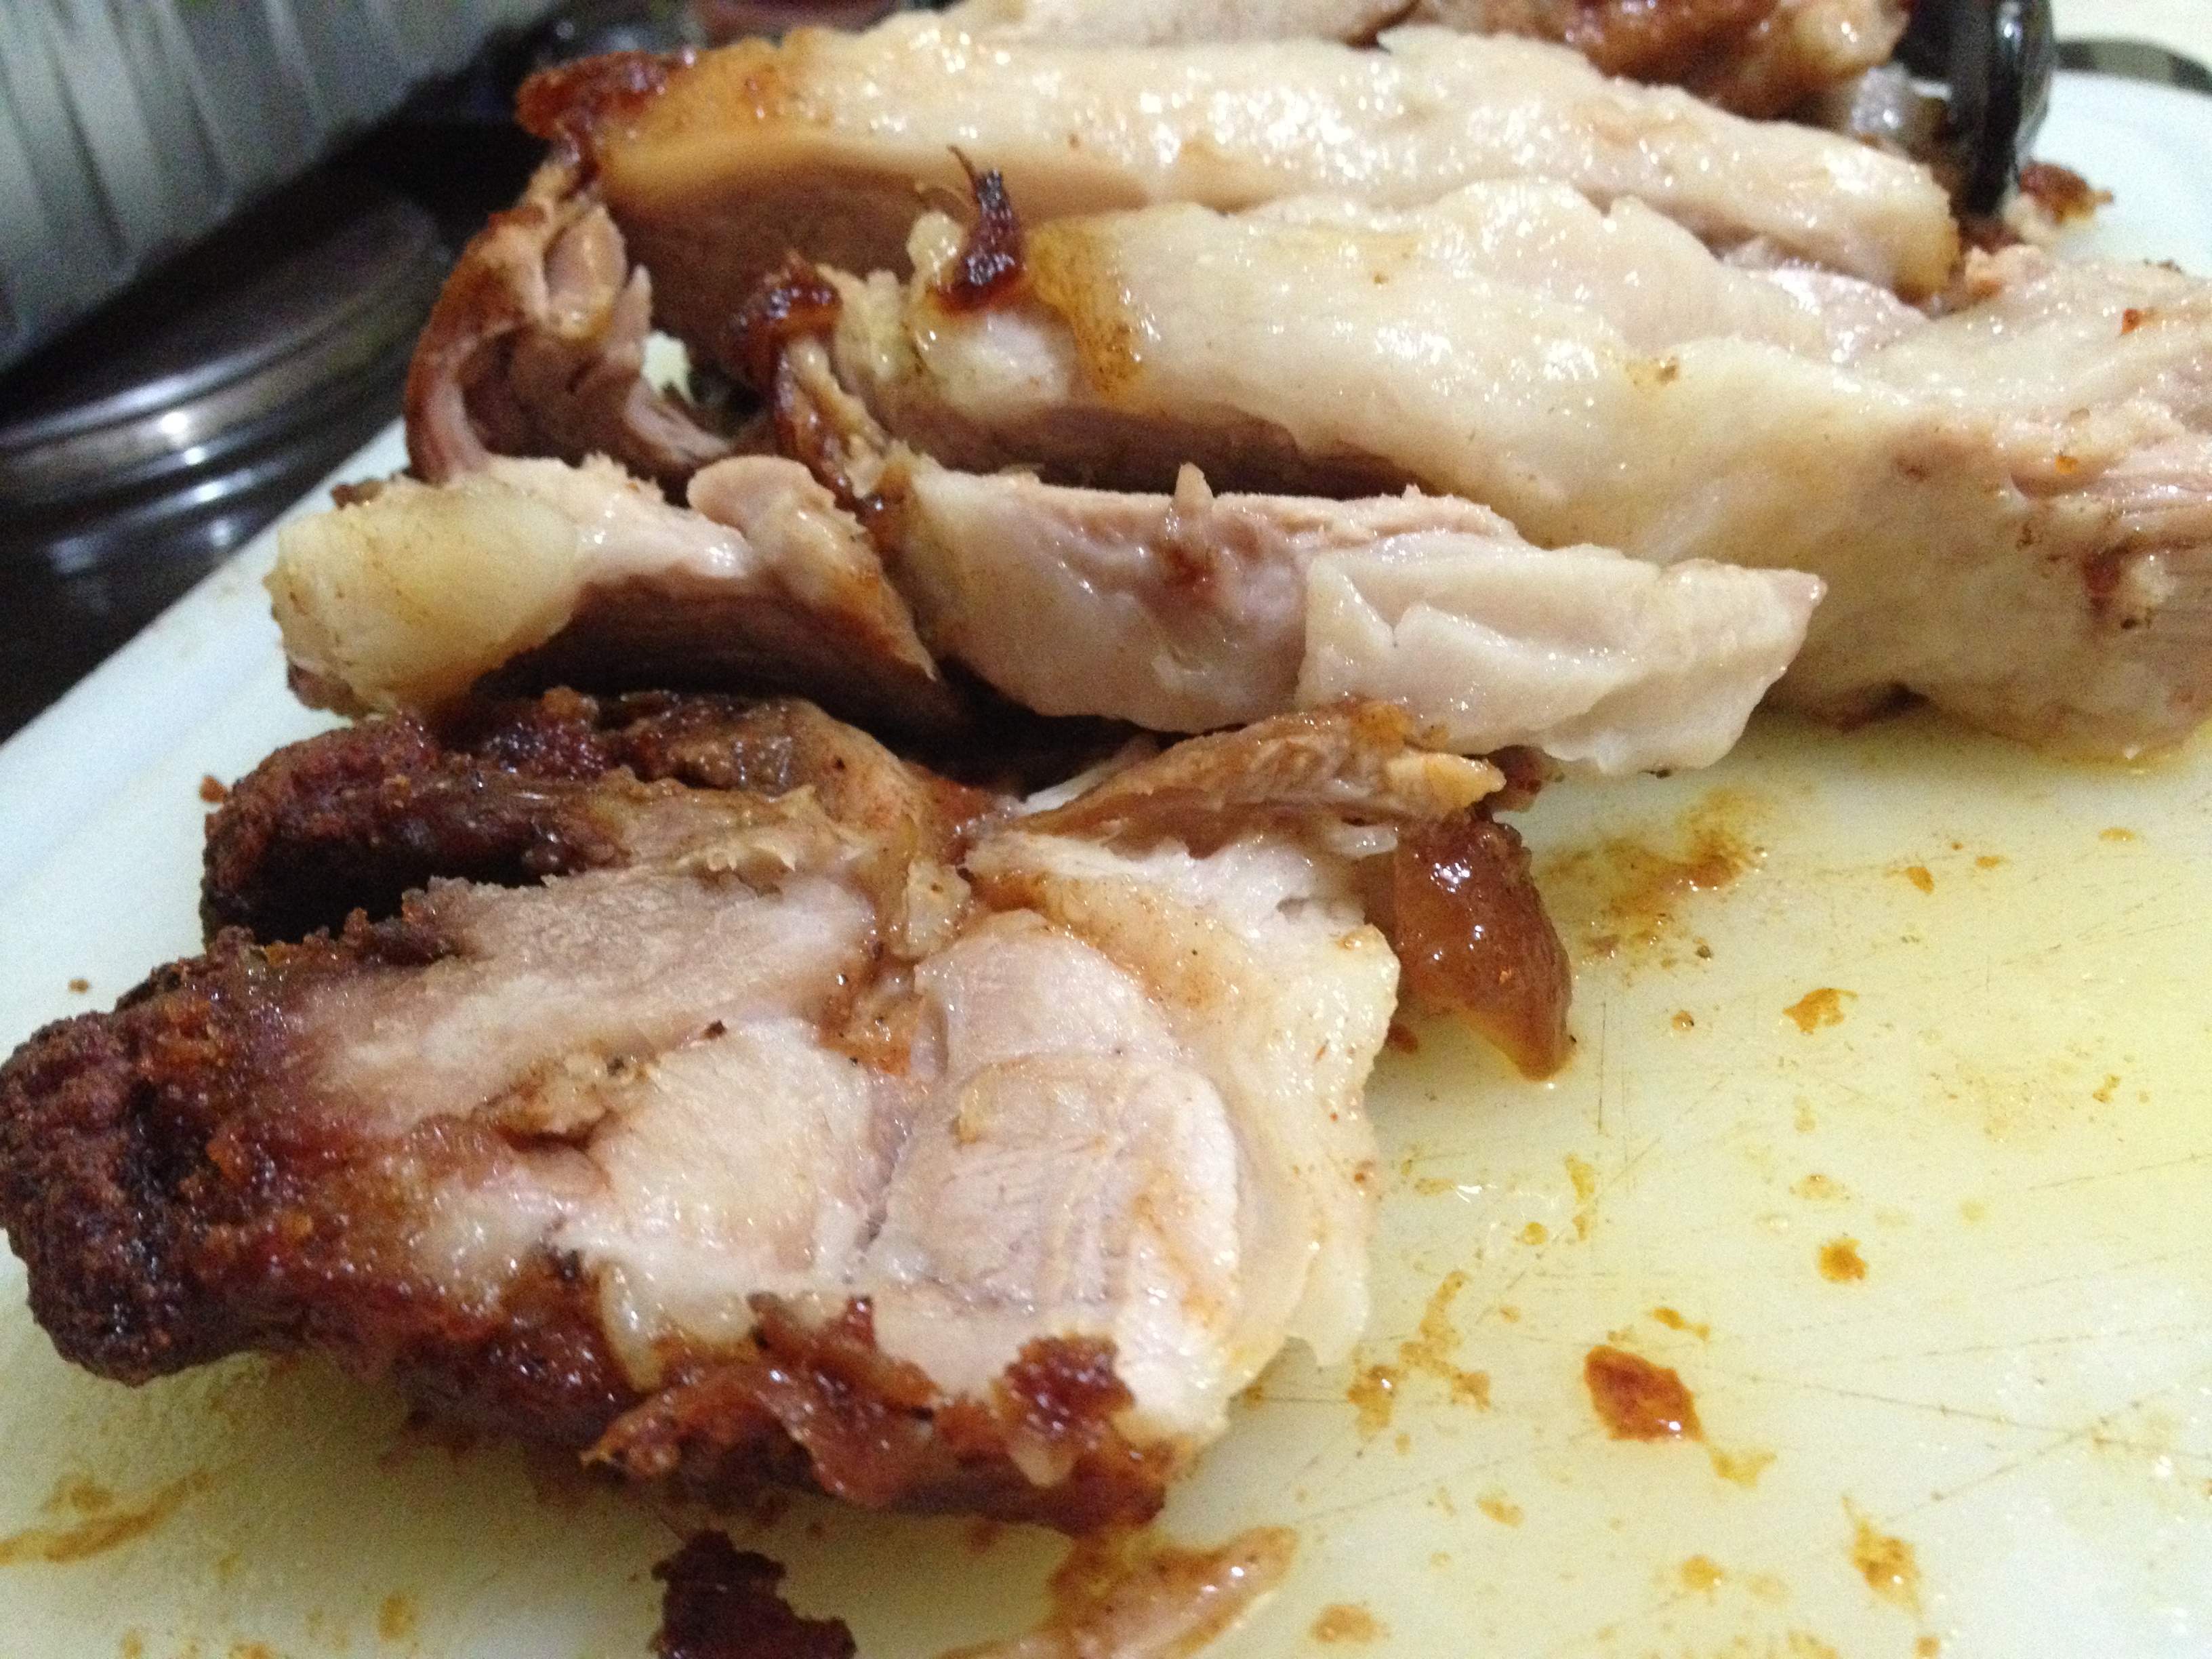
The Deep Fried Beef With Cumin was delicious even though we found the chilli to be quite hot for our tastes. The texture wasn’t too chewy and even though it had a lot of chilli, the burn didn’t last long and you could still enjoy the flavours of the cumin and beef.

Deep Fried Beef with Cumin from Yipin China

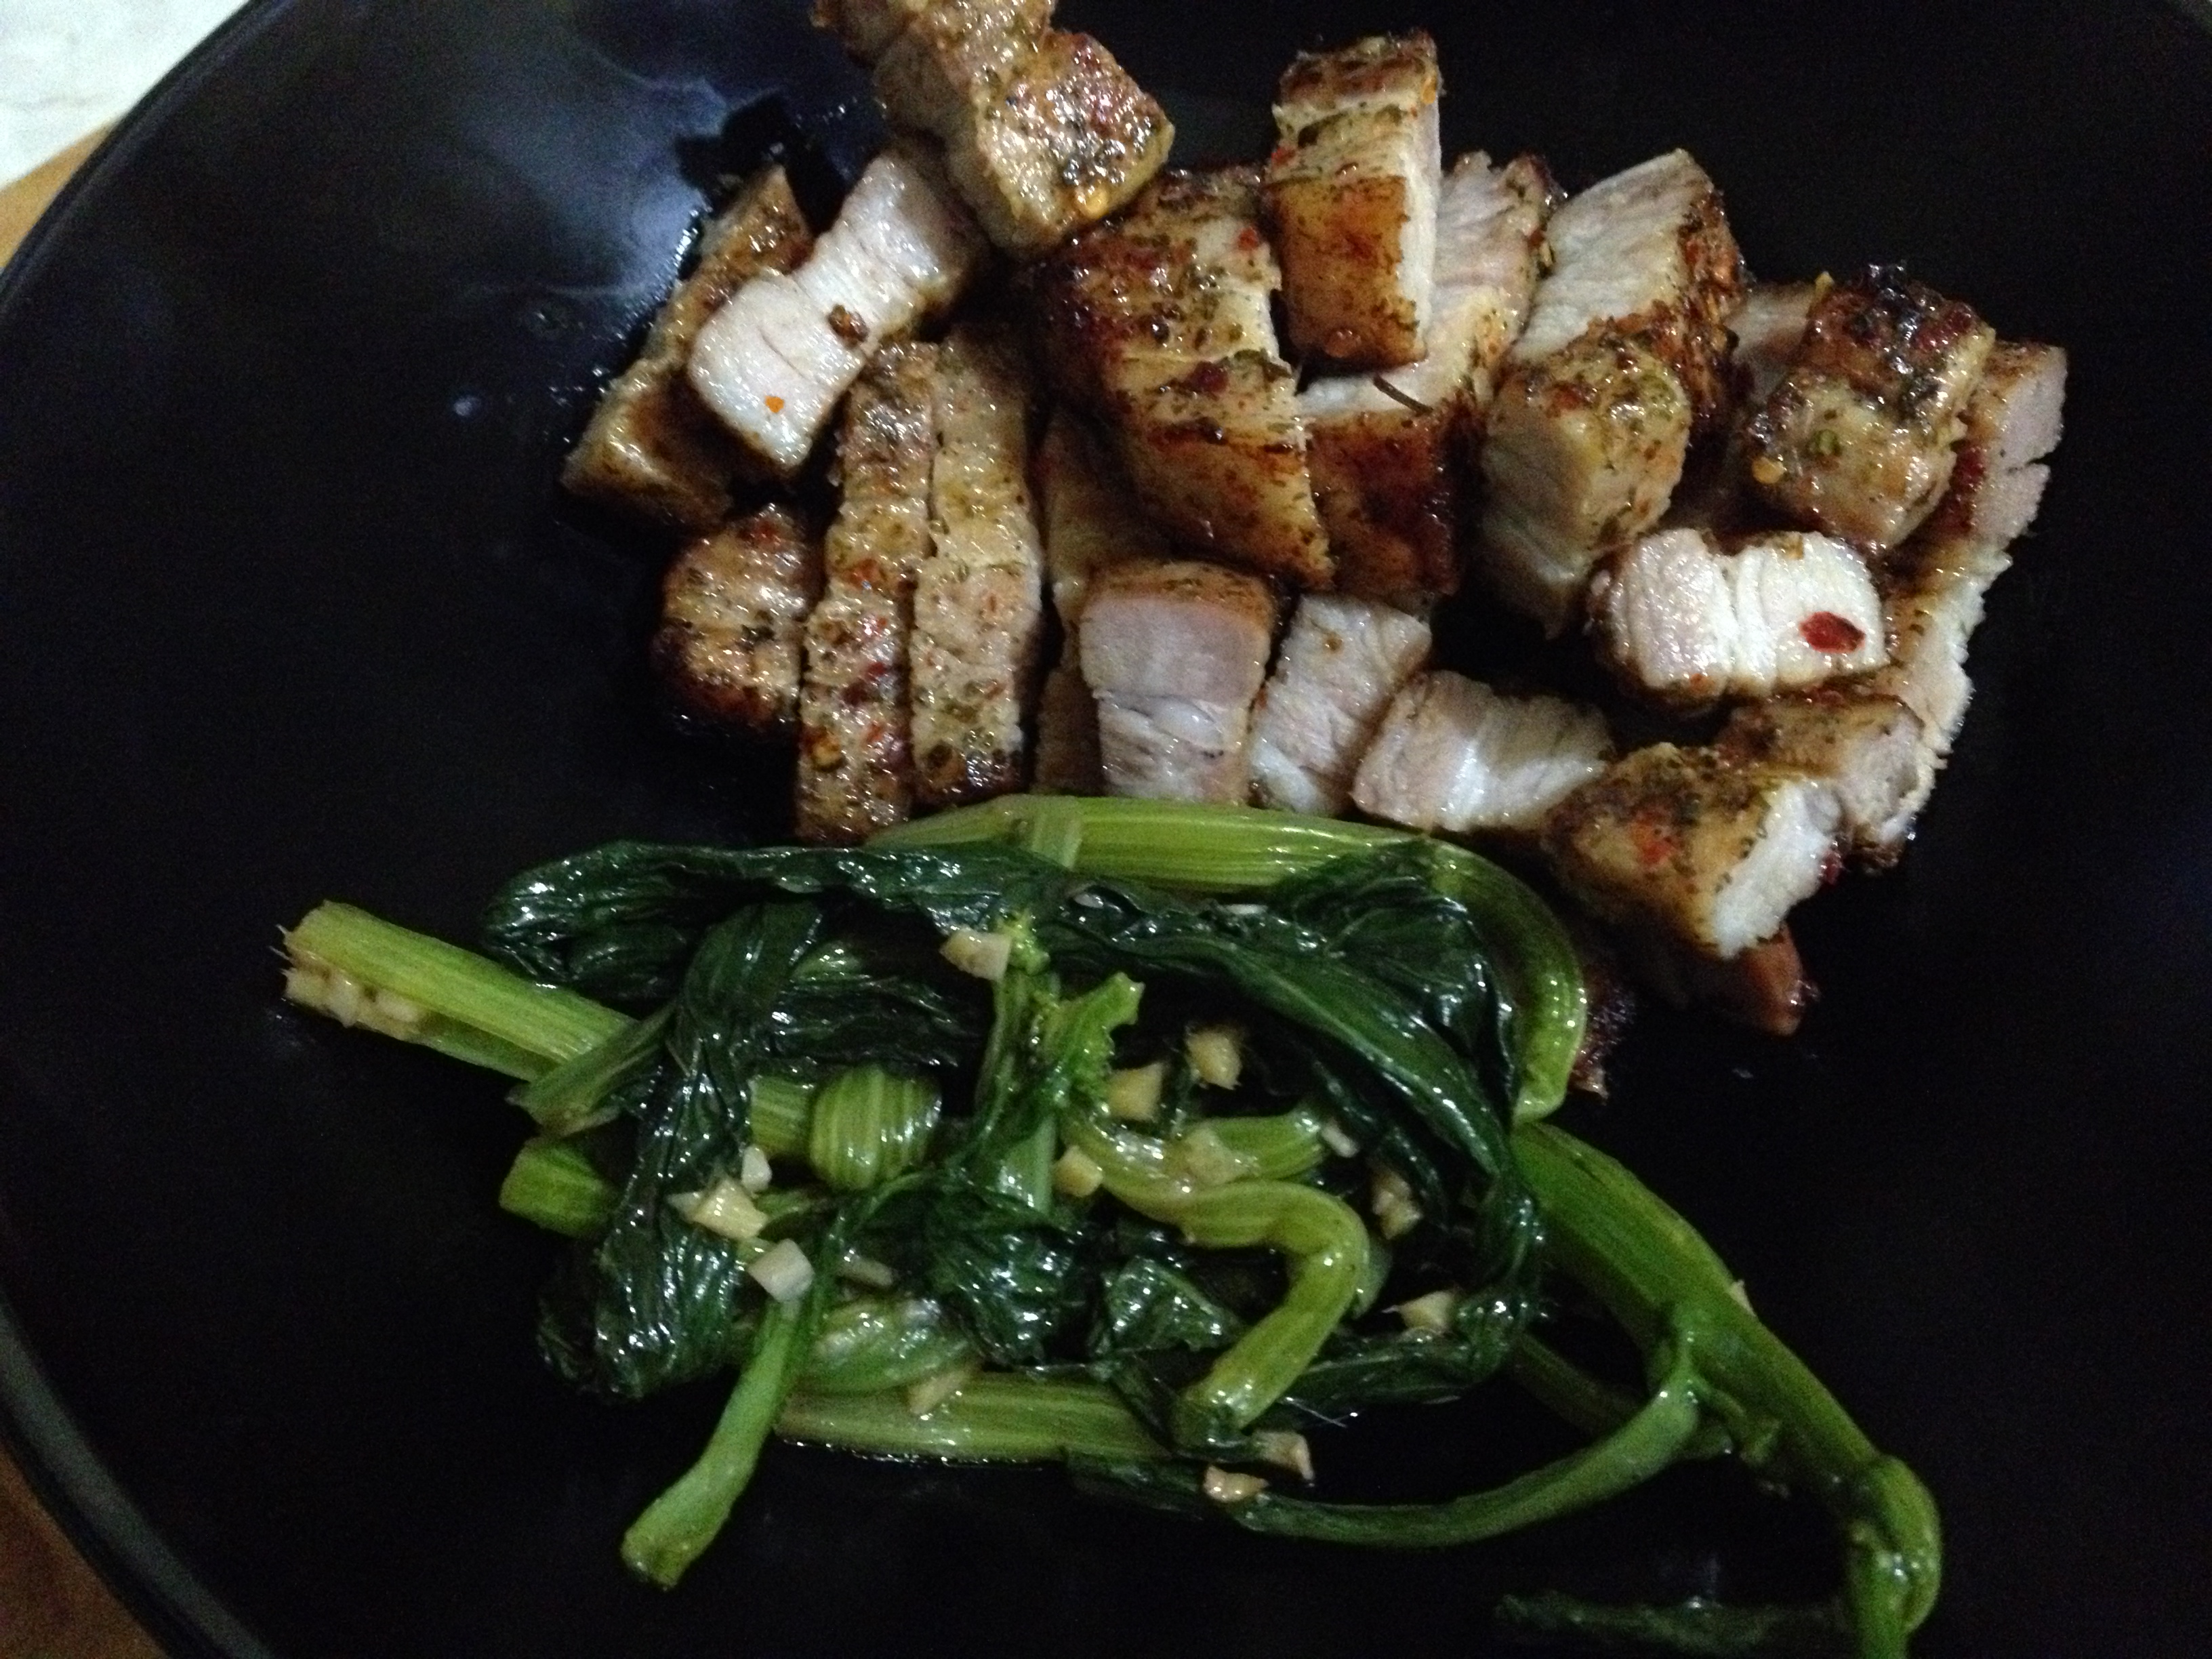
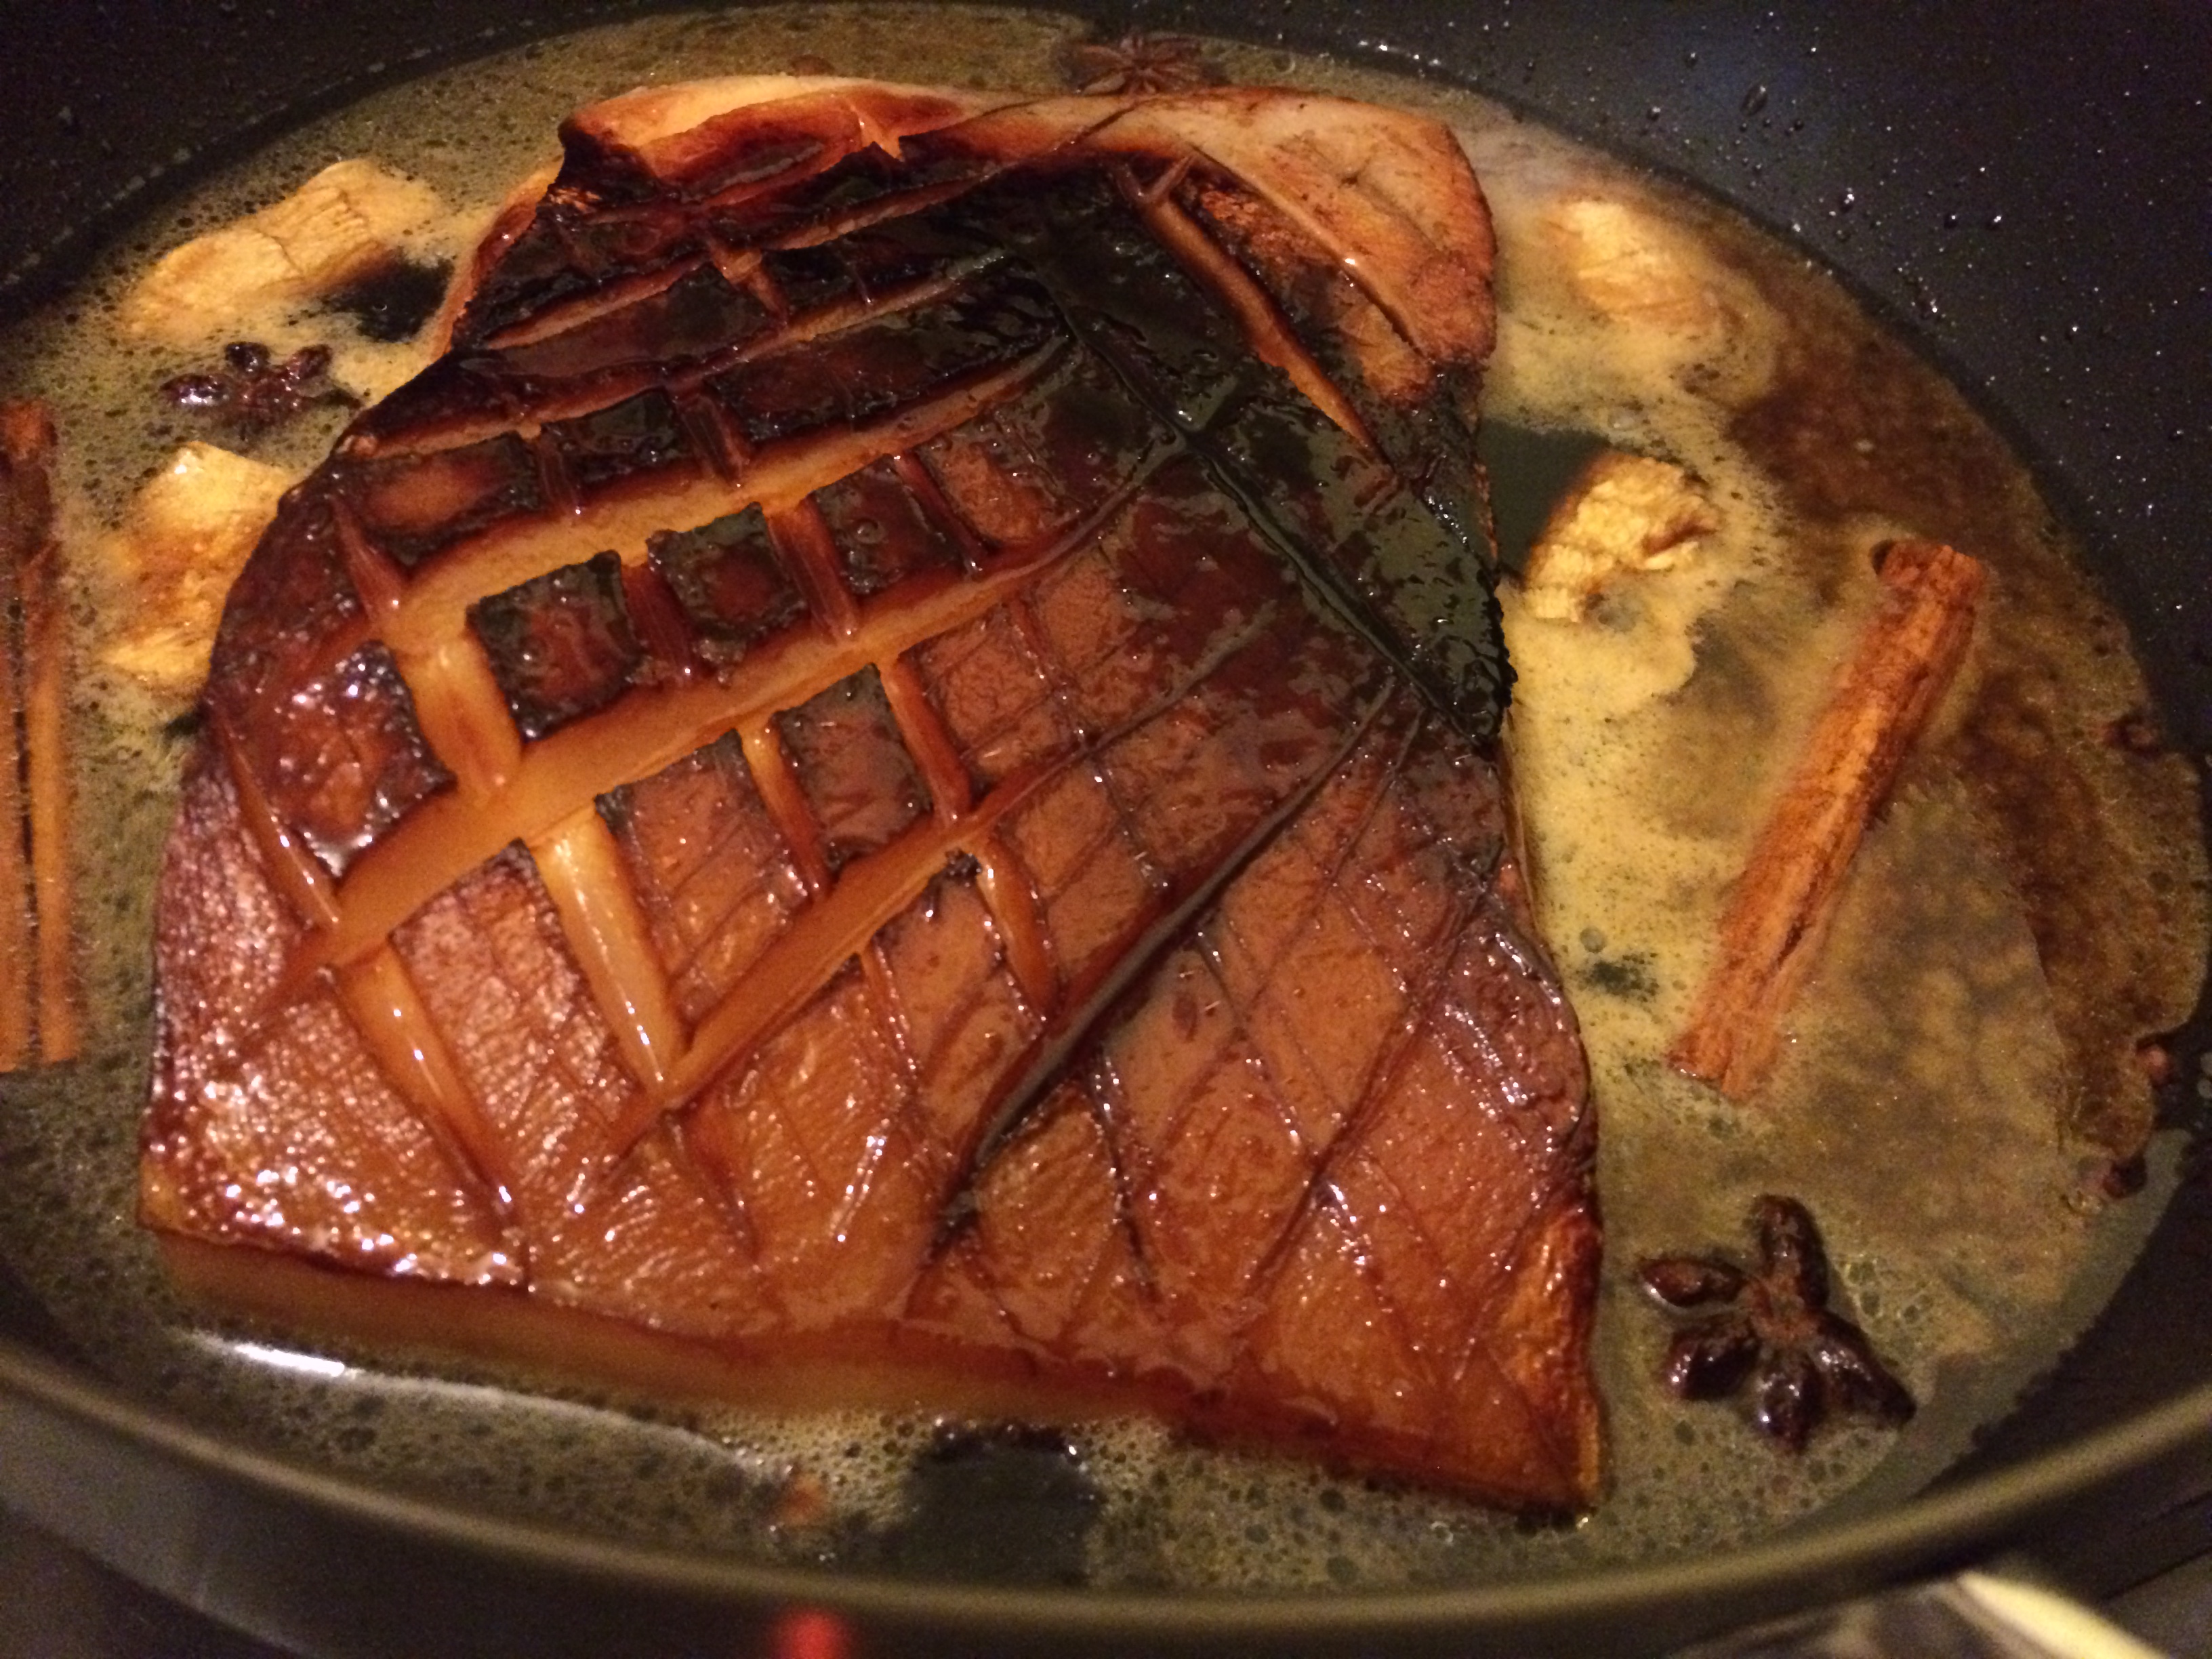
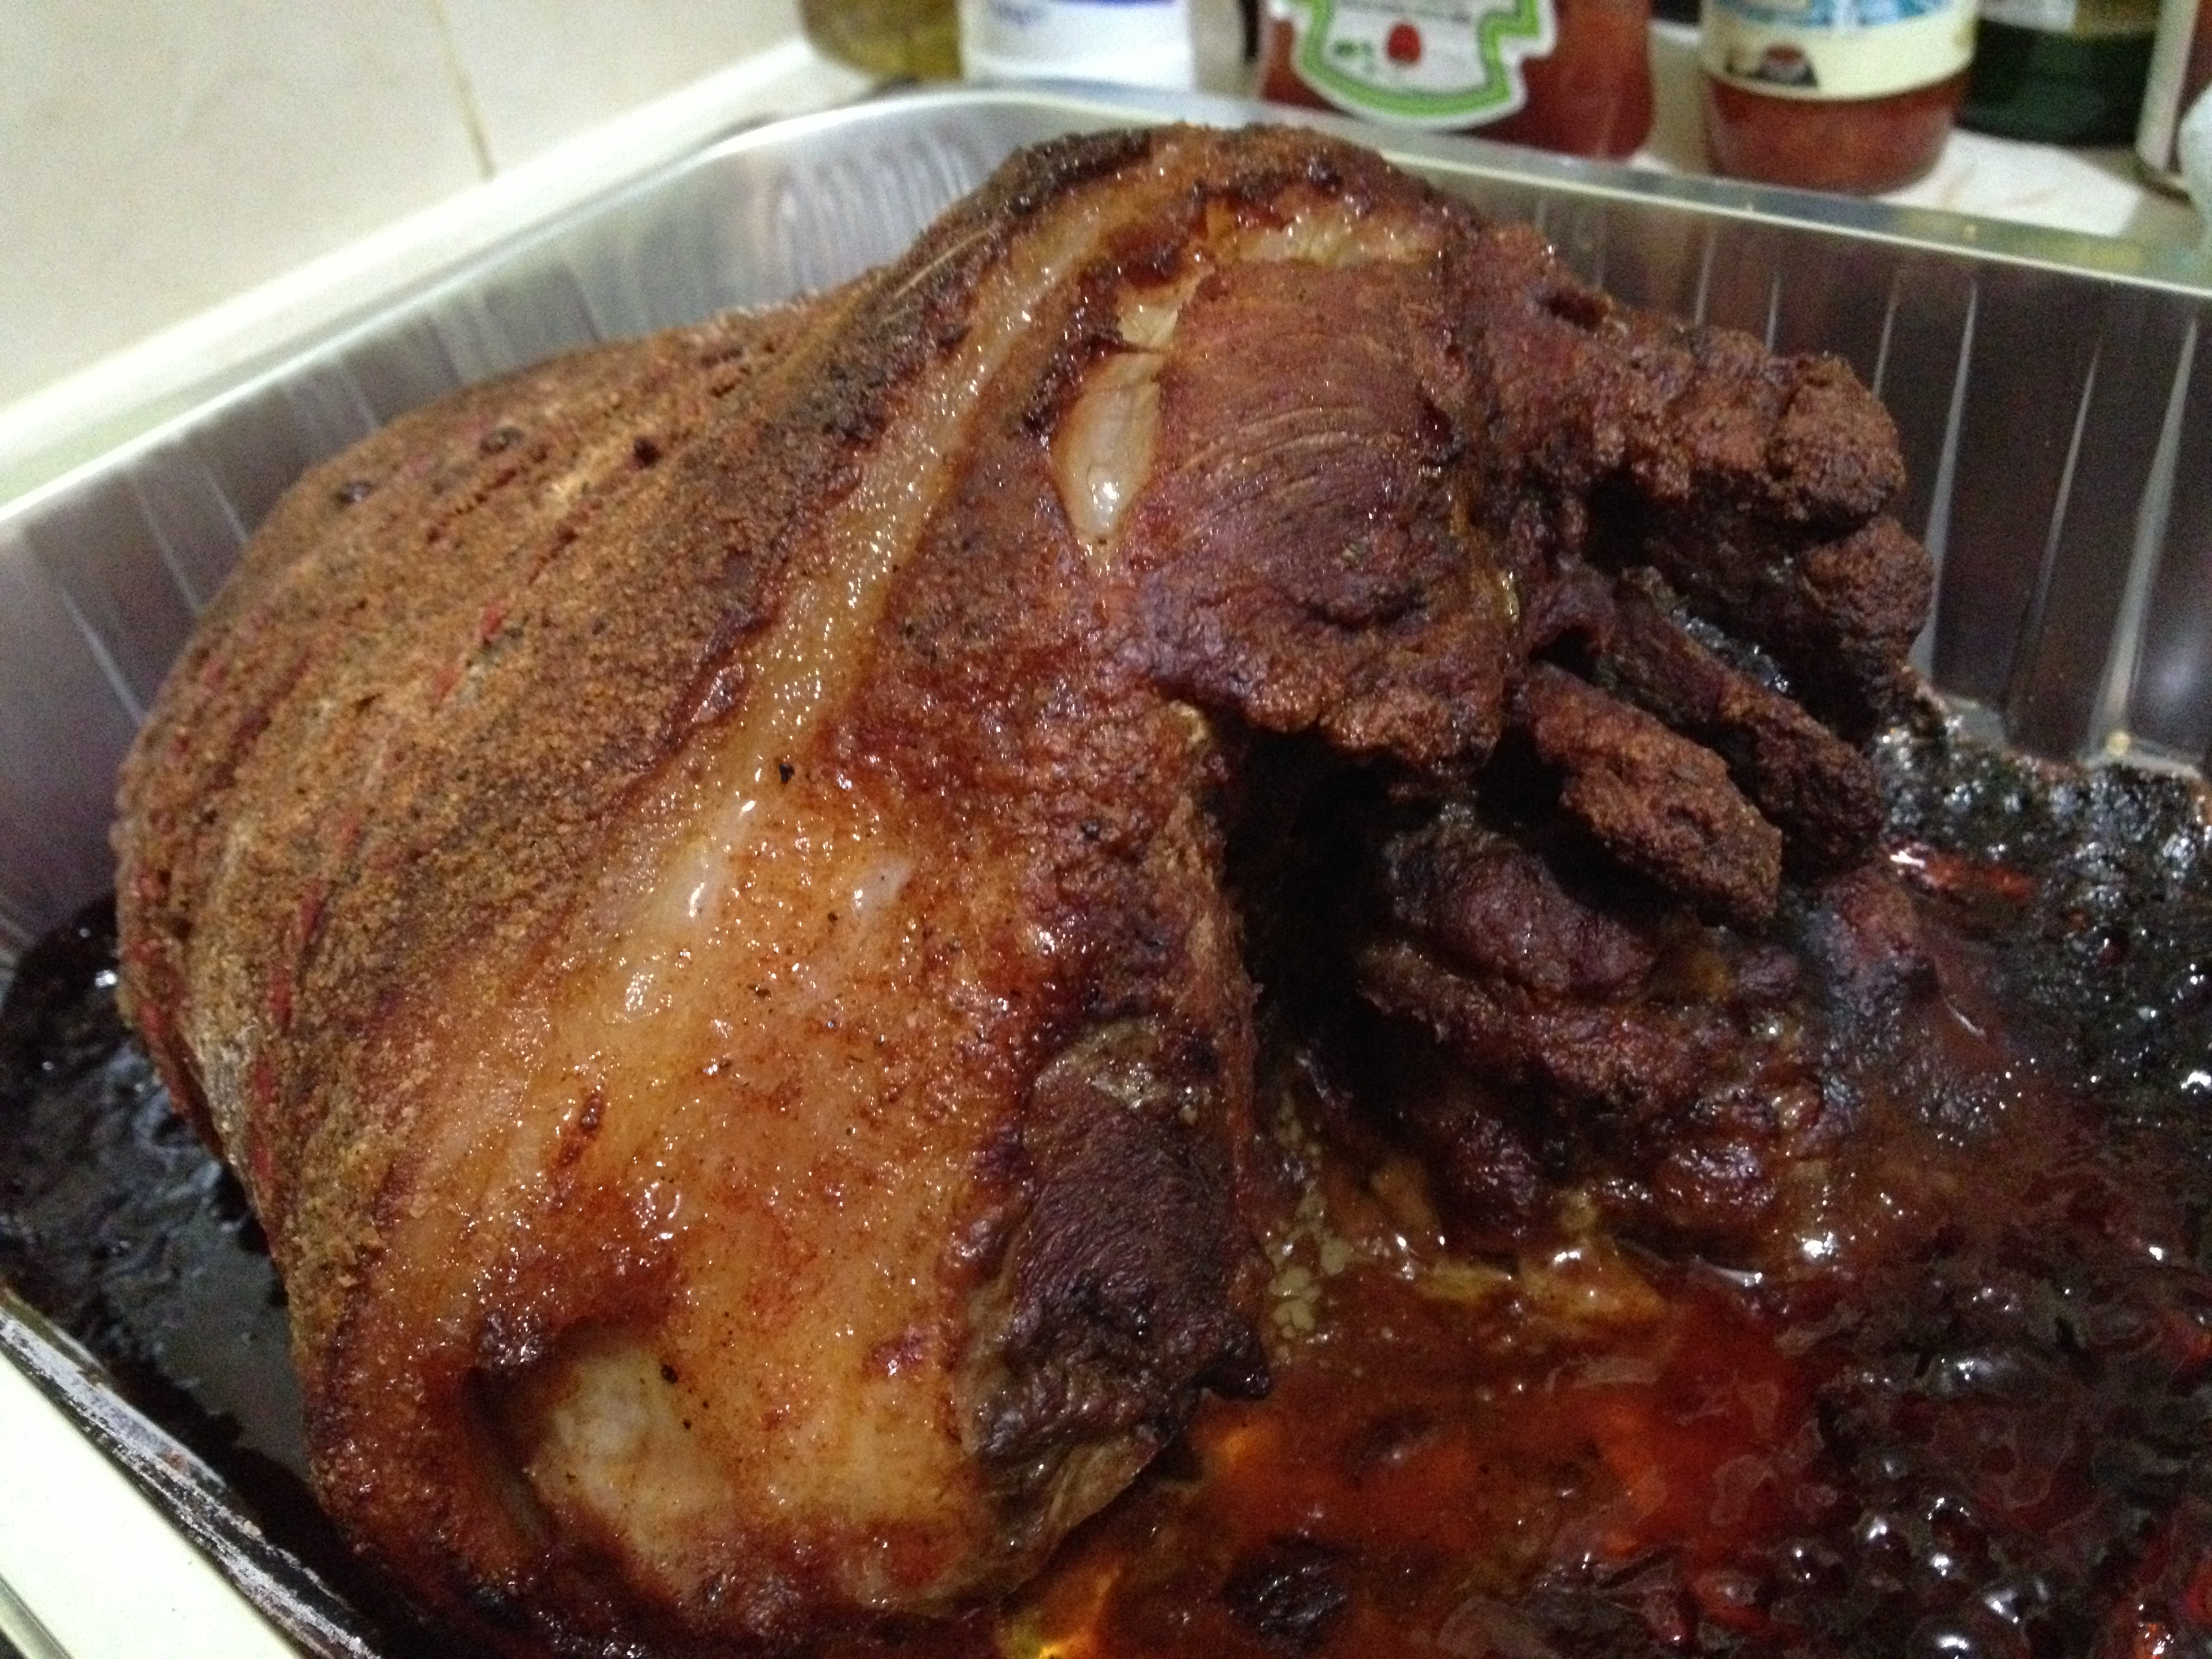
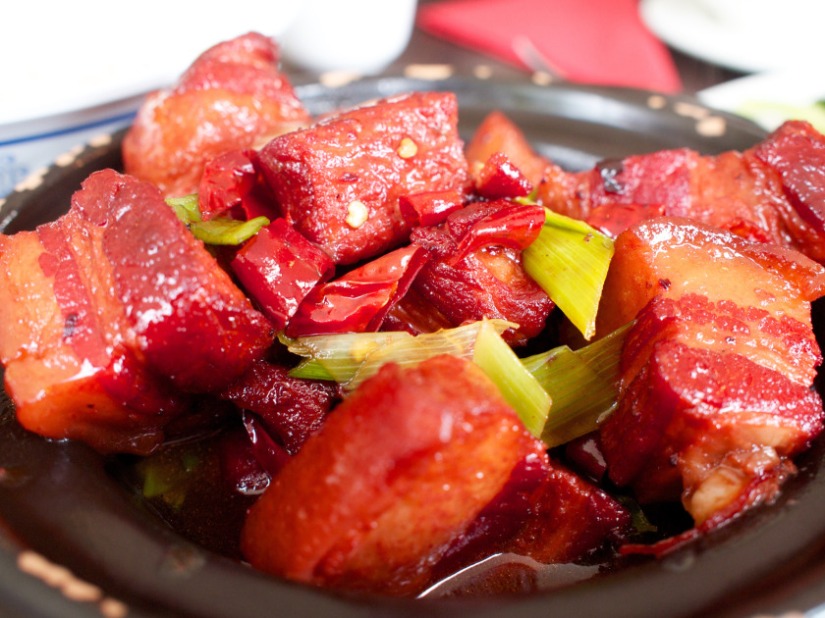
The Chairman Mao’s Red Braised Pork was the star of the show. It is a slow cooked pork belly that has a subtle sweet aniseed taste and melts in the mouth. The colour of the pork is a glorious red that comes from caramelising rock sugar and then cooking the pork in it. It is one of the most tastiest dished I have ever eaten and I could quite easily eat this all day.

Chairman Mao's Red-Braised Pork from Yipin China

The portion sizes at Yipin China are quite generous so you would normally order one dish per person plus rice unless you are really hungry.

The service at Yipin China was friendly and not too obtrusive and our bill came to just under £40 including service charge. We will definitely be coming back for more of the Chairman Mao’s Pork and to sample some of their other mouth watering dishes.

Yelly Eats

Chinese potsticker dumplings

I’ve almost always bought the potstickers (which are similar to the Japanese gyoza), whether cooked and ready to eat or frozen.  I’ve never really made them myself.  Mostly because I thought the pleating would be a difficult thing to do.  I’m a perfectionist so anything that doesn’t look good to me is a disappointment (reminds me of the mini-melt down I had when I first made carrot cake whoopie pies.  It involved a quiet scream and the throwing of the poor, innocent ice cream scooper!).  To avoid the disappointment, I just don’t do things.

But lately, I’ve been fairly adventurous (helped along by Alan’s encouragement!).  Last week, I made siomai.  This weekend, it was Chinese pork potsticker dumplings.  I must have watched a lot of “how-to-pleat” videos on youtube to mentally prepare myself for the exercise.  The dumplings turned out really well and has (probably) been given the Alan seal of approval.  I used store bought dumpling wrappers – the next time I’m doing it, I’m doing EVERYTHING completely from scratch!

Ingredients:

  • 110g ground pork2015-02-21 19.00.12
  • 1 tsp fine sea salt
  • 1 tsp dark soy sauce
  • 1 tsp rice wine
  • 1 tsp sesame oil
  • 1 tsp sugar
  • ½ ground white pepper
  • 1 tbsp corn starch
  • 1 egg white
  • 1 clove garlic, grated
  • 1 tbsp freshly grated ginger
  • 1 heaping tbsp chives chopped finely
  • 18 dumpling wrappers

Directions:

  1. In a bowl, mix all the ingredients together until well incorporated.
  2. Taking a dumpling wrapper, dampen the edges of the dumpling wrapper.  Place 2 teaspoons of the mixture in the center of the wrapper, and holding the wrapper like a taco, start pleating the edges of the wrapper, pinching with each pleat to seal the dumpling well.  Place on a parchment paper-lined baking tray and set aside until ready to cook.
  3. My version of cooking the dumplings might be different from most people, but it works for me.  There are other ways, so feel free to cook them any other way that works for you.  I place water and vegetable oil in a wok (or shallow saucepan) and allow the water to heat up to a gentle rolling boil.  Place 6-8 dumplings in the boiling water and allow to boil covered for 5 minutes.  Uncover the dumplings and swirl (carefully) around to make sure that the dumplings aren’t sticking to the bottom of the pan.  Allow the water to evaporate and add a little oil to fry the dumplings until they’re golden brown.
  4. Serve with your favourite dip!

Chinese pork dumplings

Yelly Eats

Mama’s Braised Pork

Today, I was comfort cooking.  And desperate for more of that belly pork from Bobby Chinn’s House of Ho.  Unfortunately for me, London is an hour and a half away from train and I wasn’t particularly feeling well.  So I did the next best thing: cook my mom’s braised pork – and add a few tweaks of my own.

Braised pork

Ingredients:

  • 1kg pork belly
  • 3 tbsp vegetable oil
  • 50g sugar
  • 75ml soy sauce
  • 2 cinnamon bark
  • 20 cloves
  • 1 inch piece of ginger
  • 2 star anises
  • 3 tbsp xiao xing rice wine
  • enough water to cover the pork in a pan
  • 1 heaping tbsp of cornflour
  • 3-4 tablespoons of water to dissolve the cornflour in

Directions

  1. Score the belly pork rind.
  2. In a work or a deep sauce pan, heat up oil and add about 50g of sugar and slowly caramelise the sugar in the oi  Once the sugar has completely melted and has turned a brown caramelly colour, raise the heat to medium and lay the pork belly skin-side down down and allow to colour for about 3 minutes.  Turn to do the fleshy side for another 3 minutes.
  3. Fill the pan until  with enough water to cover the pork.  Add the soy sauce, ginger, cinnamon, star anise, cloves and rice wine. 
  4. Braise for 1 1/2 hrs turning every 30 minutes.  Then remove the pork from the braising liquid and place the pork in a lined roasting tin
  5. Preheat the oven to 200°C.  Pass the braising liquid through a sieve.  To the braising liquid add 1 heaped tbsp of cornflour (don’t add the cornflour directly to the hot liquid – dissolve it first in about 3 tablespoons of water) and stir over low heat and allow to thicken.
  6. Pour half of the thickened braising liquid over the pork and roast in the oven for 30 minutes.  After roasting, take the pork out of the oven and allow to rest for 10 minutes before slicing to serve.   Serve with chopped spring onions sprinkled over the pork slices.
  7. This is best served with rice or hirata buns The left over thickened sauce can be a dipping sauce for the buns or sauce for the rice. 

Braised Chinese Pork

Yelly Eats

Oversharing my lunch!

My go-to recipe is my Salt and Chilli belly pork.  It is so easy to make.  But the challenge is what to pair it with.  I am more inclined to pair it with steamed veg.  Usually the broccoli-cauliflower-carrot medly or just the broccoli or just the cauliflower.  Or some leafy green vegetable like choi sum or kale wilted.

Today it was paired with green beans.  The recipe has come from The BBQ Book from Jamie Oliver’s Food Tube series printed by Penguin books.  The book was purchased mainly for Christian Stevenson’s (aka DJ BBQ) dry rub recipes (they are amazing!).  But I’ve made 2 things from his book now and they are all so great to eat!

The BBQ Book

The green bean recipe is called Woodstock Dan’s green beans and is a doddle to make!  You just need a little bit of oil, a smidgen of butter, green beans (of course!), a sprinkling of nutmeg and salt and pepper to season et voila!  You have Woodstock Dan’s Green Beans!

Woodstock Dan's green beans

Lunch was consumed really (really) quickly today!

Green beans and chilli pork

Yelly Eats

Salt and chilli belly pork

I used to buy salt and chilli belly pork from the supermarket prepacked.  The pork was lovely, and the flavours were simple, uncomplicated and delicious.  There is nothing more enjoyable than straightforward goodness.  I looked at the ingredients list one evening and thought I could actually make the ingredient list a bit simpler.  The taste reminded me of rotisserie pork that was readily available in the Philippines, so I started from there.  Salt and pepper were the mainstays of this lovely Filipino “fast food” option.

There are only 5 ingredients to this lovely no-fail recipe.  Of course you can change the herb of choice added (I’ve tried dill and it works!), remove the chilli and replace it with just pepper, add soy sauce instead of salt…the permutations can go on forever!  Feel free to customise this recipe according to your tastes!  The beauty of this is that you can make it ahead of time and just store it in the fridge and take it out when you’re ready to cook it.

Enjoy!

Ingredients:Salt and chilli pork belly

  • 500g pork belly strips, rind removed
  • 1 heaping teaspoon salt
  • 1 teaspoon dried parsley
  • 1-2 teaspoons chilli flakes (depending on how spicy you want it)
  • 3-4 tablespoons vegetable oil

Directions:

  1. Mix salt, spices and oil together in ziplock lock bag (other brands of resealable bags are acceptable!).  Add the belly pork slices and marinade for at least 2 hours, even better if marinated overnight.
  2. Preheat oven to 200C.
  3. Line a baking tin with parchment paper and lay the belly pork slices.  Place in the middle of the oven.  Bake the belly pork slices for 30 minutes, turning the belly pork slices halfway.
  4. The belly pork slices will come out lovely and brown.  Cut into bite-sized chunks and serve.
  5. This is great with rice and greens — or if you’re watching carbs like me, just greens (like wilted kale or cabbage, or steamed pak choi or choi sum).

Salt and chilli pork with greens

Yelly Eats

Crispy belly pork!

One of my favourite Chinese restaurant dishes, probably of all time, is crispy belly pork.  I’ve seen fairly complicated ways of preparing it.  I’ve heard someone say that you had to hold up the piece of belly pork and bathe the skin side with heated oil.  Another version said you bathed it with boiling water.  All these instructions sort of turned me off even attempting to make crispy belly pork.

Mind you, I made a fairly good roasted pork joint and made amazing crackling, if I do say so myself!  It’s very simple.  Take a pork shoulder joint, pre-heat oven to 200 ºC, score the skin, rub salt and pepper and pop it into the oven for at least 1 hour and 45 minutes.  To make perfect crackling (and this is faffing about really, but the crackling turns out so crackingly beautiful and that makes the faffing about absolutely worth it!), after cooking the pork, take off the skin and cook for a further 30 minutes at about 220 ºC.  Considering my success with roasting pork and making crackling successfully, you’d think I wouldn’t be afraid of making crispy belly pork.  But I’ve had really good crispy belly pork from my favourite Chinese and I didn’t want to make it and be disappointed in something I’d prepared!

A few weeks ago, one of my friends shared a Youtube video with me.  I share a lot of my baking photos on Facebook so people know I love to bake.  Cecile, my friend from Manila, said I should take a break from baking sweet things and attempt the belly pork recipe.  I watched the video maybe 5 times to work up the courage to attempt it.  But attempt it, I did.

I followed the video instructions but used a Stanley knife to score the skin instead of using skewers.  Also, I found that when I first checked on the skin it wasn’t crispy enough so I cooked it for a further 25 minutes.  The skin came out so well that I had to record for posterity how crispy it was.  I posted the video on Instagram because I was really pleased with myself!

Crispy belly pork on rice with pak choi

Yelly Eats

Cooking it slow and low!

My favourite American food shows are Man vs Food and Diners, Drive-ins and Dives.  Mainly because it gives me a lot of cooking ideas.  I think these 2 shows are entirely to blame for a phase I went through over  a year ago.  Mind you, I’m really glad that I went through this phase because I learned how to cook meats using a dry rub and I have my own recipe for a dry rub now.  I also learned the benefits of cooking meats low and slow – cooking them at a low temperature (about 130°C – 150°C) very slowly (at least 5 hours!).  This is excellent proof that good (and very tasty) things come to those who are patient!

Tonight, I dusted off my dry rub recipe (which is based on the Kentucky dry rub recipe) and cooked the pork shoulder that I bought yesterday (pork shoulder cuts were 50% off so I couldn’t resist buying it–I am a willing slave to food bargains!).  The recipe below will work for meats weighing between 1.75 – 2 kilograms and will work with pork and beef.

Ingredients:SlowroastPork1

  • 2 tablespoon cornflour
  • 1-2 teaspoons chili powder
  • 2 teaspoons salt
  • 2 teaspoons paprika
  • 4 tablespoons sugar
  • 3/4 teaspoon crushed chicken bouillon cube
  • 1 teaspoon onion powder
  • 1 teaspoon garlic powder
  • 1 teaspoon cayenne pepper
  • 1/4 teaspoon cumin

Directions:

  1. In a bowl, mix all the ingredients together.  I find that mixing it with a balloon whisk helps mix it properly and more efficiently.  Set a fifth of the powder aside to make barbecue sauce.
  2. Rub as much of the dry rub as you can onto the meat.  You can cook the meat as soon as you’ve finished rubbing the dry rub onto it, or for better flavour, leave it wrapped in cling film overnight in the fridge.
  3. Place the meat in a roasting tin and cover with foil.  Cook the meat in an oven preheated to 200°C for 15 minutes.
  4. After 15 minutes, turn down the heat to 150°C.  Cook at 150 for 4 ½ hours.  For the last 30 minutes, turn up the oven to 200°C and remove the foil and cook the meat uncovered.
  5. Allow the meat to rest covered with foil for 20-30 minutes before slicing.

SlowroastPork2