
I’ve loved coconut tarts since the first day I tasted them. Alan properly introduced me to them in Chinatown in London. We had a favourite Chinese bakery where we bought our char siu buns, cocktail buns and egg and coconut tarts. We called this bakery, the one with the pushy aunts because they were very…authoritative. To be honest, these Chinese aunties scared me! We’ve since then changed loyalties and we’ve found the perfect char siu buns from somewhere else, but after looking through at least 4 Chinese bakeries, one of my favourite things to order is the coconut tart. I love the flakiness of the pastry that they use on the tarts.
It is widely known that necessity is the mother of all invention. The trains to London are (to put it indelicately) buggered on the weekends until 22 March. So I can’t just zip into Chinatown and get some coconut tarts. Plus, Alan has been asking me to bake coconut tarts for a few weeks now. At first, they were very gentle, subtle hints. A couple of weeks ago, he asked me to bake them because he said my tarts were better than the store bought ones because I put more coconut in them! So, of course, I had to bake them!
I’ve almost always used store-bought puff pastry because it was more convenient. But as I am challenging my baking fears, I’ve been practicing my puff and rough-puff pastry making capabilities and flexing my muscles. I can bake shortcrust and sweet shortcrust pastry fairly well now, so this was a new challenge.
I think I’ve found a puff pastry recipe that I can manipulate and work to fit my needs. I’ve done a few tweaks to it so that it’s simple and relatively fool proof.
Shortcrust pastry:
- 250g butter, VERY COLD and cut into cubes
- 250g all purpose flour
- 50g icing sugar
- 150ml cold water
Directions:
- Because my hands are a still a bit buggered, I’m using a mixer. In a mixing bowl, combine flour and icing sugar. With the paddle attachment, add all the butter and mix. You should still see pieces of butter but they should be covered in flour.
- Add 2/3 of the water and mix until the mixture comes together and comes away from the sides of the bowl.
- Turn the mixture out onto a floured surface and knead gently until the mixture is relatively smooth and then form a rectangle. Using a floured rolling pin, roll into a longer rectangle. Fold the top third down towards you and the bottom third up (you should have a square-ish rectangle). Flour the surface some more so that the pastry doesn’t stick. Hold one of the corners and turn the dough 90º and roll into a rectangle and fold into thirds again. Do this another 2 times. Then wrap in cling film and chill for 30 minutes.
- Roll and fold the pastry into thirds about 3 more times chilling 30 minute in between roll and fold sessions, wrapping the pastry after each time. This will create the pastry layers. Keep the pastry in the fridge until you’re ready to use it. This will line at least 2 12-hole muffin pans (24 tarts), depending on how thick you want your pastry to be.
TIP: To use this pastry in a savoury recipe, replace the sugar with 1 tsp fine sea salt.
When you’re ready to fill your tarts, roll out the pastry to desired thickness and cut rounds to line muffin tins. Preheat the oven to 180ºC.
Coconut tart filling:
- 225g dessicated coconut

- 100g butter, softened
- 175g sugar
- 1 egg
- 75g plain flour
- 1 tsp baking powder
- 100ml evaporated milk
- 24 glacé cherry halves (optional)

Directions:
- In a bowl, combine coconut, flour and baking powder. Set aside. In another bowl, cream butter and sugar until light and fluffy. Add the egg to the butter-sugar mixture until well combined.
- Add the coconut-flour mixture and evaporated milk until the mixture is thick. It will be slightly heavy.
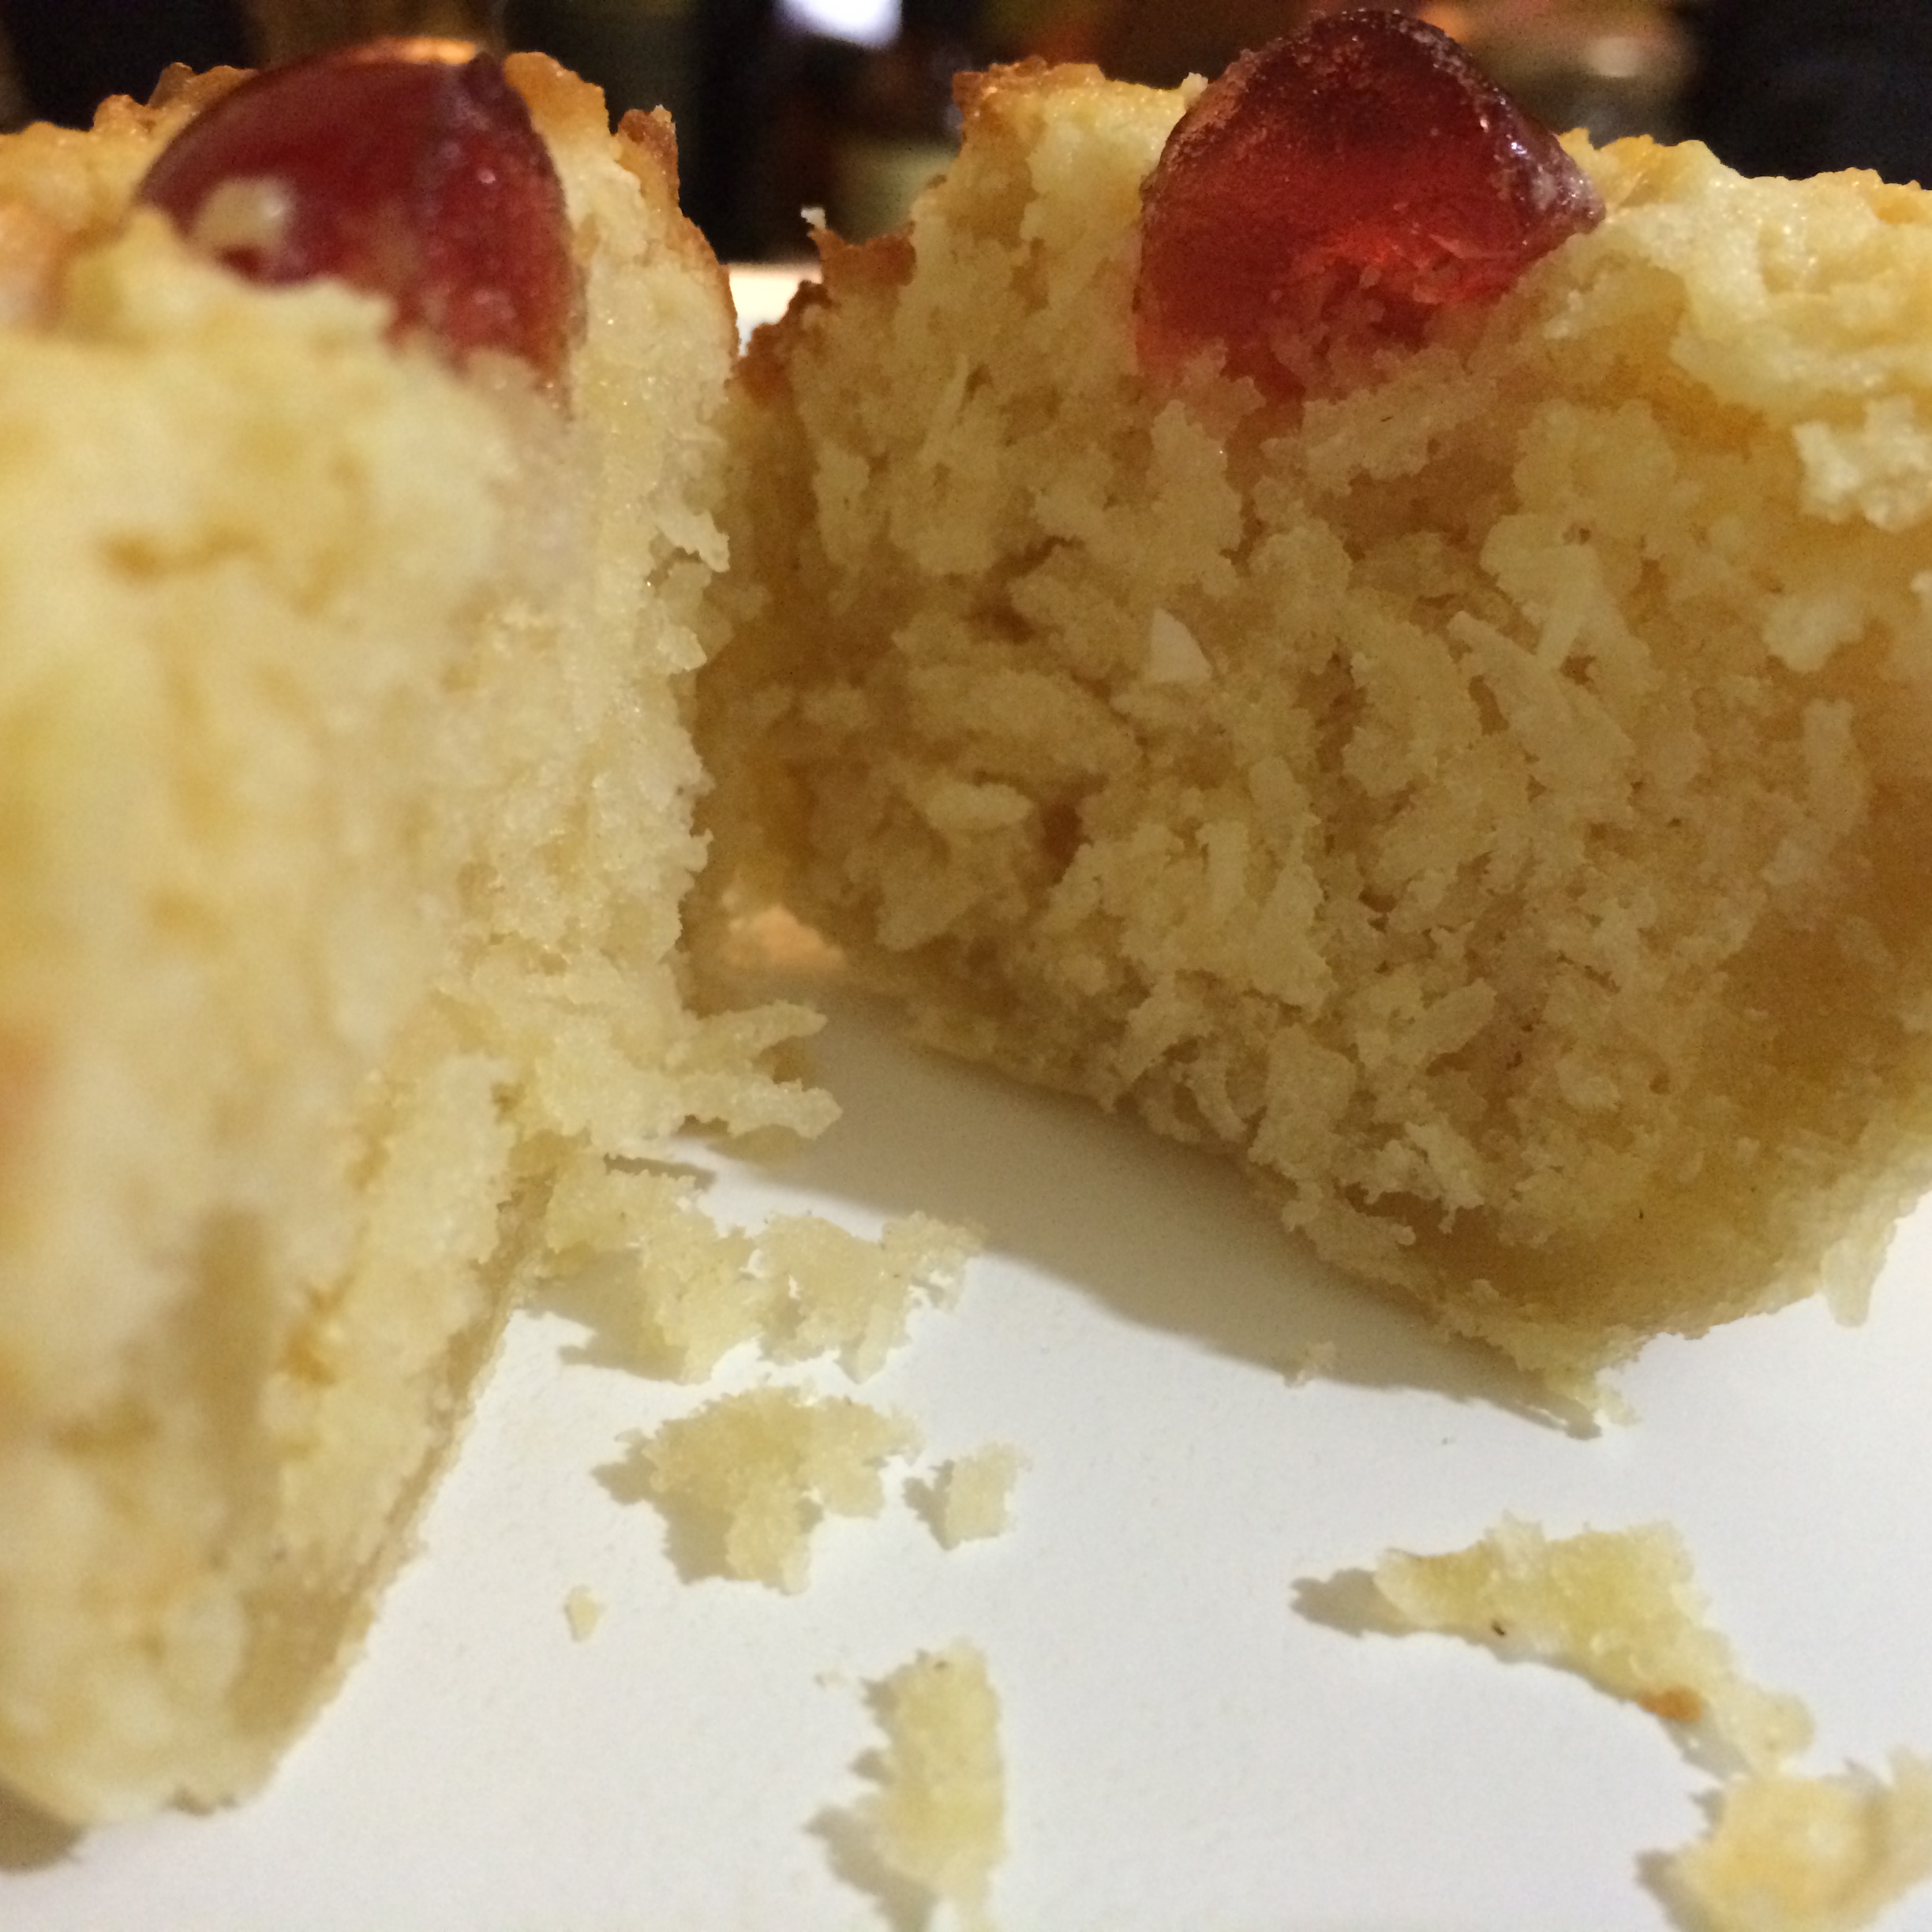
- Fill the tarts until almost to the top of the pastry (which is about one tablespoon of mixture) and top with half a glacé cherry (if you wish, this is optional of course, but it makes it so pretty!) and bake for 20-25 minutes (depending on how hot your oven is) or until risen over the pastry and golden brown.
- Take the tarts out of the oven and cool for 5 minutes before moving to wire racks to cool completely.


