Over a week ago, I gave in to the urge to finally make chocolate crinkles. It’s a popular cookie in the Philippines. It’s rich, indulgent and fudgy. It’s something that might just make you go mmmmm. I approached the idea of making crinkles with a little trepidation. I always worry that my memories of what things taste like in Manila is different from reality. But I did manage to work up the courage to finally make crinkles!
 I’ve written a recipe that I’ve tweaked below and I know that it works. I would love for y’all to make chocolate crinkles and let me know if the recipe works for you.
Ingredients:
- 150g unsweetened cocoa powder
- 280g caster sugar
- 150ml vegetable oil
- 4 large eggs
- 2 teaspoons vanilla extract
- 300g plain flour
- 2 teaspoons baking powder
- ½ salt
- 150g icing sugar
Directions:
In a bowl, using a balloon whisk, mix the flour, salt and baking powder together and set aside. In a mixing bowl, combine the cocoa powder, sugar and oil. To mix, I’ll use a free-standing mixer.
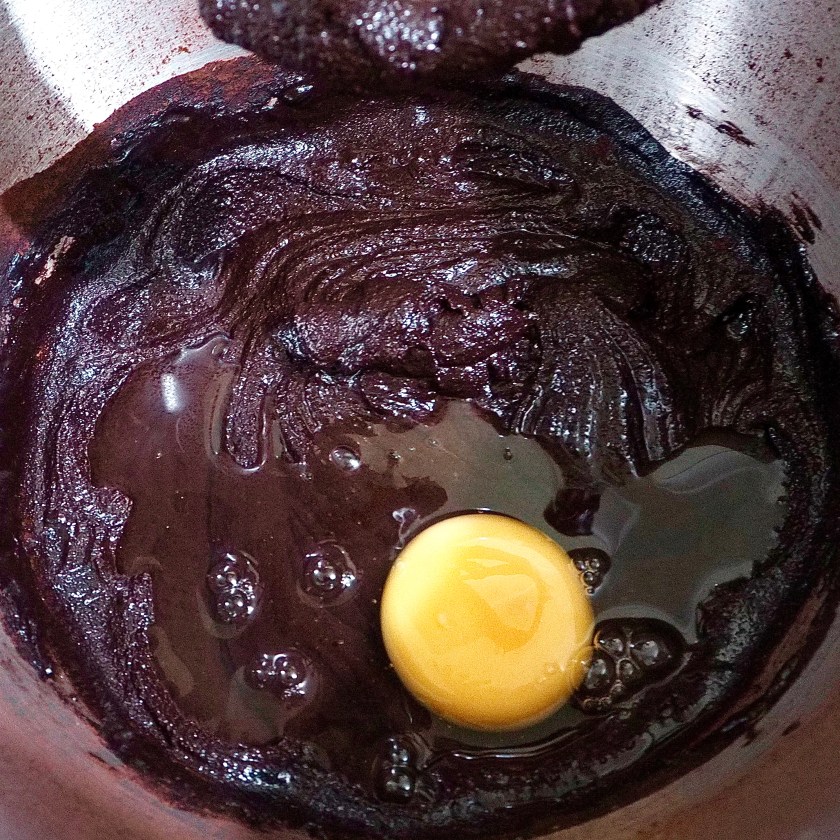
 With a paddle attachment, on the lowest setting (just so that the cocoa powder doesn’t fly all over the place), start mixing the cocoa powder, sugar and oil for about 2 minutes. Once the mixture forms a thick paste, increase the speed and mix for a further 2 minutes. The mixture should turn shiny and smooth. Add each egg individually and mix until the mixture is again shiny. Once all the eggs are added, add the vanilla.
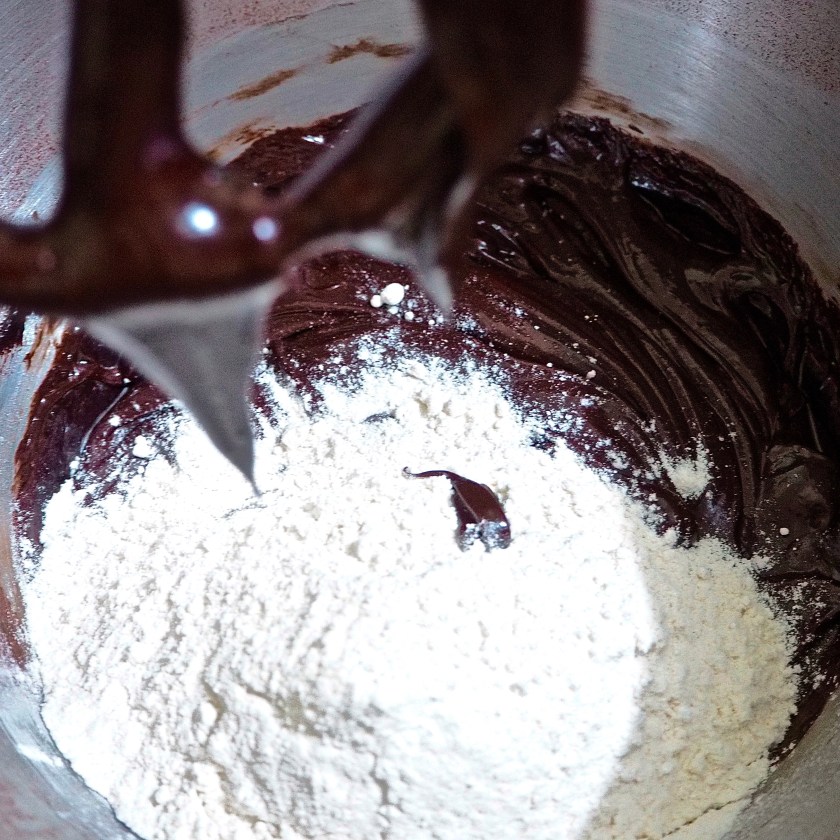
 Add the flour mixture and mix until well-incorporated and the mixture is smooth.
 Cover the mixture and chill in the fridge for at least 2½ hours (I initially only chilled it for 1½ hours and it seemed to be okay), the longer you chill it, the better.
 Preheat the oven to 175°C (350°F). Line your baking sheets with parchment paper. I like to use a small ice cream scoop or a 1 tablespoon measuring spoon.
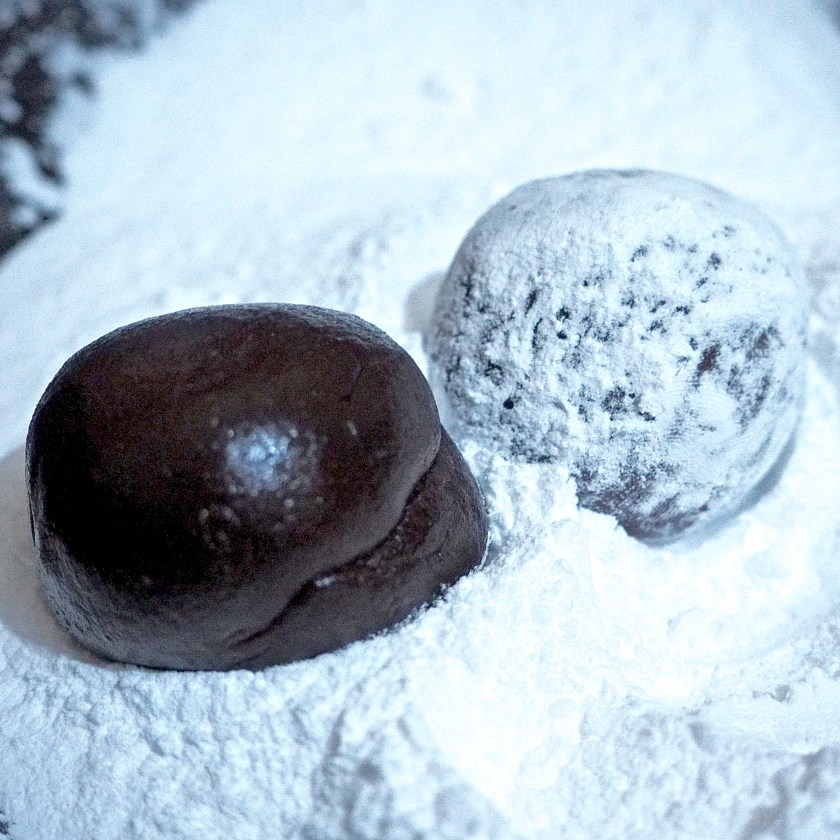
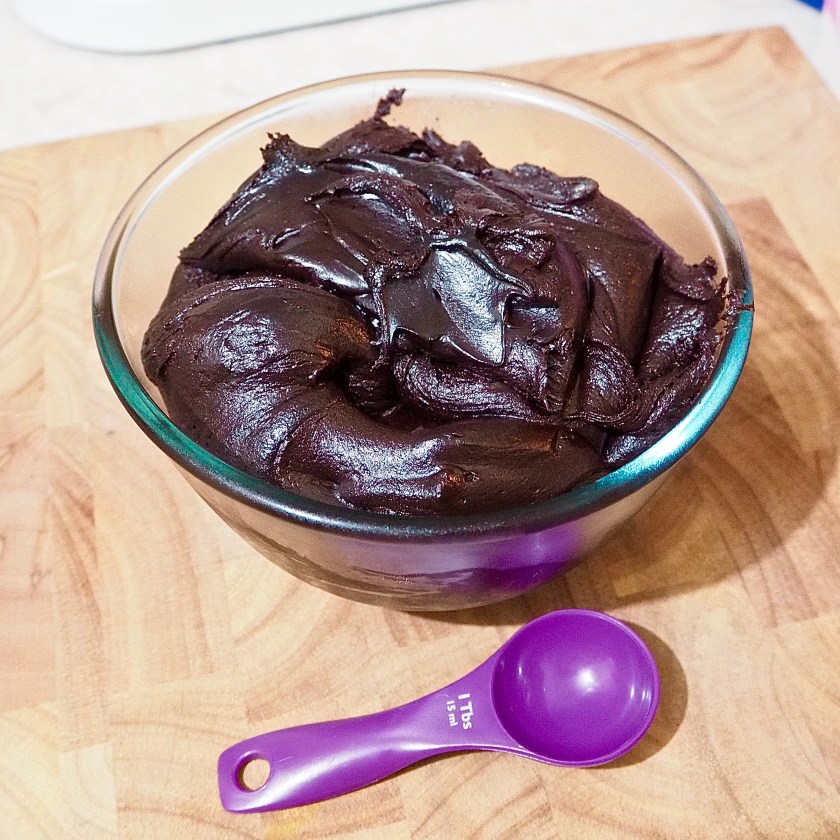 Scoop a generous 1 tablespoon of the mixture and roll it into a ball. Coat each ball with icing sugar and place on the lined sheet.
 Bake for 10-12 minutes. Once the cookies are baked, take them out of the oven and allow to cool on the sheets for about 5 minutes before transferring them onto a wire rack to cool completely.
 The cookies have a recognisable cracked surface and that’s how you know it’s a chocolate crinkle!
 This recipe makes about 40 crinkles.