Yelly Eats

Style over substance

Ping pong

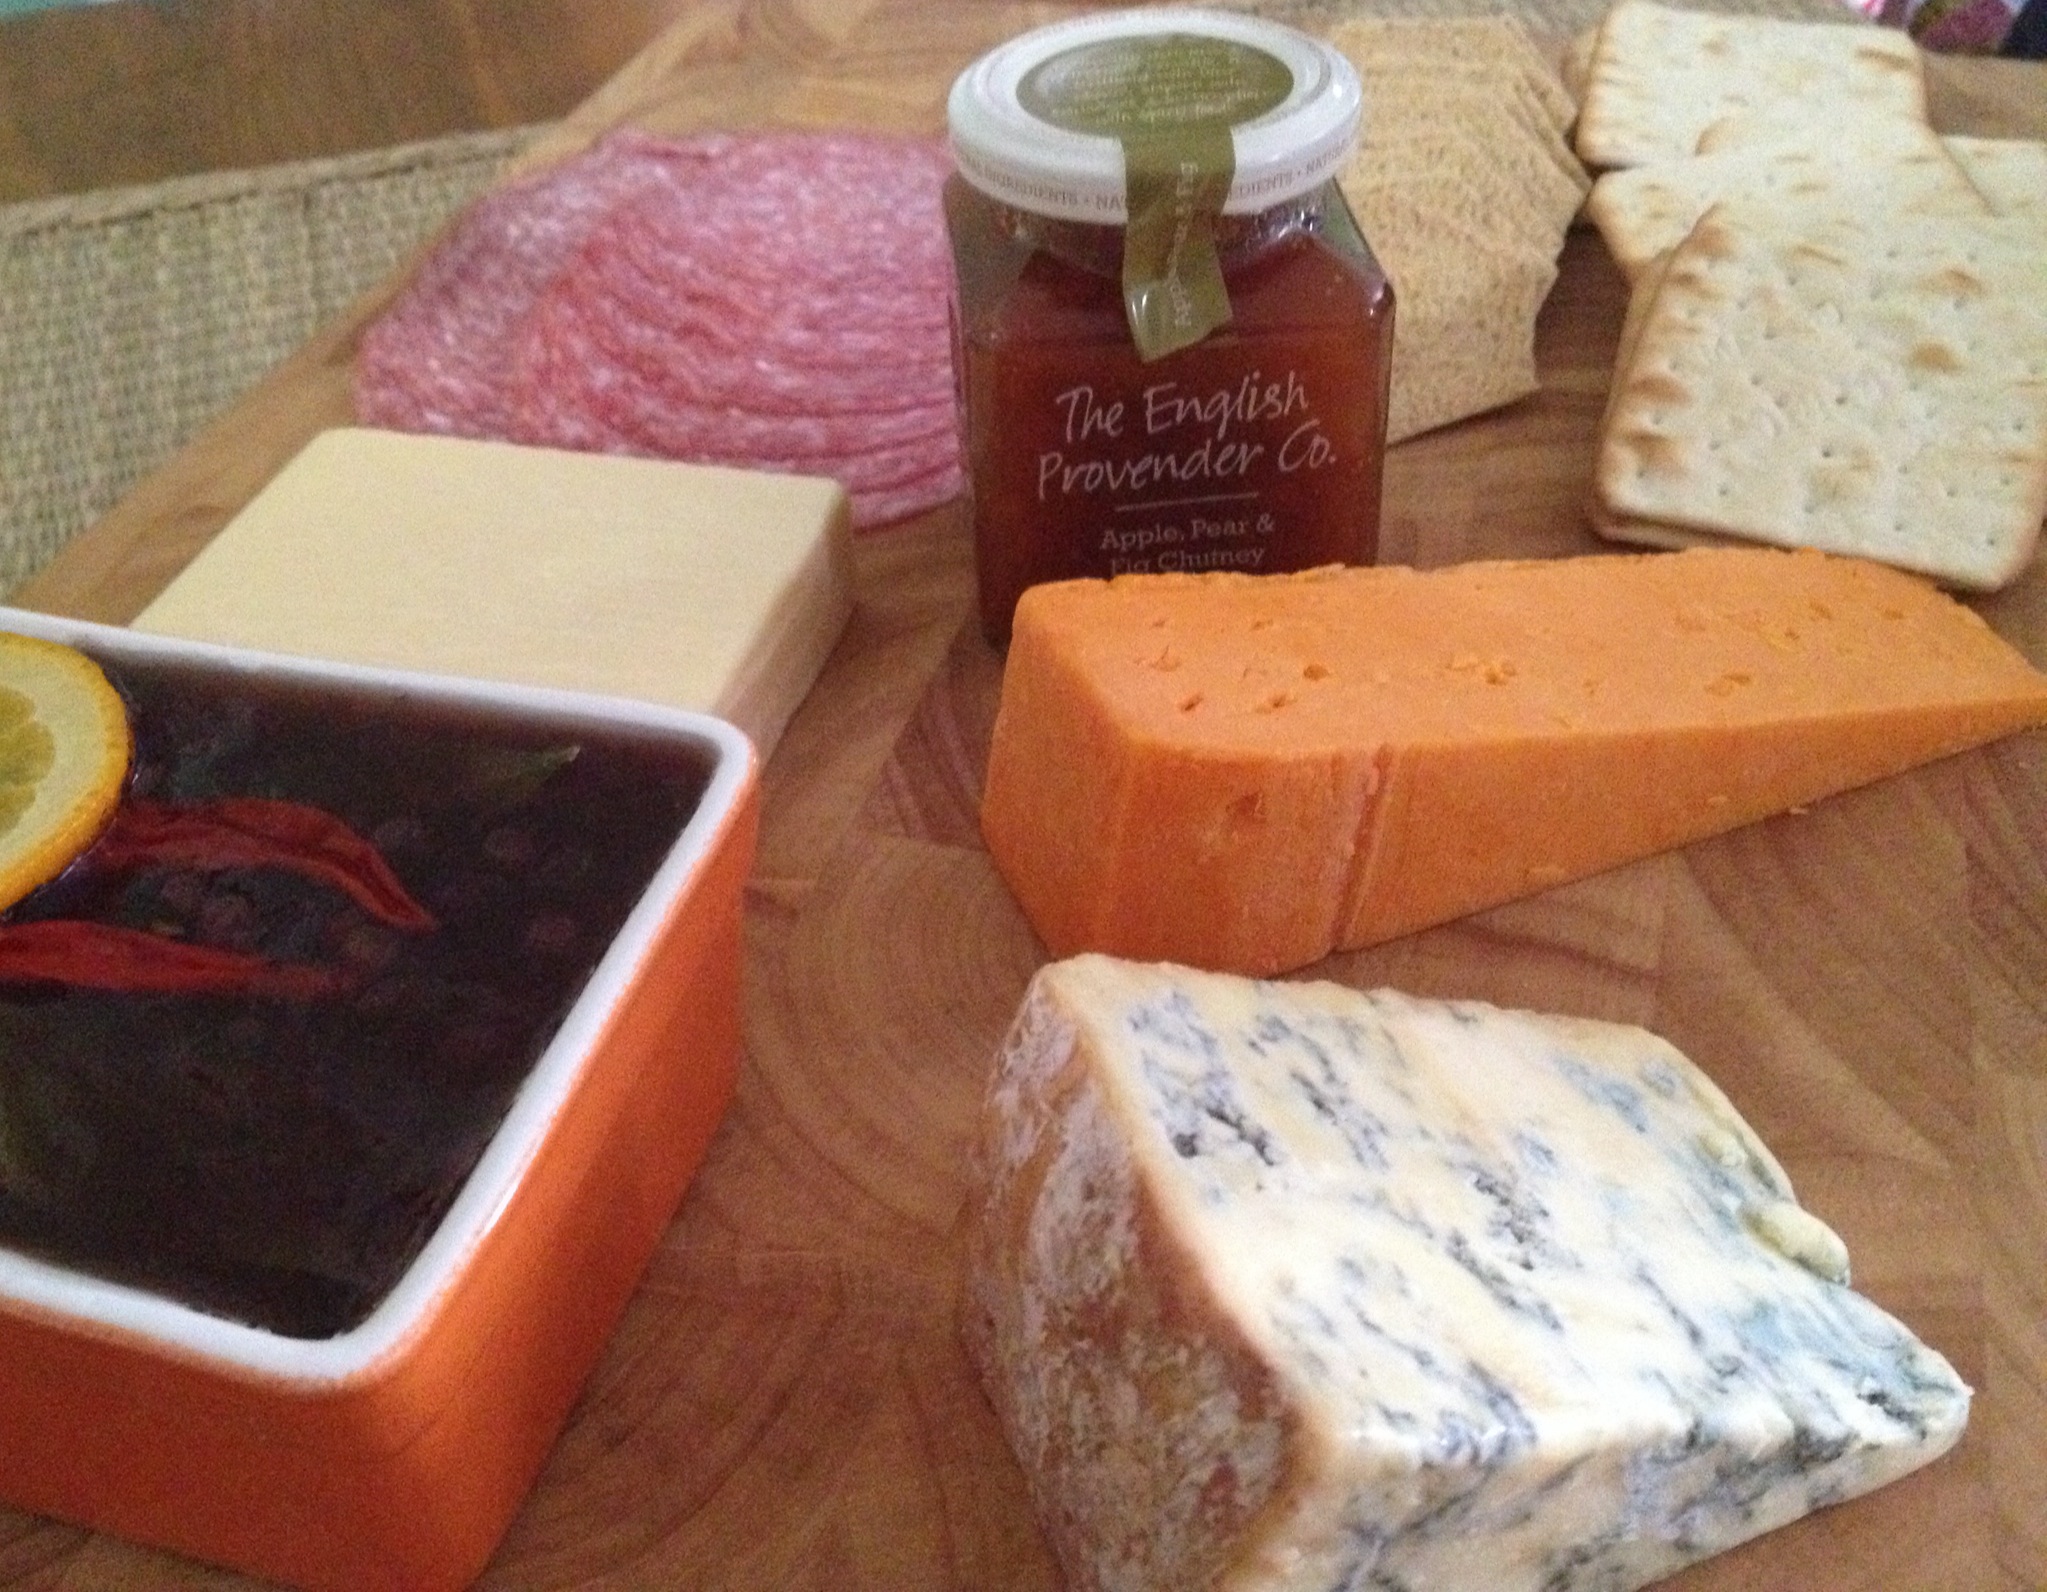
I love dimsum.  Particularly siu mai.  I’ve always thought that if dimsum was the universe, siu mai (and it’s numerous varieties) was the point of the big bang.  Where everything started.  But that’s my opinion.  I’m sure Chinese cuisine historians have differing opinions.

I miss the Philippines and it’s numerous siu mai kiosks dotted around.  If you wanted siu mai, there would be some small kiosk that you could go to to satisfy the craving.  It’s not so available here in the UK.  While Chinese takeaway is a favourite and every town, no matter how small, will have a Chinese takeaway establishment, not all the takeaways have dimsum.  The closest thing to dimsum is wanton soup, which is, thankfully, available on all the Chinese takeaway menus where I live.  Small favours, and am very thankful for them!

I am a huge fan of the dimsum trolley service.  Ladies going around the restaurant, pushing steaming trolleys filled with tiny bamboo steam baskets filled with unknown goodies.  I love the excitement of finding out what the trolley is carrying: siu mai, dumplings, hakaw, beef balls, char siu pork in puff pastry, spring rolls, crab dumplings, crispy prawn balls, turnip cakes and the occasional lotus wrapped sticky rice parcel.  I’ve since started mourning the loss of 2 restaurants that did trolley service really well.  There was a restaurant that I only remember as CCK in Chinatown.  It stopped its trolley service, then turned into an all-you-can-eat then closed down.  Then came New World.  It was dimsum perfection — for a while.  The service and the quality of food has since declined and it’s been 2 years since I’ve been.  People have suggested going to Royal China either in Bayswater or Baker Street but I haven’t had the time to.  Since New World, I’ve only ever gone to dimsum restaurants that serve you dimsum after you order them.

We went to the newly opened Ping Pong brance in Westfield Stratford yesterday.  The only word that comes to mind is horrible.  They didn’t have prawn or pork siu mai (which, in my opinion, is the backbone of dimsum choices), the dimsum was bland and oversteamed.  When the steaming baskets came to the table, you uncovered a gelatinous mess!  Everything needed a bit of flavour because everything was basically globs of nothing.  Even the soy and the chilli oil and sauce were bland.  For all the colour and styling in the restaurant space everything faded into the beigeness of the food.  And never again am I coming back to a Ping Pong branch.  It didn’t live up to the hype.  And it was all style and no substance.


Yelly Eats

Beetroot brownies

I bring this brownie to work all the time and, more often than not, the brownies go, within minutes.  Sometimes people are taken aback at the “beetroot” element of the brownie and  I always say that this is a “healthy” brownie and I always joke that beetroot that’s in it can count towards one of your five-a-day.  But there is a large element of truth in that statement because there is a considerable amount of beetroot in the recipe — and beetroot is a vegetable!  I know that most people are pleasantly surprised at how good the brownies taste.  I think they expect the traditional beetroot taste to hit them, but in this recipe, you can’t really taste the beetroot.  If anything, the beetroot enhances the taste of the chocolate.

I tweaked a recipe that I found in a supermarket’s magazine.  I added more beetroot and reduced the amount of sugar in it.  The brownies come out very moist and very fudgy.

Ingredients:

  • 200g dark chocolateBeetroot brownies
  • 200g butter
  • 3 eggs
  • 1 teaspoon vanilla
  • 250g sugar
  • 200g self-raising flour
  • 300g vacuum packed cooked beetroot, grated

Directions:

  1. Break the chocolate into sections and together with the butter, place in a heatproof dish and stand over a pan of simmering water, making sure that the bottom of the bowl didn’t touch the water.  Leave to allow the chocolate and butter to melt, stirring occasionally.  Once the chocolate and butter are melted, set aside and allow to cool.
  2. Preheat oven to 180C.
  3. In a bowl, mix together eggs, vanilla and sugar.  Beat until the eggs are light yellow in colour.  Beat in the melted chocolate until well-combined.  The mixture will thicken slightly as you mix the chocolate into the egg and sugar mixture.  Gently fold in the flour and beetroot..
  4. Spoon the mixture into a prepared pan (greased and lined with parchment paper) and bake for 40-45 minutes.  It is done when a toothpick inserted comes out relatively clean.  Cool in the pan for about 5 minutes and then remove from the baking tin and cool completely on a wire rack.
  5. Will make 16-24 squares, depending on how big you slice your squares.
Yelly Eats

Salt and chilli belly pork

I used to buy salt and chilli belly pork from the supermarket prepacked.  The pork was lovely, and the flavours were simple, uncomplicated and delicious.  There is nothing more enjoyable than straightforward goodness.  I looked at the ingredients list one evening and thought I could actually make the ingredient list a bit simpler.  The taste reminded me of rotisserie pork that was readily available in the Philippines, so I started from there.  Salt and pepper were the mainstays of this lovely Filipino “fast food” option.

There are only 5 ingredients to this lovely no-fail recipe.  Of course you can change the herb of choice added (I’ve tried dill and it works!), remove the chilli and replace it with just pepper, add soy sauce instead of salt…the permutations can go on forever!  Feel free to customise this recipe according to your tastes!  The beauty of this is that you can make it ahead of time and just store it in the fridge and take it out when you’re ready to cook it.

Enjoy!

Ingredients:Salt and chilli pork belly

  • 500g pork belly strips, rind removed
  • 1 heaping teaspoon salt
  • 1 teaspoon dried parsley
  • 1-2 teaspoons chilli flakes (depending on how spicy you want it)
  • 3-4 tablespoons vegetable oil

Directions:

  1. Mix salt, spices and oil together in ziplock lock bag (other brands of resealable bags are acceptable!).  Add the belly pork slices and marinade for at least 2 hours, even better if marinated overnight.
  2. Preheat oven to 200C.
  3. Line a baking tin with parchment paper and lay the belly pork slices.  Place in the middle of the oven.  Bake the belly pork slices for 30 minutes, turning the belly pork slices halfway.
  4. The belly pork slices will come out lovely and brown.  Cut into bite-sized chunks and serve.
  5. This is great with rice and greens — or if you’re watching carbs like me, just greens (like wilted kale or cabbage, or steamed pak choi or choi sum).

Salt and chilli pork with greens

Yelly Eats

Pecan and chocolate banana spice muffins

I’ve been looking back at the first 53 days of the year, I haven’t really baked much.

So the first bake for 2014 is banana muffins.  I love banana loaves and treasure my banana bread recipes.  My favourites are those that translate into wonderful muffins.  Most cake recipes will be great cupcake or muffin recipes anyway, with a little ingredient tweaking and oven watching as cupcakes and muffins, obviously are smaller and will bake quicker.  I’m sharing another one of those “tweaked” recipes.  This recipe happened because I was a little too enthusiastic with random inclusion of ingredients.  I was a bit worried about how the spices would work with the dark chocolate, but according to my lovely taste-testers at work, the chocolate studded spiced mixture works!  Hurrah!

Now, if you’re brave enough to give my little concoction a try, here’s the recipe!  What’s great about this recipe is it’s a little lighter because I don’t use butter but vegetable oil.  This also makes exactly 12, count em, 12 regular sized cupcakes.

Ingredients

  • 220g plain flour
  • 1 teaspoon baking powderPecan and choccie banana spice muffin
  • 1 teaspoon baking soda
  • ½ teaspoon salt
  • 2 teaspoons ground cinnamon
  • 1 teaspoon ground cloves
  • 3 bananas (preferrably at least medium sized), mashed
  • 100g chocolate chips
  • 150 g chopped pecans
  • 150g caster sugar
  • 1 egg
  • 1 teaspoon vanilla extract
  • 75ml vegetable oil

Directions:

  1. Preheat oven to 190°C (180°C fan).
  2. In a bowl, mix flour, baking powder, baking soda, cinnamon, cloves and salt together and set aside.
  3. In a mixing bowl, mix oil, sugar, eggs, vanilla and the mashed banana together until the mixture is smooth.  I love my mixer (my nearly 3-year old Kenwood Chef) because I can just bung everything in (including unmashed bananas! the lovely machine does it all for me!) and it gets mixed beautifully!  Add the chocolate chips, pecans and the flour mixture and mix until well-incorporated, scraping the sides of the mixing bowls occasionally.
  4. Spoon the mixture into a muffin tin lined with muffin cases.  For more evenly sized cupcakes, I use an ice cream scooper.  Bake for 18-20 minutes.  The muffins will be ready when a toothpick inserted in the centre comes out clean.
  5. Take the muffins out of the oven and leave to rest in the muffin tray for 5 minutes before letting them cool completely on a wire rack.
  6. Makes 12-14 muffins, depending on the size of cupcake cases that you use.
Yelly Eats

Lamb kofta kebabs

I am certainly fond of my takeaways – even while I lived in the Philippines, takeaways were a regular occurrence in our household.  I may be wrong, but we seemed to have a better variety of takeaways available for home delivery.  One of my favourites were barbecued squid, stuffed grilled fish and spit-roasted suckling pig with amazingly crispy skin.  Yes, you phoned in and they delivered it to your home wrapped up in a banaa leaf (properly packaged in aluminum foil and a takeaway box of some fashion, of course!)!  Is it any wonder I miss Philippine food?

Tonight I made lamb kofta kebabs and paired it with roosterkoek breads using Andy Bates’ recipe.  It’s a lovely way to make one’s own takeaway-style food with the comfort of knowing exactly what’s in the food!  I’d like to share with you my recipe for the lamb kebab.  It’s my version of a kebab recipe that I found in a book called The Takeaway Secret.  I’ve modified the recipe so that it’s made up of ingredients that I’ve found in my cupboard!

Ingredients:

  • 500g lamb mince
  • 1 heaped teaspoon garlic powder (or 1 large clove of garlic, very finely chopped)
  • 1 medium onion finely chopped (or 2 heaped teaspooons onion powder)
  • 1 heaped teaspoon chilli flakes (or 2 red finger chilli peppers very finely chopped)
  • 1/4 teaspoon allspice
  • 1/2 teaspoon paprika
  • 1/2 teaspoon cumin
  • 1 teaspoon salt
  • 2 tablespoon finely chopped coriander (including stalks)
  • 1/4 teaspoon ground black pepper
  • 1 egg

Directions:

  1. In a bowl, combine all ingredients.  Mix the ingredients but try not to overwork the mince too much.  Allow to marinade for at least 2 hours, or overnight if possible.  TIP: You can adjust salt to taste, increasing or reducing the amount by half a teaspoon.  I haven’t tried this recipe using beef, but I think if you’re using beef, make sure you DON’T use lean or extra lean beef mince because you need the fat in the kebabs so that they don’t dry out.
  2. Divide the koftas into 9-12 pieces.  Shape the pieces into cigar-shaped pieces and flatten slightly.
  3. These koftas can be fried in a griddle pan or frying pan with a little oil.  My favourite way of cooking them is under a grill though, set to a medium-high heat.  Cook the kofta pieces (whether fried or grilled) for 6-8 minutes each side, or until the meat is cooked through and golden.
  4. Serve with pitta, salad and a tzatziki sauce if you like.  Will also work with hummus!

Kofta kebabs

Yelly Eats

Chilling on a Saturday

I’ve told myself that I need to write more.  And I am.

My idea of chilling on a Saturday is working in the kitchen — at the pace that I set for myself.  I’ve managed to clear the dishes from the meals of the past few days (yes, I can be quite the slob when I have my über slow days!) bake a batch of chocolate cherry cheesecake brownies and bake a small cheesecake (leftover batter from the brownies!).  The next item on the list of things to do today is make lamb kofta kebabs for dinner.

I had a lovely lunch though.  No cooking involved at all.  Just opening packets.  Packets of delicious goodness!  My lunch was a cheese plate lunch.  It was filled with all my favourite things: pâté, chutney, Stilton cheese, Red Leicester cheese, a mature Cheddar cheese, Milano salami and cream crackers and oat biscuits!  It was yummy and relatively lighter than any lunch I’ve had the past few weeks leading up to Christmas and the bonus bit was this was all under £10 (plus I have enough leftovers to feed at least 5 more people – you gotta love post-Christmas food sales!)!

It is now after 5PM and I need to start on my kebab mix!

I hope everyone’s had a brilliant Saturday!

Cheese plate

Yelly Eats

Jubo Chicken

My friends from the Philippines and the US have been posting photos of their Korean fried chicken experiences and I’ve been so very jealous!  The chicken looked so amazing that I was feeling very left out.  Unfortunately, the Bonchon Chicken chain hasn’t made it over the pond and until very recently, the UK was completely unaware of how good Yangnyeom Tongdak was!

Enter Jubo London.

It’s a little Korean canteen that’s installed in the Bedroom Bar in Shoreditch.  It was a little bit of a trek to find the Bedroom Bar but let me tell you, if you love chicken, this is definitely worth the trip!

Jubo Chicken, Shoreditch

The chicken is fried twice with a choice of 2 lovely syrupy glazes: soy garlic and hot and sweet.  You can choose between getting wings or getting strips.  There are also other things on the menu, bulgogi subs and steam buns filled with slow cooked belly pork.  But we didn’t try those on our visit.  We came for one thing alone: the chicken.

I apologise for the grainy photos but the lighting in Jubo wasn’t conducive to food photography.  It is, after all, in a bar!  The photo of the chicken dinner platter (8 wings, 8 strips and 3 sides – if you get this ask for half-and-half so that you get both the soy garlic and the hot and sweet!) doesn’t do the chicken justice.  I’m not a chilli junky but I love the hot and spicy best because there is a perfect balance of heat and sweetness and, pardon me for using someone else’s chicken reference, but the chicken, in my opinion, is meant to be eaten by hand and is, very definitely, finger-lickin good!  Mind you, the soy garlic does give the hot and spicy a run for its money because it’s equally tasty.  There are no words to describe how lovely the chicken is.  Despite the fact that the chicken is twice-fried, it was so moist and succulent!

Jubo chicken platter

The staff are friendly and love their product so they’ll help you with the menu.  Mind you, there’s not a lot but what they do have on the menu is the best of Korean “pub” fare.  Make sure you have the kimchi (I love kimchi!).  I’m of the persuasion that it’s homemade!

Eat your heart out Bonchon!  You missed a trick.  Jubo London has claimed London!

Yelly Eats

My ode to The Duffin

After the obvious success of the cronut™ (aka croissant-donut, dossant, doissant, dosant, frissant, faux-nut), people wanted to contribute to the rising pastry hybrid trend by inventing delicious sugary-doughy mutations.  Apart from the trademarked cronut, no one else, to my knowledge, attempted to copyright any of the hybrid pastry creation names.

Until Starbucks, through Rich Products, did just that.  Early this month, Starbucks announced that, after sitting down with their bakers to discuss how to take their muffins one step further, they came up with the duffin.  I found out about this from a tweet from Bea’s of Bloomsbury that I read on 5 October.  I felt outraged on Bea’s behalf because earlier this year, around July, I had gone to the St Paul’s branch of Bea’s of Bloomsbury specifically to try the duffin.  I even tweeted about it!  I was even more incensed to find out earlier this week that Starbucks’ pastry products provider Rich Products copyrighted the name “duffin”.  They claim to have done extensive research about the name.  That surprises me because if you type “duffin” on Google, one of the top search results is Bea’s product.  Starbucks and Rich Products have magnanimously declared that they wouldn’t stop Bea from selling her duffins.  Gee thanks Starbucks, how generous of you, considering that Bea had her duffin recipe in a book that was released in September 2011!

In a tribute to Bea’s duffin, I baked my own batch of duffins from a recipe that was posted on the Channel 5 website.  The recipe was reprinted from Bea’s book Tea with Bea with Bea’s permission – How do you make a duffin?

Have a go at making this!  The recipe is amazingly easy to follow and the lovely duffins are ever so rich and decadently delicious!

The Duffin

Yelly Eats

Crispy belly pork!

One of my favourite Chinese restaurant dishes, probably of all time, is crispy belly pork.  I’ve seen fairly complicated ways of preparing it.  I’ve heard someone say that you had to hold up the piece of belly pork and bathe the skin side with heated oil.  Another version said you bathed it with boiling water.  All these instructions sort of turned me off even attempting to make crispy belly pork.

Mind you, I made a fairly good roasted pork joint and made amazing crackling, if I do say so myself!  It’s very simple.  Take a pork shoulder joint, pre-heat oven to 200 ºC, score the skin, rub salt and pepper and pop it into the oven for at least 1 hour and 45 minutes.  To make perfect crackling (and this is faffing about really, but the crackling turns out so crackingly beautiful and that makes the faffing about absolutely worth it!), after cooking the pork, take off the skin and cook for a further 30 minutes at about 220 ºC.  Considering my success with roasting pork and making crackling successfully, you’d think I wouldn’t be afraid of making crispy belly pork.  But I’ve had really good crispy belly pork from my favourite Chinese and I didn’t want to make it and be disappointed in something I’d prepared!

A few weeks ago, one of my friends shared a Youtube video with me.  I share a lot of my baking photos on Facebook so people know I love to bake.  Cecile, my friend from Manila, said I should take a break from baking sweet things and attempt the belly pork recipe.  I watched the video maybe 5 times to work up the courage to attempt it.  But attempt it, I did.

I followed the video instructions but used a Stanley knife to score the skin instead of using skewers.  Also, I found that when I first checked on the skin it wasn’t crispy enough so I cooked it for a further 25 minutes.  The skin came out so well that I had to record for posterity how crispy it was.  I posted the video on Instagram because I was really pleased with myself!

Crispy belly pork on rice with pak choi

Yelly Eats

The Adobo Challenge

Adobo is arguably the national dish of the Philippines.  Each family will have their own take on the adobo recipe that is passed down through generations.  I wrote about it once, and shared the recipe.  But I thought I’d post it again because I’m determined to introduce more people to Philippine cuisine.  One of my favourite TV moments was on The Voice, when Filipino soul singer and semi-finalist Joseph Apostol brought Sir Tom Jones adobo that his mother cooked!

Filipino flavour combinations are an amazing fusion of East and West because the wonderful amalgamation of our Southeast Asian and Chinese food traditions and the Spanish flavour influences (the Philippines was a Spanish colony for over 330 years!).  The best introduction to Filipino cuisine is adobo because it is a marinading meat dish.  It is best eaten over a bowl of boiled rice but is also a good sandwich filling.  The recipe is versatile and you can use either chicken or pork.  And believe you me, it is the easiest thing to prepare!

I challenge you to cook adobo!  I’ve tried to be very detailed in writing the cooking directions and I’ve posted as many pictures as I possibly could.  This is one of the most basic versions of adobo.  Try the recipe and let me know how you get on!  Tweet a photo of your attempt at my adobo recipe to @yellywelly with your blog address or your Twitter username and I’ll  post your photo on my blog!  Please make sure you use the hashtag #adobochallenge.  Or if you don’t have Twitter, leave your details on my message board, tell me you’ve got an adobo photo to send me and I’ll reply to you so you can send me your photo! 🙂

To make ADOBO you will need:

Adobo and greens650g of pork belly or pork shoulder steaks cut into cubes or chicken thighs
5 tablespoons of soy sauce + 2 tablespoons for cooking
2 1/2 tablespoons of vinegar + 1 tablespoon for cooking
3 large cloves of garlic crushed (or 3 teaspoons of garlic granules)
1 1/2 tablespoons of sugar + 1 tablespoon for cooking
2 bay leaves
1 tablespoon of whole pepper corns (or 1 heaping teaspoon ground pepper)
1 meat stock cube (chicken or pork, whichever meat you’re cooking) – optional
1 tablespoon vegetable oil
400 ml water

Directions:
When making my adobo, I like using a ziplock bag because using a ziplock bag allows me to “massage” the marinade into the meat.  Place the meat in the ziplock bag.

Adobo1

Add the the soy sauce  to the meat.

Adobo2

Add the vinegar.

Adobo3

Add the pepper and sugar to the meat.

IMG_3433

In a mortar and pestle, make sure the  garlic is ground to a paste and add to the meat and other marinating ingredients.

IMG_3434
The longer you marinade the meat the better, but a minimum of two hours (with a maximum of massaging!) will do.

Adobo6
Heat the oil in a stir-fry pan and add the meat pieces, making sure that you keep the marinating liquid.  Brown the meat on all sides.  Once the meat has been browned, add the marinating liquid.  Add the soy sauce, vinegar, sugar, the stock cube and water.  Make sure that the stock cube and the sugar are dissolved well and make sure that all the meat are covered by the marinating liquid.  Cook for about 30-45 minutes or until the fat (if cooking pork) has rendered a little bit.

IMG_3443

Tear the bay leaves and add to the pan.  Allow the liquid to reach a rolling boil, turning the meat pieces occasionally.  Cover with a lid.

Adobo8
Allow the liquid to simmer for 30 minutes, at which time it would have thickened slightly (without you adding anything to thicken it!).

Adobo9

This is my little step: after the 30 minutes are over, keep the lid on and keep the pot over the hot plate (if you’re using an electric stove, or over the ring, if you’re using a gas range) for 5 minutes without lifting the lid.
Serve over boiled rice, and voila!  You have my version of adobo! 🙂

Adobo10