I am certainly fond of my takeaways – even while I lived in the Philippines, takeaways were a regular occurrence in our household. I may be wrong, but we seemed to have a better variety of takeaways available for home delivery. One of my favourites were barbecued squid, stuffed grilled fish and spit-roasted suckling pig with amazingly crispy skin. Yes, you phoned in and they delivered it to your home wrapped up in a banaa leaf (properly packaged in aluminum foil and a takeaway box of some fashion, of course!)! Is it any wonder I miss Philippine food?
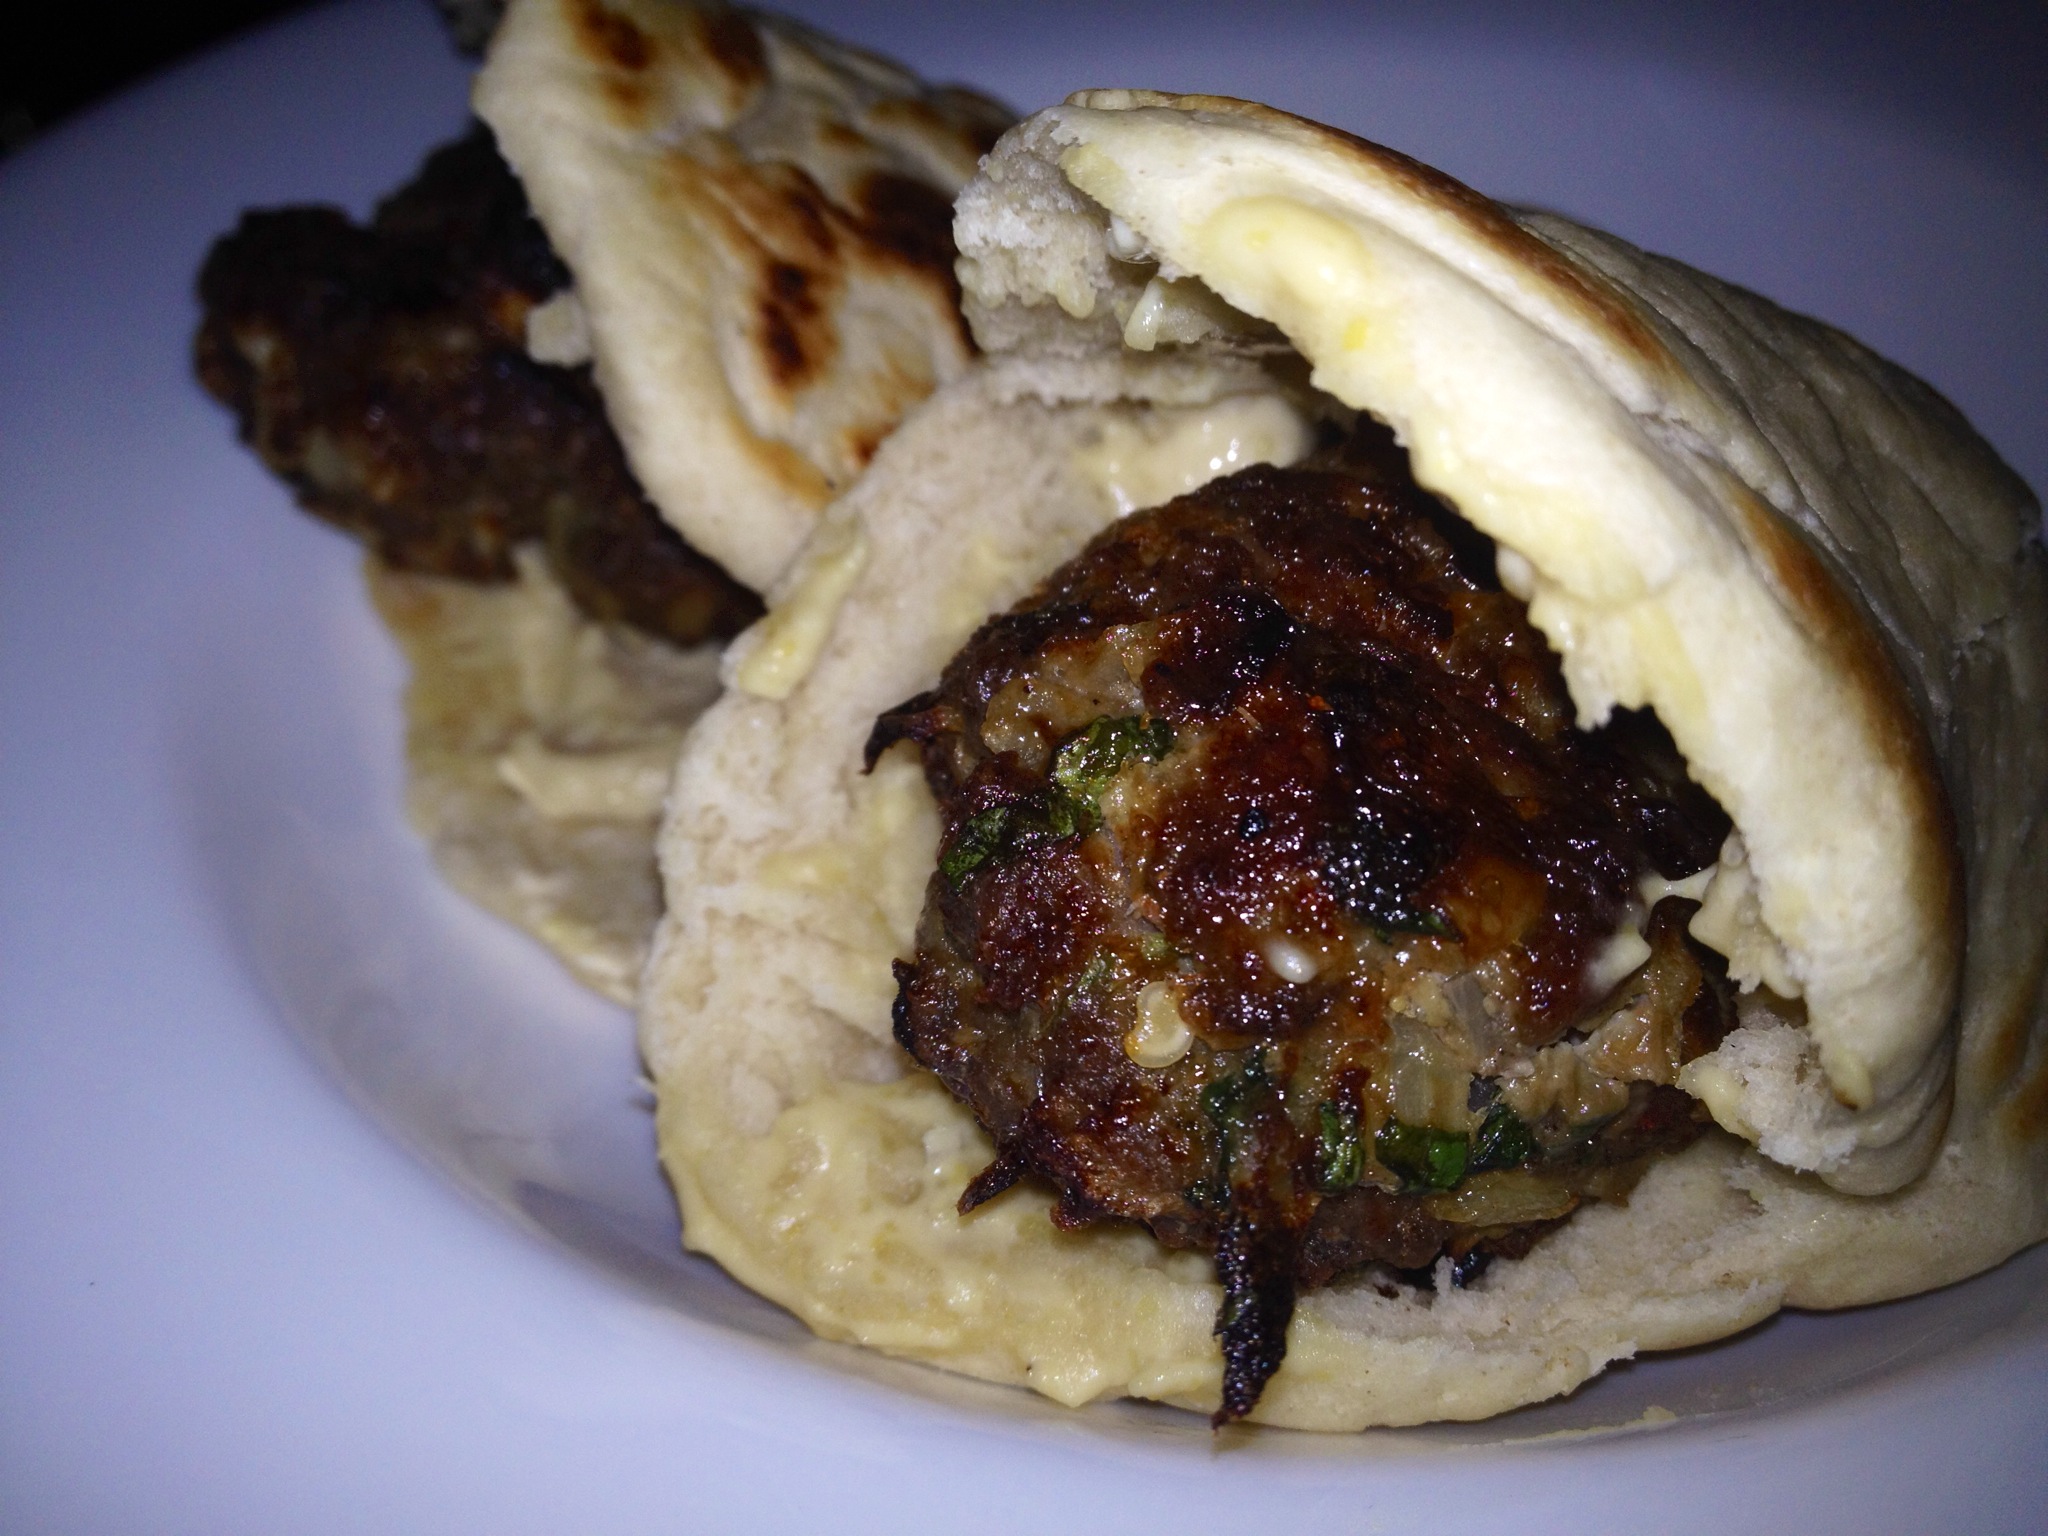
Tonight I made lamb kofta kebabs and paired it with roosterkoek breads using Andy Bates’ recipe. It’s a lovely way to make one’s own takeaway-style food with the comfort of knowing exactly what’s in the food! I’d like to share with you my recipe for the lamb kebab. It’s my version of a kebab recipe that I found in a book called The Takeaway Secret. I’ve modified the recipe so that it’s made up of ingredients that I’ve found in my cupboard!
Ingredients:
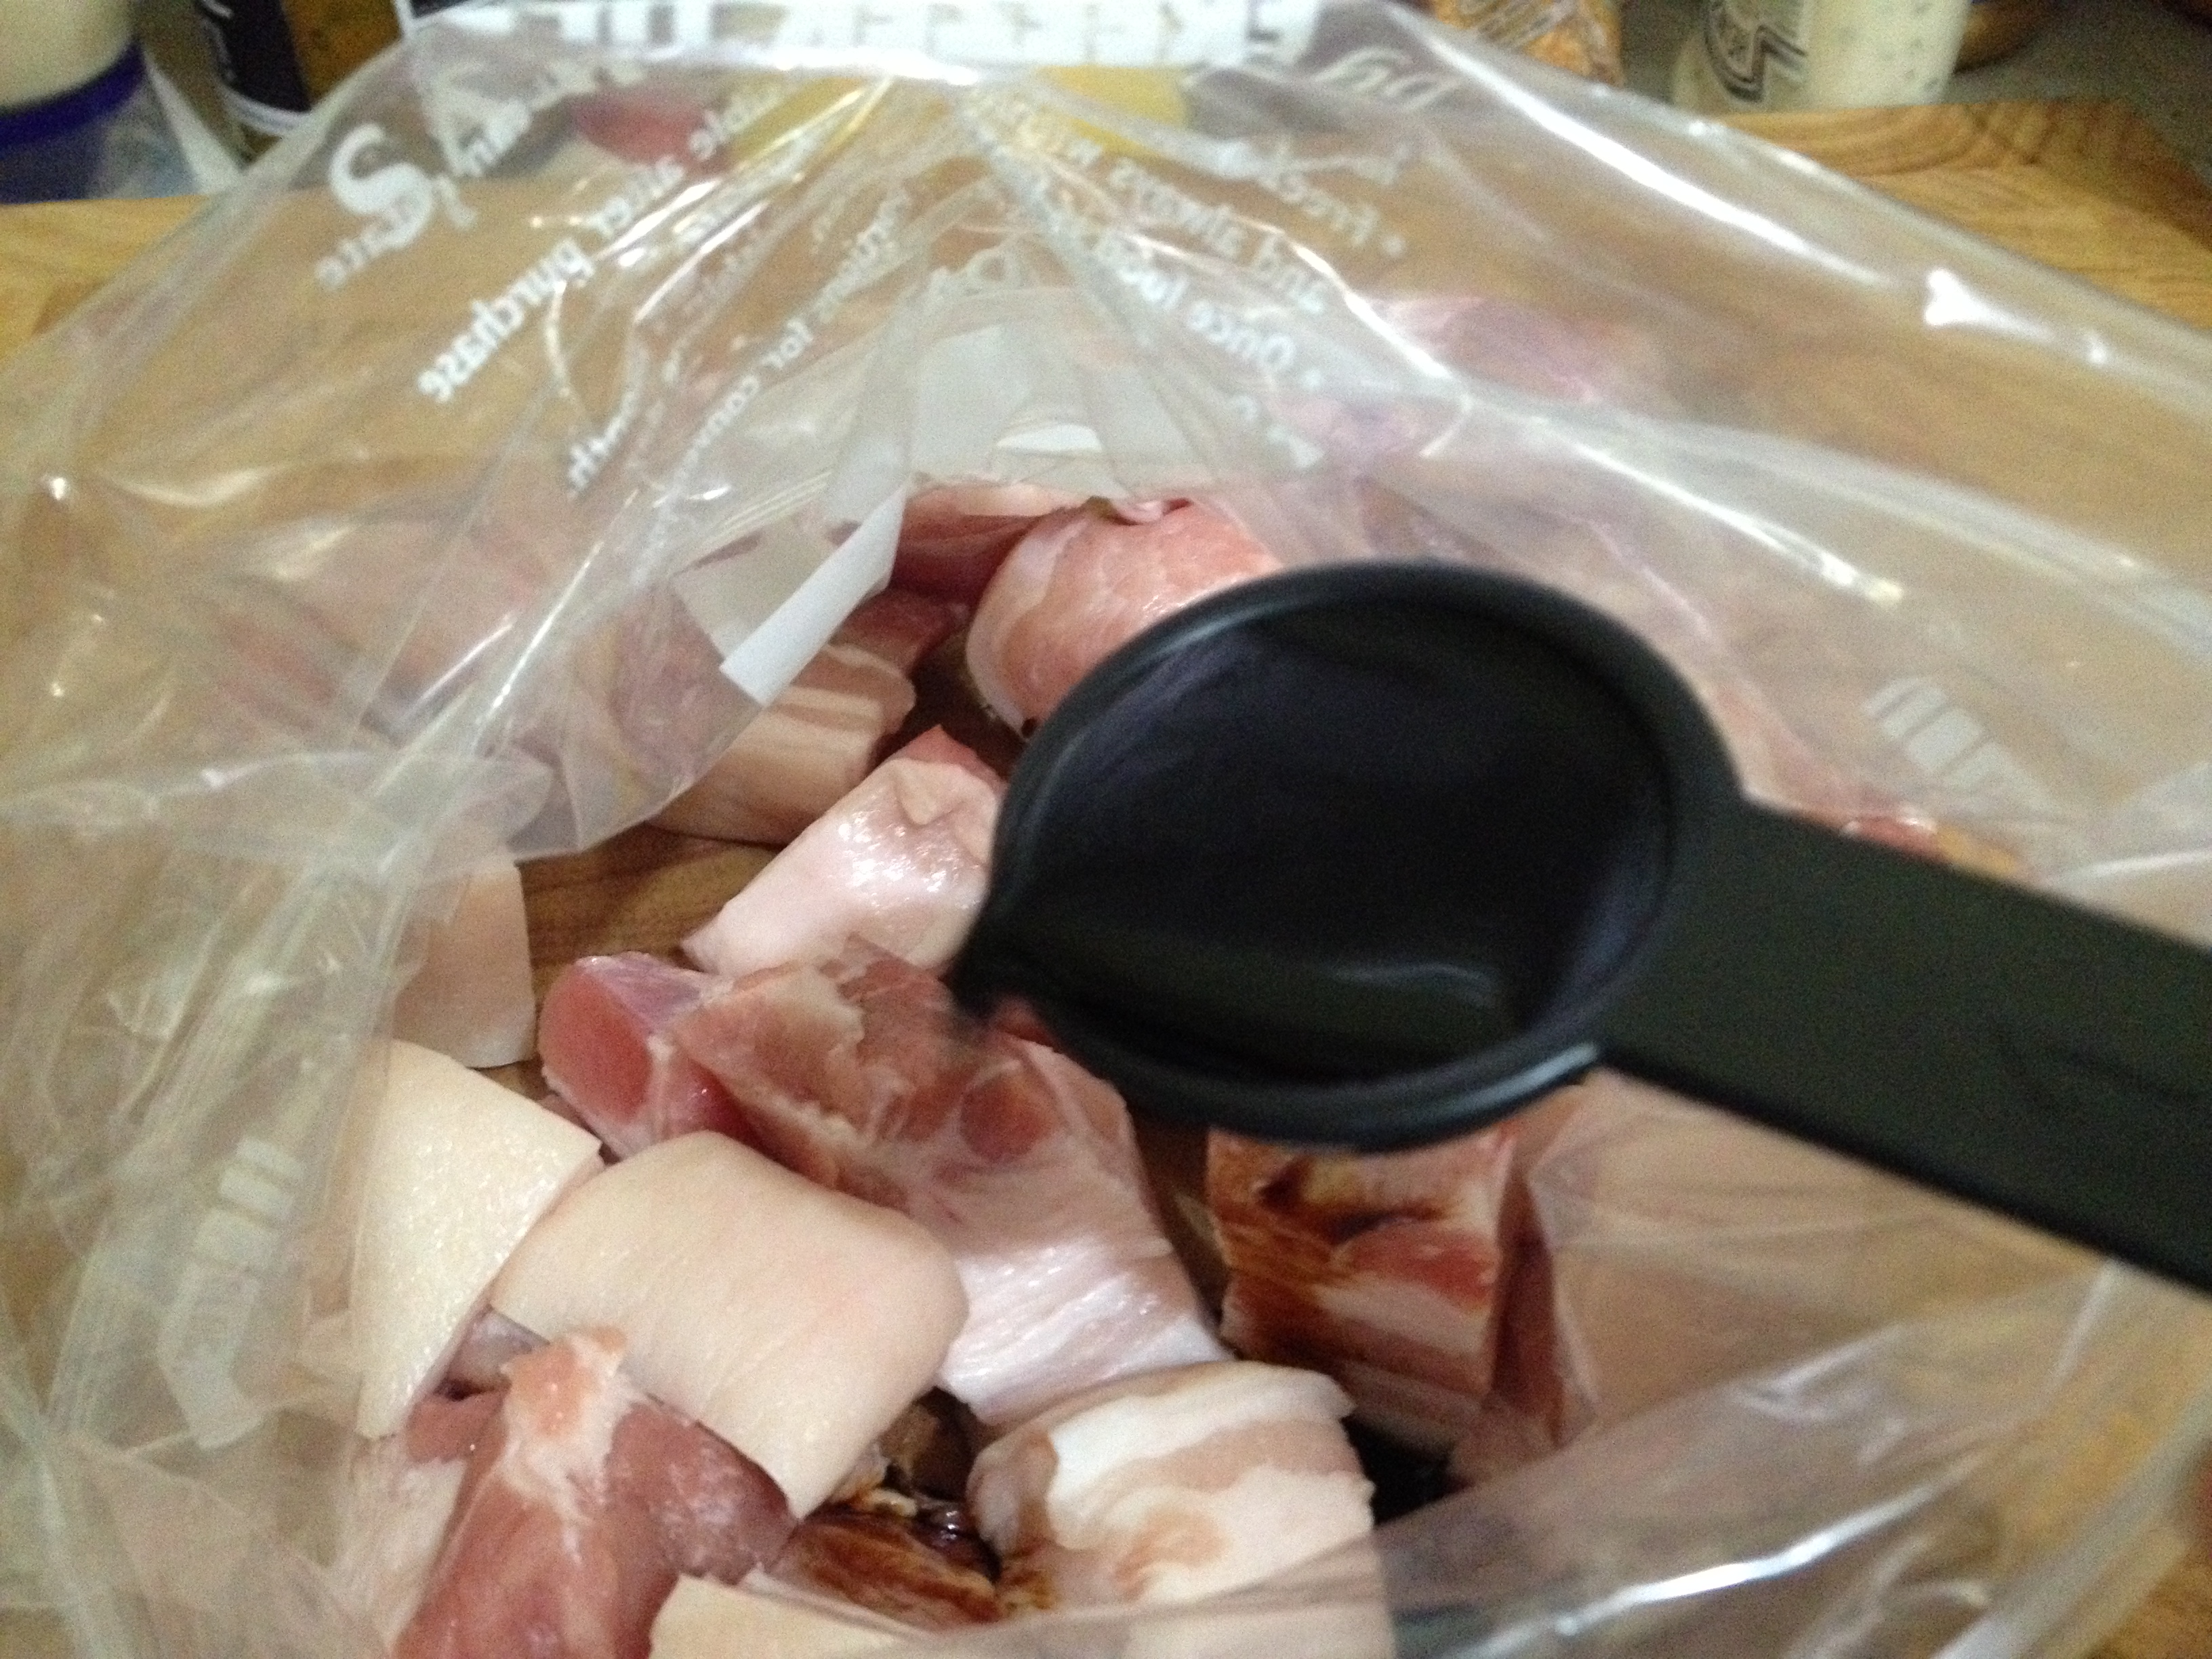
- 500g lamb mince
- 1 heaped teaspoon garlic powder (or 1 large clove of garlic, very finely chopped)
- 1 medium onion finely chopped (or 2 heaped teaspooons onion powder)
- 1 heaped teaspoon chilli flakes (or 2 red finger chilli peppers very finely chopped)
- 1/4 teaspoon allspice
- 1/2 teaspoon paprika
- 1/2 teaspoon cumin
- 1 teaspoon salt
- 2 tablespoon finely chopped coriander (including stalks)
- 1/4 teaspoon ground black pepper
- 1 egg
Directions:
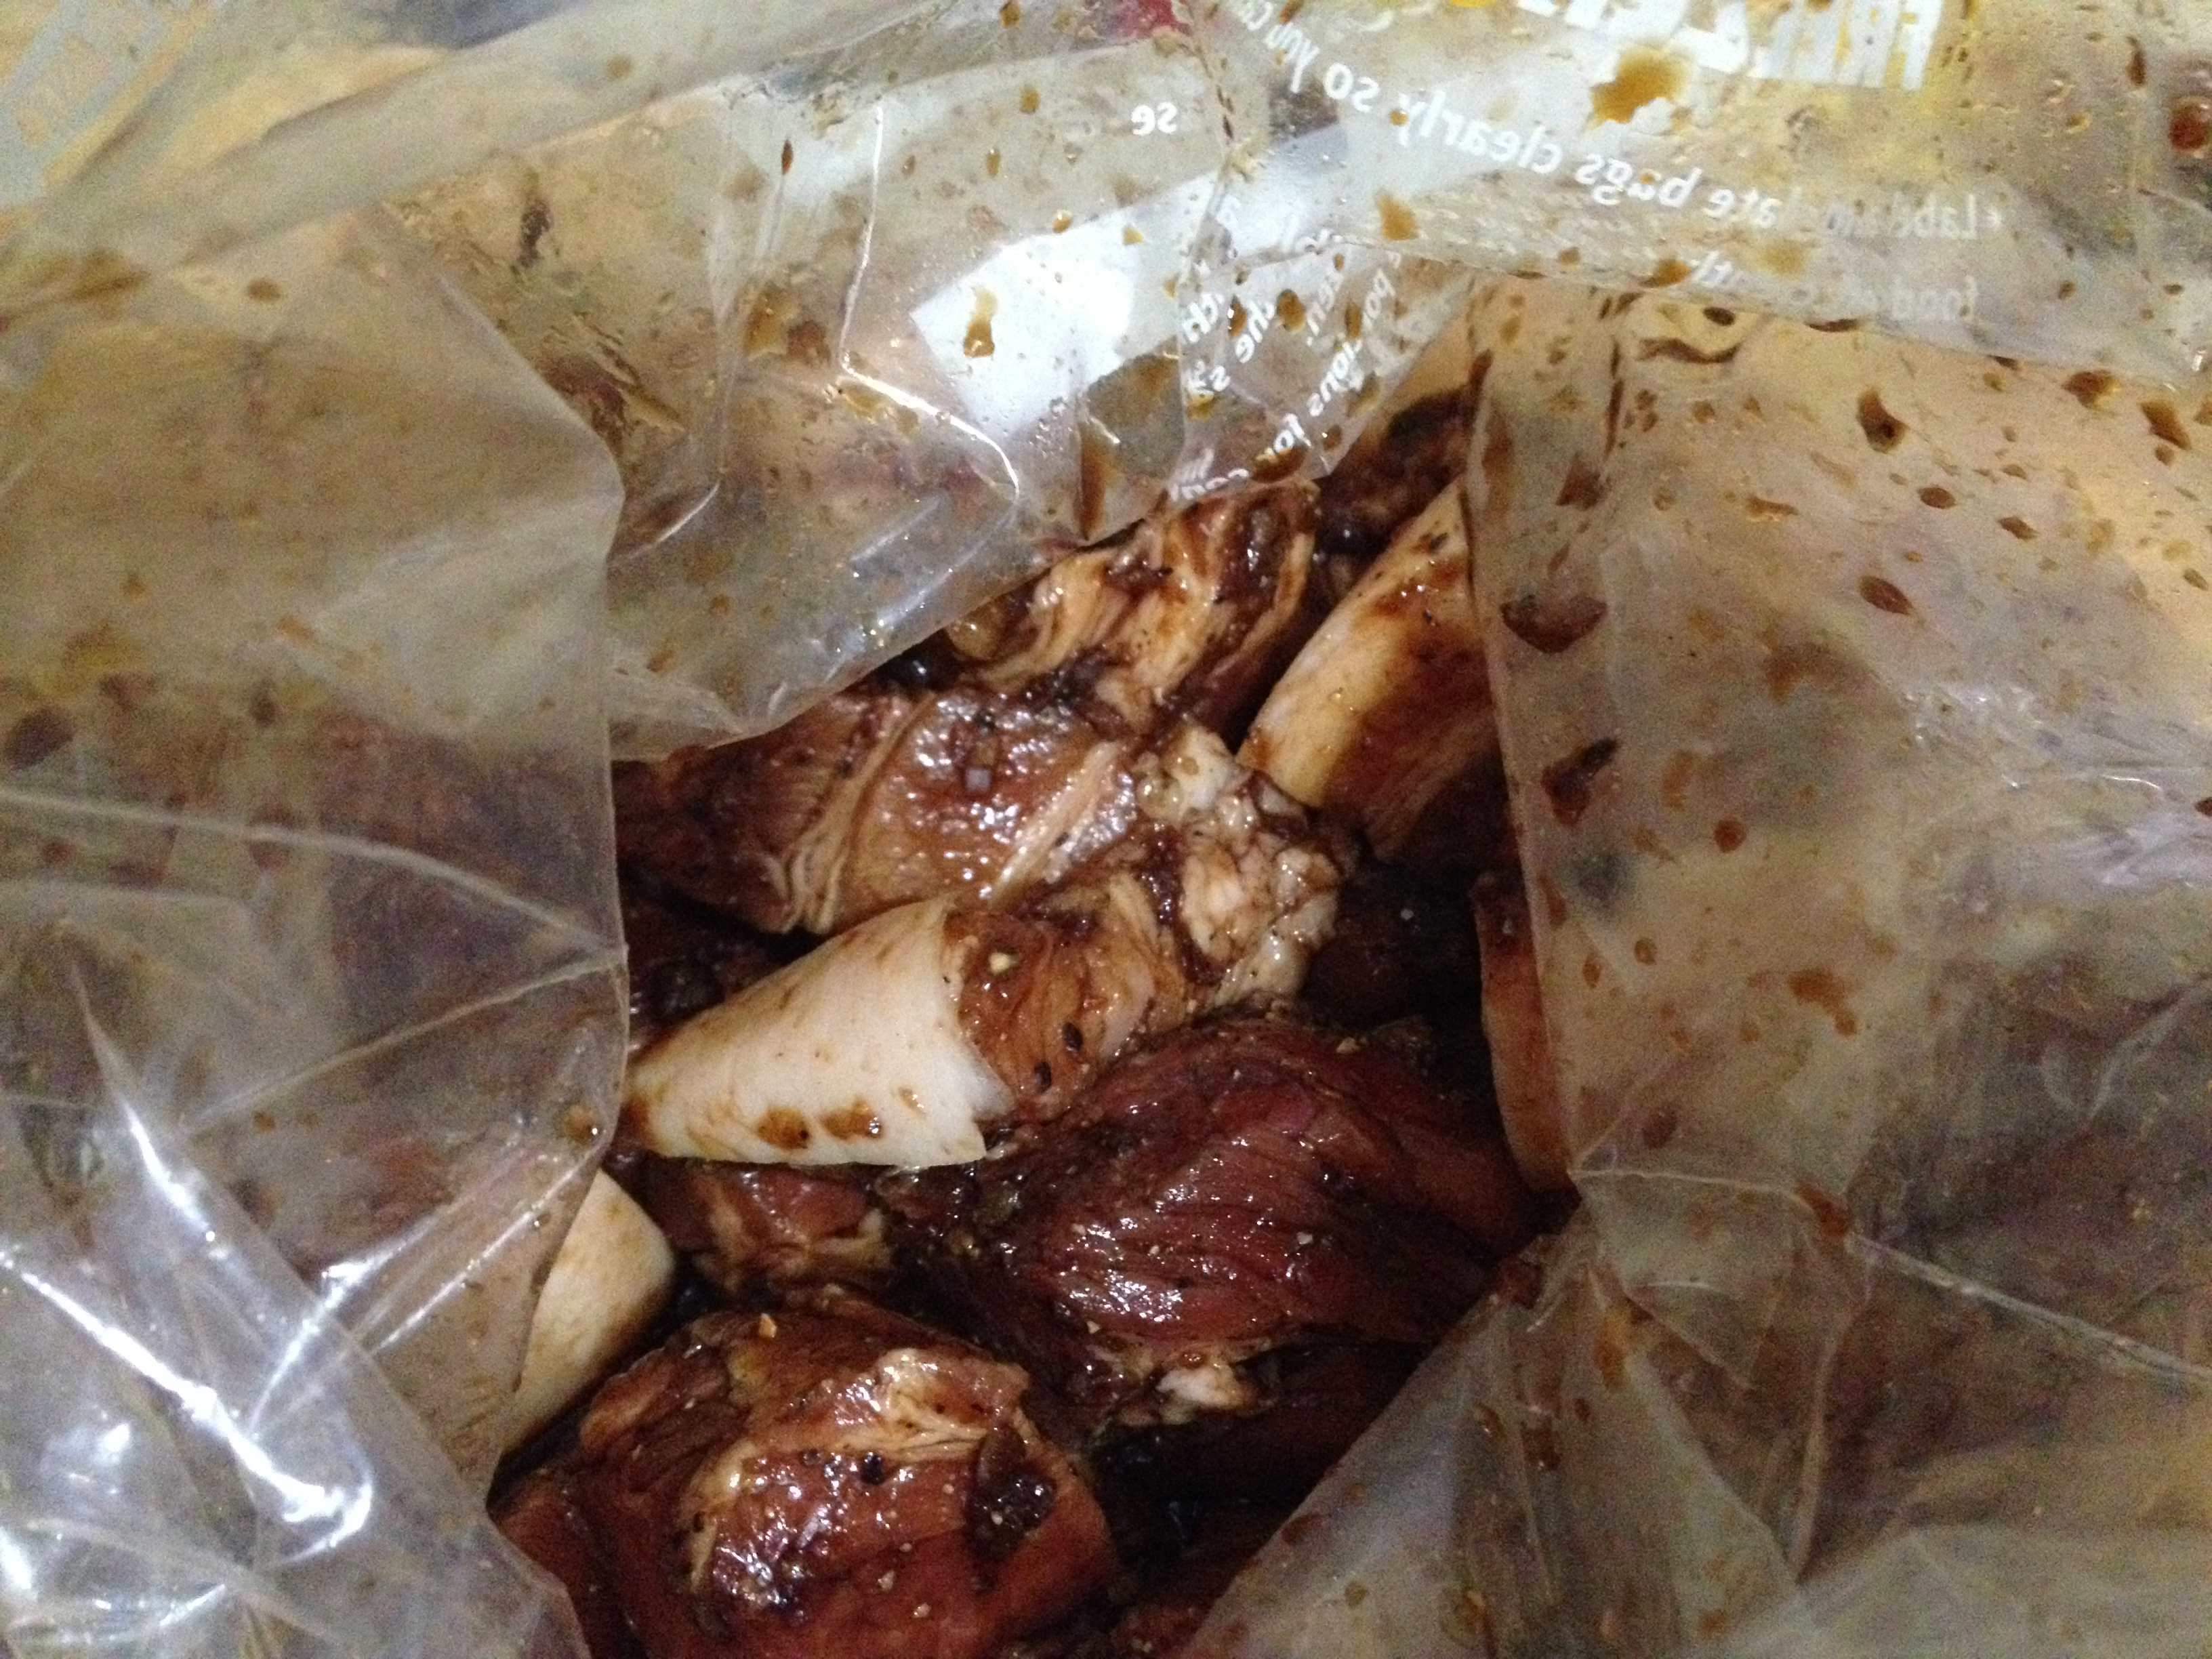
- In a bowl, combine all ingredients. Mix the ingredients but try not to overwork the mince too much. Allow to marinade for at least 2 hours, or overnight if possible. TIP: You can adjust salt to taste, increasing or reducing the amount by half a teaspoon. I haven’t tried this recipe using beef, but I think if you’re using beef, make sure you DON’T use lean or extra lean beef mince because you need the fat in the kebabs so that they don’t dry out.
- Divide the koftas into 9-12 pieces. Shape the pieces into cigar-shaped pieces and flatten slightly.
- These koftas can be fried in a griddle pan or frying pan with a little oil. My favourite way of cooking them is under a grill though, set to a medium-high heat. Cook the kofta pieces (whether fried or grilled) for 6-8 minutes each side, or until the meat is cooked through and golden.
- Serve with pitta, salad and a tzatziki sauce if you like. Will also work with hummus!