Yelly Writes

Birthday surprise!

So for my birthday I went up north…way north.  I went to Edinburgh.

I was excited about the trip because I hadn’t been to Edinburgh as a tourist for 10 years.  The last time I was there, as a tourist, was in 2007, when my cousin Genevieve got married.

I’ve been back to Edinburgh several times in between, but those were work trips, when I used to work as an event organiser for scientific societies.  There was never any time to nip out and be the tourist.  All I saw was either the train station, the inside of a cab, then venue, my quarters and then back again.

It was a bittersweet trip because the last time I walked the streets of Edinburgh, I was with my dearest Abba.  So when Alan and I were walking down Princes Street I had to go where my Abba and I posed for a snapshot that, I think, my mum took.

So on my birthday Alan and I did the usual touristy bits…walking around, getting on buses, snapping photos every chance we got.  I was getting a bit tired and hungry and I thought we were going somewhere to eat when Alan says, let’s get off here.  “Here” was a non-descript street.  “Let’s walk here,” he says.  “We’ve never walked here before.”  I’m not entirely sure if I said it out loud, but I thought I did say’ “Hun, we’ve never walked here before, because we’ve never been to Edinburgh together!”  I can get a bit tetchy when I’m hungry.  I think we all do but I was getting annoyed that we seemed to walk aimlessly, in the unusual Edinburgh heat.  It was my birthday.  I didn’t want to be whingy on my birthday.  So I bit my tongue, followed Alan’s lead.  We actually walked past bins!

When we rounded a corner, he said “Oooh what’s up here?”  So we walk up these steps, past majestic columns and walked through this beautiful entryway.

He asks the person standing at the door, “How do we get to the Georgian Tea Room please?”  My jaw drops open.  He’s done it again.  He’s managed to surprise me with a visit to a gorgeous place to have my favourite afternoon thing to do.

Alan surprised me with afternoon tea, on my birthday, in one of the most sumptuous places in Edinburgh.  We went to The Dome!

Needless to say, I was smiling the whole way through the afternoon.  It was such a beautiful place and it was such a special way to celebrate my birthday.  I was a very happy birthday girl! 👸🏻❤

Yelly Eats

Bank holiday shenanigans

We’re not exactly party animals, Alan and I.  What did we do the entire bank holiday?  Stay at home, cook our meals, sleep in, rest, get over our individual viral infections (it sounds a lot worse than it really is) and suffer hay fever in silence.

But when I have the time (and the inclination), I try recipes I’ve been wanting to try for absolutely ages.  I’ve been looking for an easy Chinese steamed sponge cake recipe for ages.  Ever since I impulse bought a slice of steamed sponge cake from Kowloon Bakery in London Chinatown.

By absolute chance, because there was nothing on telly last Wednesday (nothing we wanted to watch anyway), we turned the telly to the Food Network and saw an episode of Poh and Co, Poh Ling Yeow’s cooking (and lifestyle?) show that’s produced for Australian TV.  But you do get weird and wonderful shows on the Food Network so because it sort of reminded us of Chinese cooking, we just left the telly on the Food Network.  As luck would have it, Poh Ling made her version of Chinese steamed sponge cake and it looked so easy I had to try it.

And try it I did.  The recipe is fairly straightforward and easy.  It consisted of 5 ingredients that any baker would have in their larder – just flour, baking powder, eggs, and vanilla extract.  I think I benefitted from watching Poh make the cake so I knew exactly what I was doing.  But I was so pleased at how it’s come out: so soft and pillowy and so very light!  It’s so deceptively light that Alan and I managed to consume more than half of one of the two cakes that I made!

I’m making it again and tweaking it to add my little twists to the recipe.  I am over the moon as this is an absolutely amazing recipe!  Thank you Poh for sharing this!❤

Yelly Eats

How To Make Chinese Almond Cookies

Almond cookies are a staple both in Chinese bakers and in Chinese kids’ childhood memories.  Everyone has an almond cookie experience that makes them smile (or at least that’s what I have been told).  Alan’s recipe is very similar to mine and this recipe was posted on our Pan-Asian Kitchen blog and I am sharing this with you on Yellywelly.  Text, photos and food fluffing all by Alan.


I always remember eating almond cookies in one form or another since I was young and even though I did like them, none of them were memorable until about 16 years ago when I got the opportunity to go over to Canada for 6 weeks (around the Christmas and New Year holidays) to spend some time visiting my aunts and uncles whom I had not seen since I was very young. A small issue I had was that I had started a new job a few weeks before the trip and had to explain to my boss (James) about the trip that was planned. As well as letting me go on the trip, he lent me a suitcase and gave me a lift to the airport on the day I flew out. Amongst the gifts that I brought back, I purchased several boxes of Chinese Almond Cookies from the Market Village Chinese Mall to say thank you to James for his help. I kept a box back for myself so that I could try the cookies and found that they were the most delicious almond cookies that I had tasted. Looking around Chinatown in London, I could not find almond cookies that looked like the ones I got from Canada. I even tried the ones from the Chinese bakeries but they did not look or taste the same as how I remembered them.

Several years had passed and I was teaching myself to bake new things and remembered back to the almond cookies that I purchased from Market Village. I had a look around for recipes for almond cookies and they all seem to have the same quantities of butter, flour and sugar but the almond flavour didn’t come through enough so have doubled the amount of ground almonds and added almond extract to give them an almondy boost. So after a few attempts of perfecting the recipe, here is my take on the Chinese Almond Cookie. This cookie is great for a treat or to give as a present to friends or family.

Chinese Almond Cookies
Ingredients (makes approx 24 cookies)

125g unsalted butter (softened)
170g caster sugar
1/2 tsp salt

1/2 tsp almond extract (or 1 tbsp of amaretto)
1 egg

200g plain flour
1/2 tsp baking powder
150g ground almonds

24 blanched almonds or 24 pieces of sliced almonds
1 egg (beaten)

Instructions:

1. In a bowl, cream together the butter, sugar and salt.

2. Add the egg and almond extract and mix together.

3. Slowly add the flour, the baking powder and ground almonds into the mixture.

To do this, add a few dessert spoons of the dry ingredients at a time and combine together. Repeat the process until it is all mixed well.

4. Preheat the oven to 180°C/360°F (170°C/340°F if using a fan oven). Line a couple of baking trays with baking paper and then divide the mixture into 24 equal sized balls which are roughly walnut sized. To help potion off the mixture evenly, I used a sized 40 ice cream scoop and levelled it off with a spatula but you can do it by eye if you do not have a scoop.

5. Put the cookies dough balls on the baking trays (leave a 1” gap between the cookies as they do spread out slightly, you may need to bake in several batches if you use smaller baking trays) and use a round measuring spoon to press an indentation in the middle of the ball (in this case, I used a 1 tsp measuring spoon as the blanched almonds just about fit inside). By using the measuring spoon to press the indentation into the ball, it will also flatten the ball into a cookie shape. If you do not have a round measuring spoon, flatten the ball with your hand and make the indentation with your thumb. Put a blanched almond or a slice of almond into the indentation of each cookie.

6. Brush each cookie with the beaten egg.

7. Bake the cookies for 10 minutes or until the cookies are a lightly golden colour. Allow cookies to cool down for roughly 10 minutes. Reduce the oven to 160°C/320°F (150°C/300°F if using a fan oven).

8. Brush the cookies with more beaten egg and bake for another 10-15 minutes or until they turn golden brown.

Allow to cool down completely before storing in an airtight container.

Yelly Eats

How To Make Chinese Bakery Style Hot Dog Buns

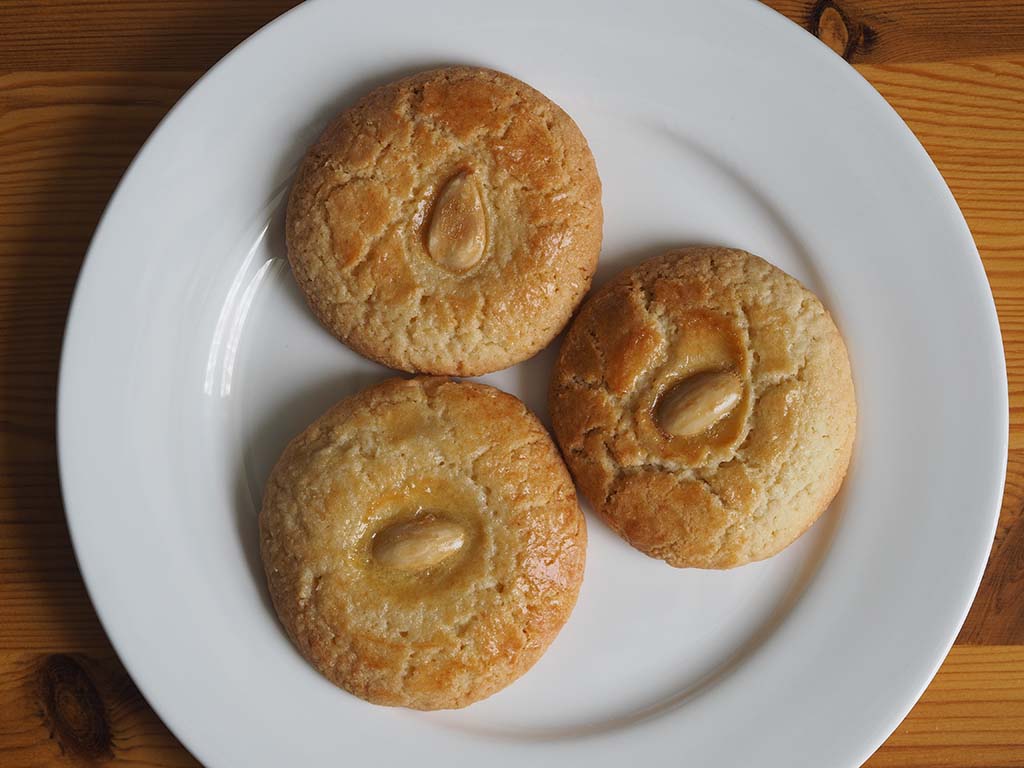
This was one of Alan’s posts on our shared blog the Pan-Asian Kitchen.  He does have brilliant ideas and I am so proud to share with you his recipe for this Chinese bakery staple.  The text, photos and food styling are all Alan.


There have been times that I have gone into a Chinese bakery in London and fancy trying something new. A couple of months ago was one of these times. I was a bit tired, a little hungry and wanted something different to eat. I have always seen the hot dog buns that the bakeries had to offer but didn’t pay much attention to them as we normally just got some of the Char Siu Bao (BBQ Pork Buns) to take home. The hot dog buns that I spied didn’t look anything special as it essentially was some flattened dough with a hot dog plonked on it topped with mayonnaise, ketchup, cheese and some vegetables (spring onion or carrot or peas) This bun is then baked in the oven until the cheese melts, the sauces reduce, and the vegetables caramelise. The resulting bun is a very tasty treat that is far far better than making up a normal hot dog in a finger roll and then putting the sauces on top.

Since then, we have been back to the Chinese bakeries and sampling the various hot dog buns that the have to offer. The great thing about making these at home is that you have a lot more control of ingredients you want to put in them from the type of sausage, the type of cheese, to the amount of sauce you want on top. The dough that we will be using for this recipe is the Milk Bread dough from the recipe here: INSERT LINK

Chinese Bakery Style Hot Dog Buns

Ingredients:

For the milk bread dough:
65ml milk
35g granulated sugar
60g unsalted butter

1 teaspoon granulated sugar
60ml milk
3.5g quick dry yeast

1 egg (beaten)
1/4 teaspoon salt
275g plain flour

For the topping:
6-8 Hot Dogs / Frankfurters
125g Grated Cheese
1-2 Stalks Spring Onions / Scallions (sliced)
Mayonnaise (preferably in a squeezy bottle)
Tomato Ketchup (preferably in a squeezy bottle)

Instructions (the pictures for steps 1-6, are in the previous post for Milk Bread)

1. Put 65ml milk, 35g granulated sugar and 60g of butter in a saucepan and heat until the milk starts to boil. Turn the heat off and stir the mixture so that the butter melts and the sugar dissolves into the milk.

2. In a microwaveable jug or bowl, put the 65ml of milk and 1 teaspoon of sugar and heat in the microwave in full power for 30 seconds so that the milk is lukewarm. Stir in the yeast and leave for 10 minutes until the mixture foams up as the yeast activates.

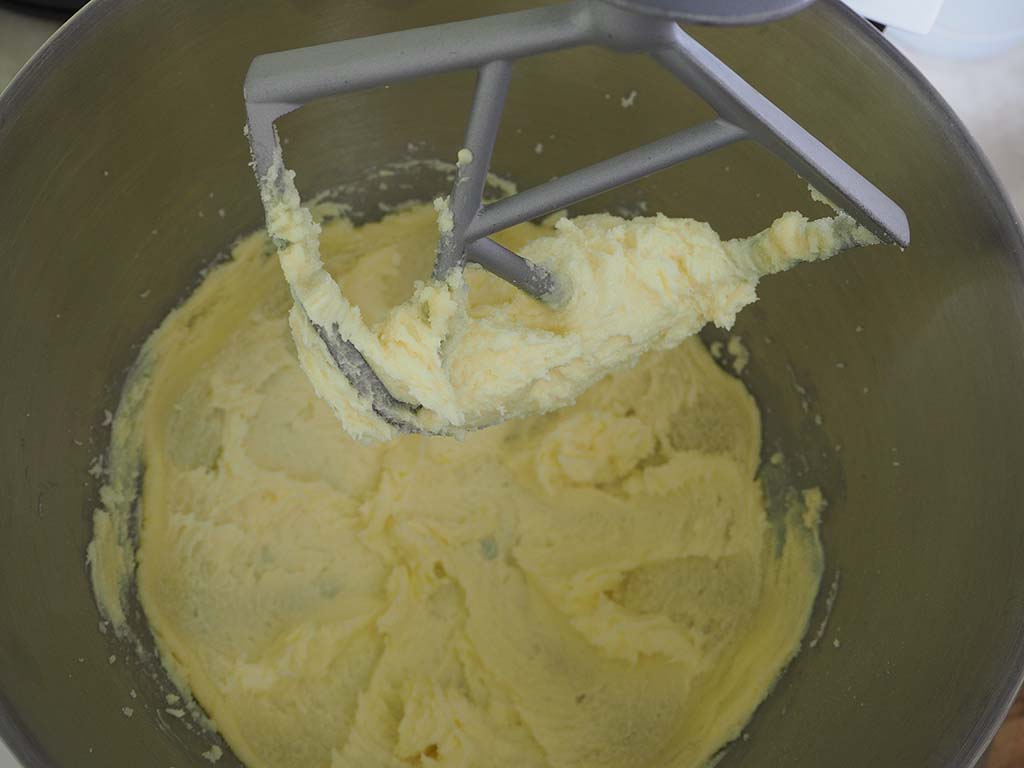
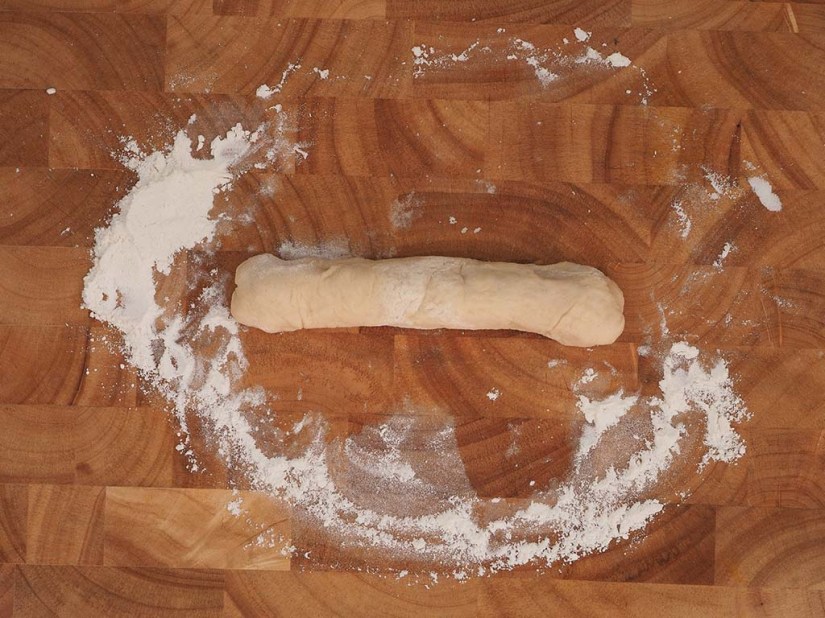
3. In a mixing bowl, add the yeast mixture, the butter mixture and the egg. Mix the wet ingredients together and then spoon in the flour, mixing as you go along. Keep going until all the flour has been mixed in and the mixture has turned from a batter into a dough. If you are working the dough by hand, tip the dough out onto a lightly floured work surface and kneed for about work the dough for about 10 minutes. If using a stand mixer, mix for 6 minutes on a medium-low speed. The dough is ready when you can pinch some dough and stretch it quite far without the strand breaking.

4. Oil a bigger mixing bowl and tip the dough into it. flip the dough over in the bowl so that the top of the dough is also covered in oil. Cover with cling film and place in a warm place like an airing cupboard or proving drawer for about an hour so the dough will rise.

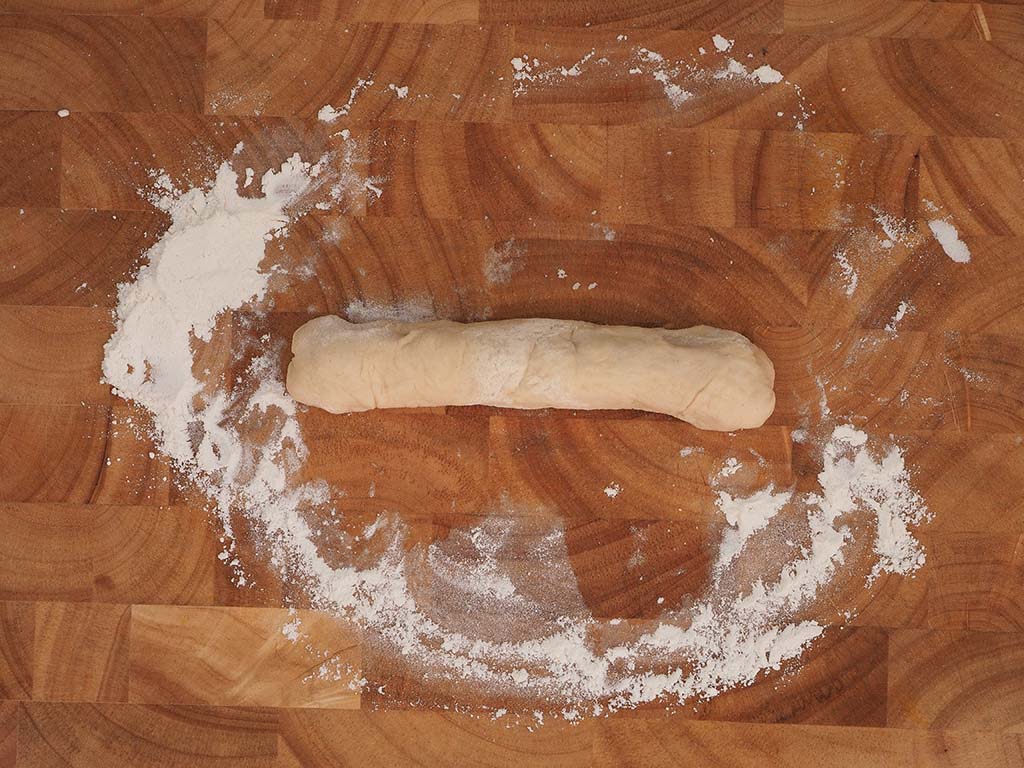
5. Once the dough has risen, it should have roughly doubled in size. Knock back the dough by punching it so that it deflates back to its original size. Tip out the dough onto a lightly floured work surface and kneed for a couple of minutes.

6. Divide up the dough into 6 or 8 equal sizes pieces (depending on how many hot dogs you have).

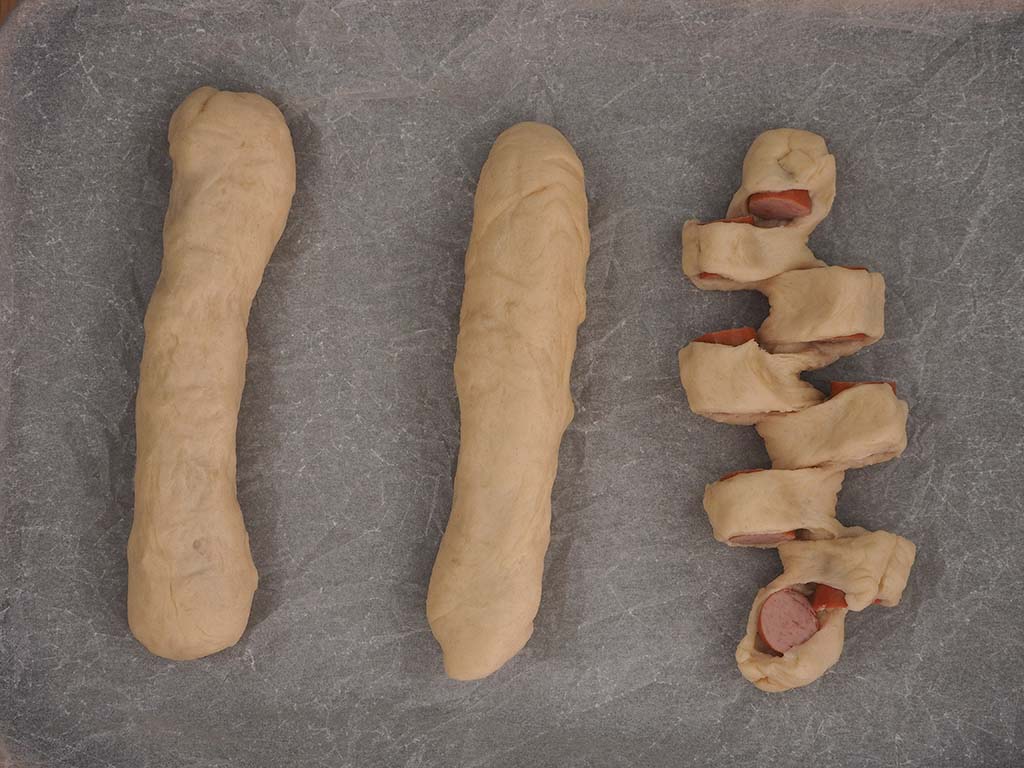
7. Take a piece of dough and flatten it out so that it is slightly bigger than the hot dog sausage that you are using.


Wrap the dough around the sausage and make sure it is totally encased in the dough. Make sure the dough casing is smooth  by rolling it lightly on the surface or between your hands.


Continue flattening and wrapping the dough around the other hot dog sausages and then place them on a lined baking tray leaving a 2 inch gap between each one.

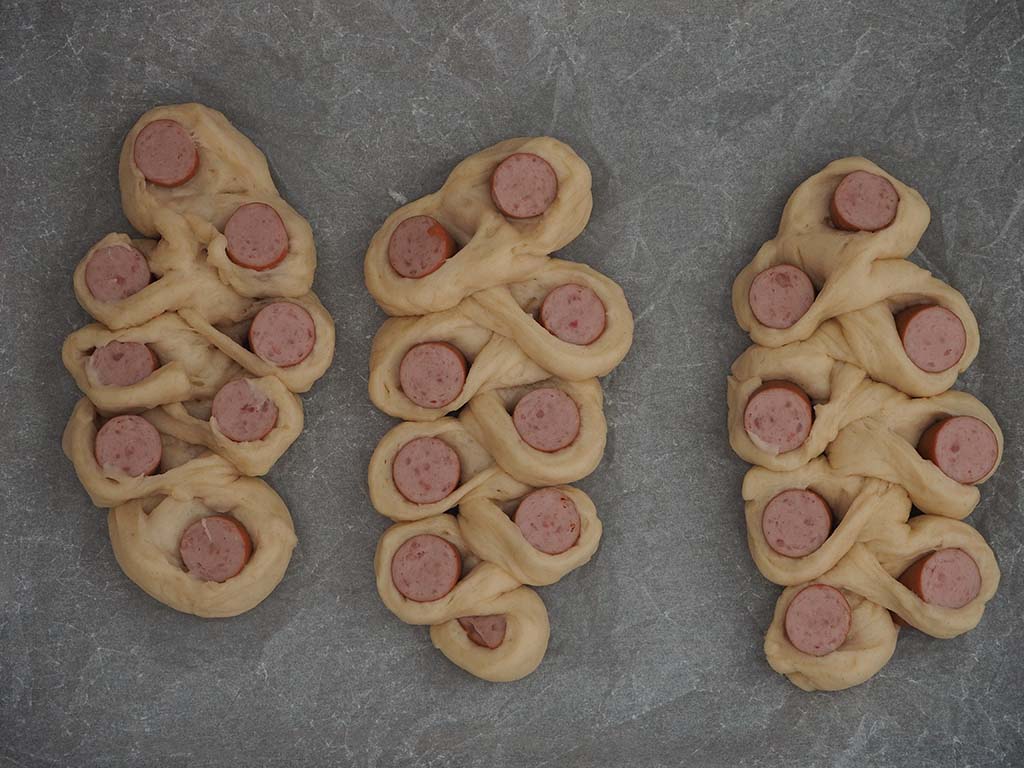
8. Take a knife and make 1cm incisions in each encased sausage BUT do not cut it all the way through as you want to leave a spine.


Fan out the pieces by rotating each slice out so each alternative piece is on the opposite side of the previous one (e.g. the first one turns left, second turns right, third turns left, etc).


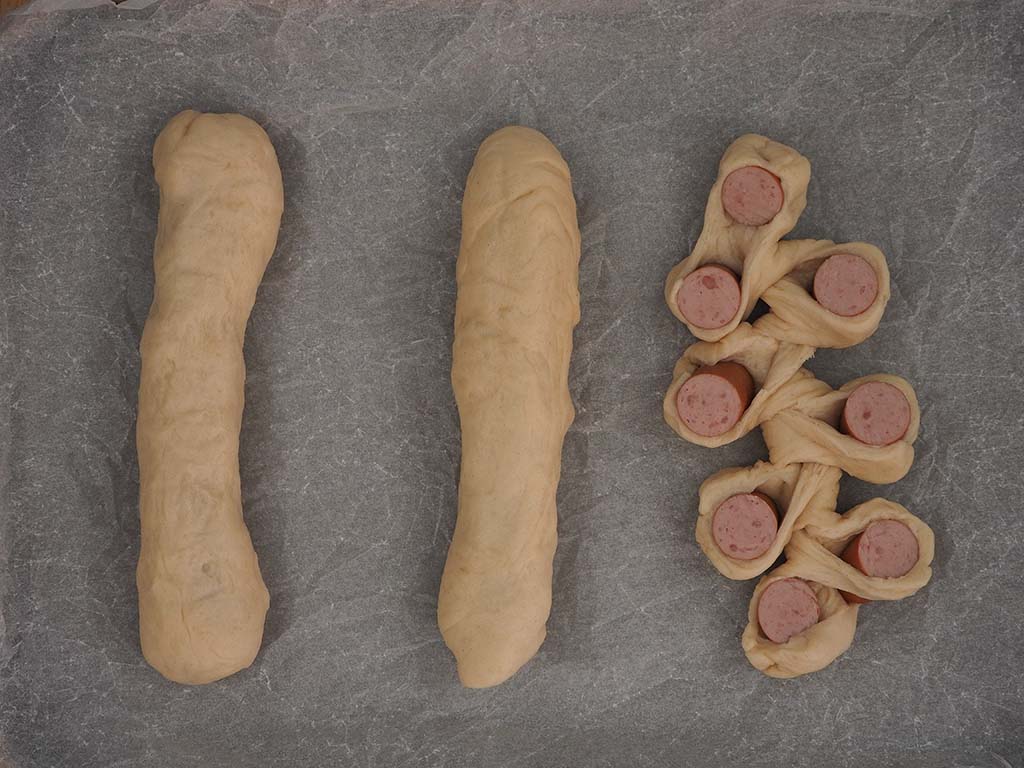
Once all the pieces have been fanned out, twist each slice so that it is flat on the tray. Try to twist each piece in the same direction and make sure that hot dog side is faced up on the end pieces.


Go through the same process with the other hot dogs and cover with cling film and prove for about 45 minutes until the dough has risen and puffed up.


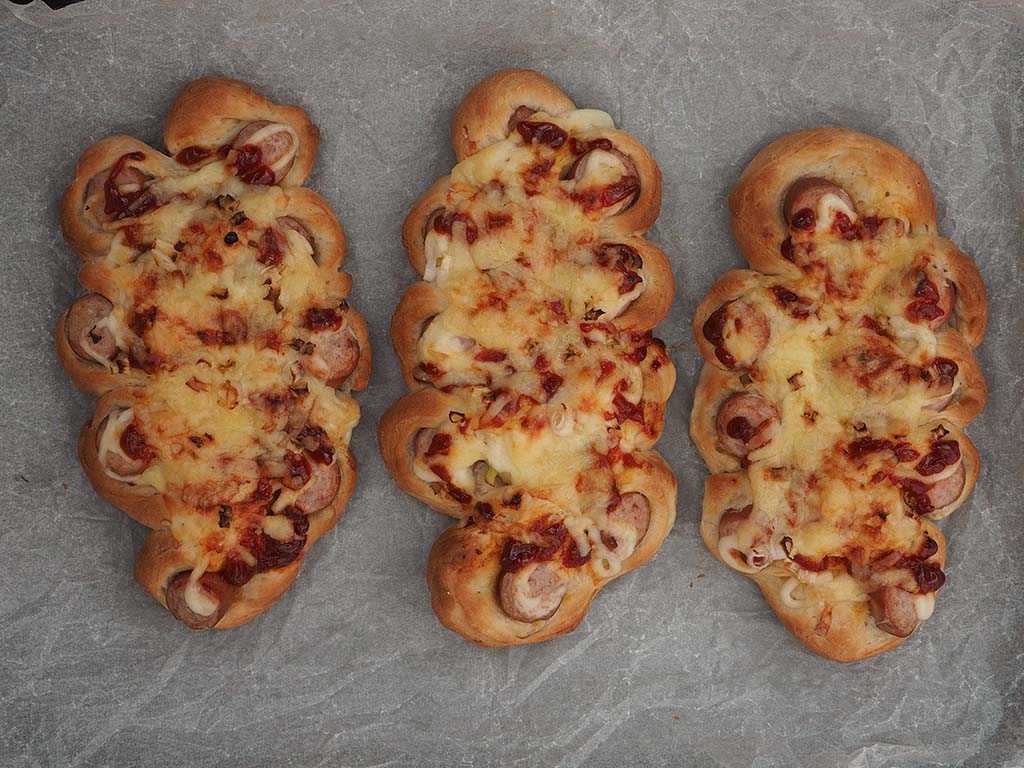
9. Once the dough has finished the second prove, preheat the oven to 180°C / 350°F (170°C /340°F fan oven). Uncover the dough and start by spreading or drizzling the ketchup and mayonnaise on top. Then sprinkle the grated cheese on top of the sauce followed by the sliced spring onion.


Bake in the oven for 18-20 minutes until buns have turned golden brown. Once cooled, store in an airtight container.